-
Preparation
30 minutes
-
Cooking
1 hour
-
Difficulty
Easy
With a full range of sour, salty, and sweet flavors that are extremely attractive and appealing, Japanese salted plums – Umaboshi easily win the hearts of many Japanese cuisine enthusiasts. Let’s go to the kitchen with Tastetutorial.com to see tips for making this special salted dish right at home!
Ingredients for Long-lasting Japanese-style Salted Plums – Umaboshi Serves 4
Fresh plums 1 kg Pink salt 120 gr Perilla leaves 100 gr Coarse salt A little
How to choose delicious fresh apricots
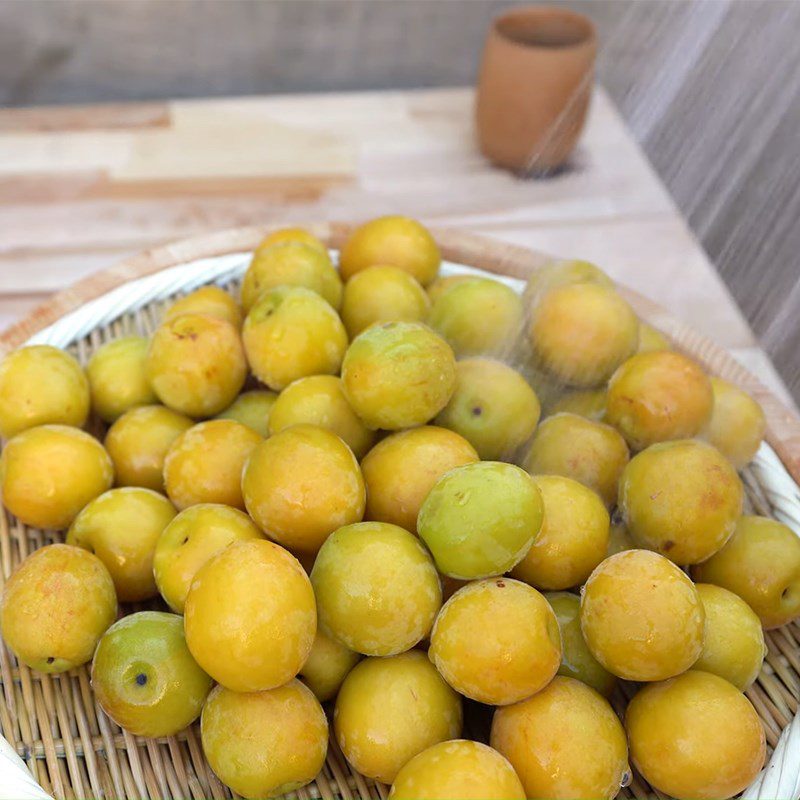
- Choose apricots that have a beautiful yellow color, uniform color, and feel firm when held.
- Freshly picked apricots will have a white powdery layer on the outside and a light fragrant smell; you should buy these apricots.
- Do not buy apricots that are bruised, damaged, overly green, or show signs of mold.
- To achieve the right flavor for the dish Umaboshi, you should choose apricots that are grown in Japan and exported to Vietnam. This type of apricot can be easily found in supermarkets and e-commerce sites.
Information about pink salt
- Pink salt is a type of salt that is often mined from the Himalayas with pristine ocean regions and a perfect natural ecosystem.
- The salt is crystallized from evaporated water and all the essence of nature condensed into vast salt mines.
- Unlike regular sea salt, the structure of salt crystals is very special, so they come in many colors from red, pink to white or transparent.
- You should look for original pink salt at imported supermarkets and reputable websites specializing in pink salt to ensure that you buy real pink salt.
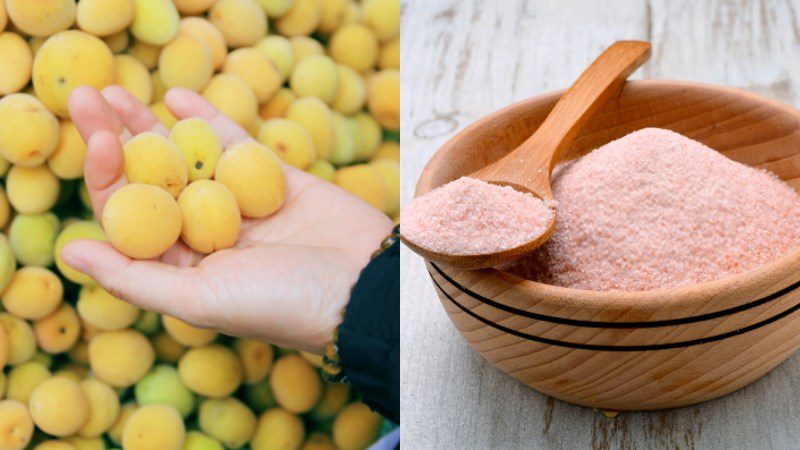
Tools for implementation
Glass jar, bowl, basket, tray (or plate, mat), fermentation bag,…
How to Make Aged Salted Plums Japanese Style – Umaboshi
-
Wash the plums
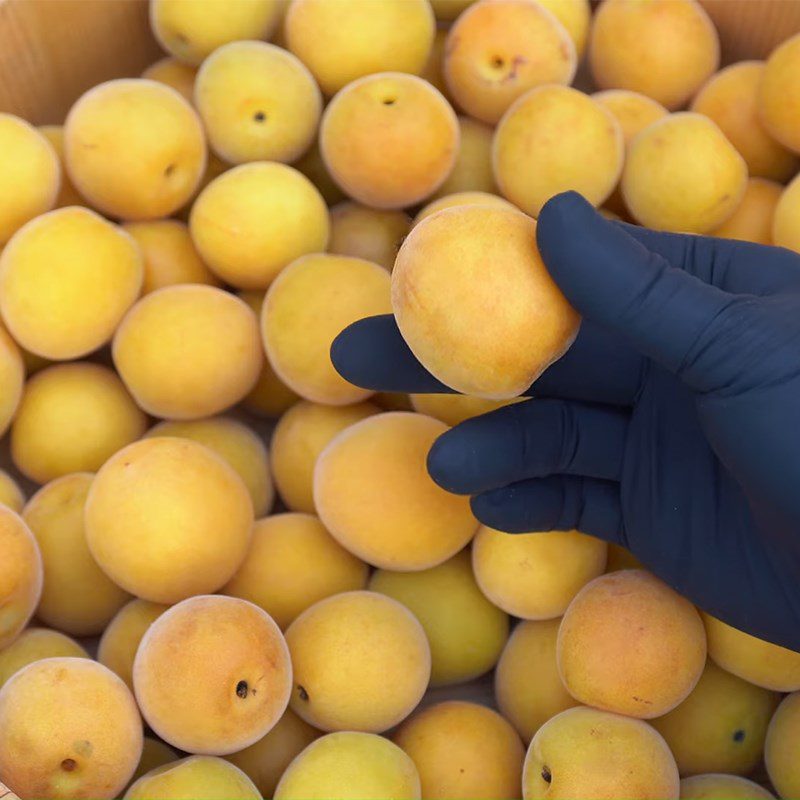
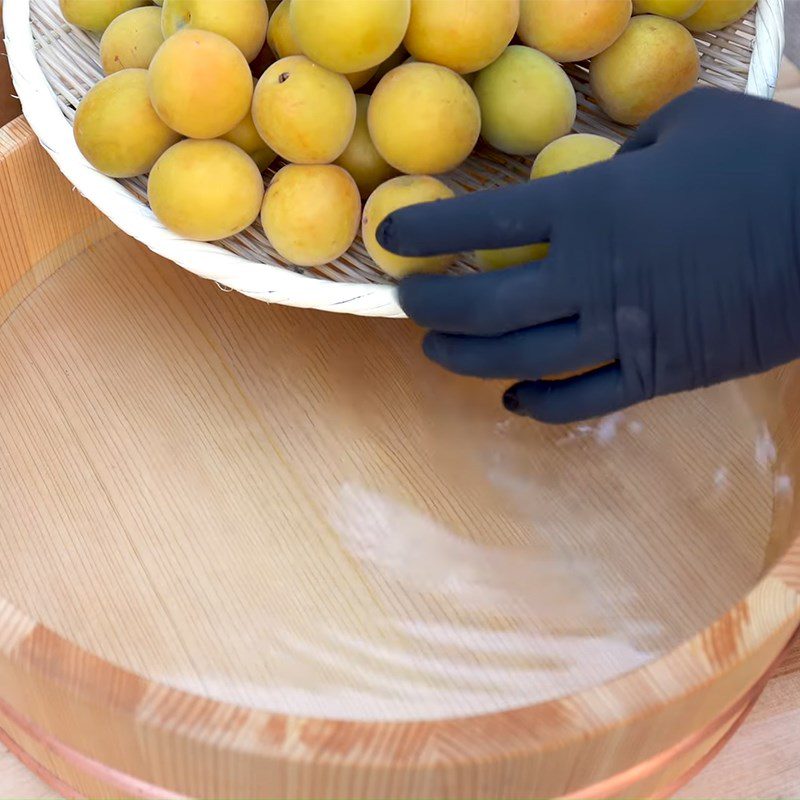
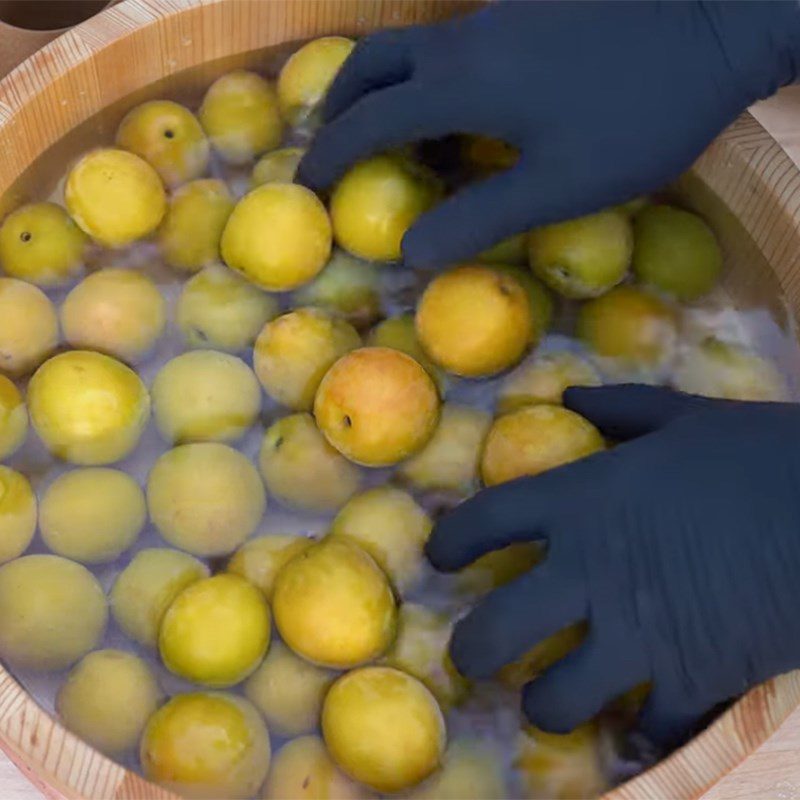
After purchasing, wash the plums with diluted salt water, then rinse thoroughly with cold water, and drain well.
-
Salt Rolling and Fermenting the Plums
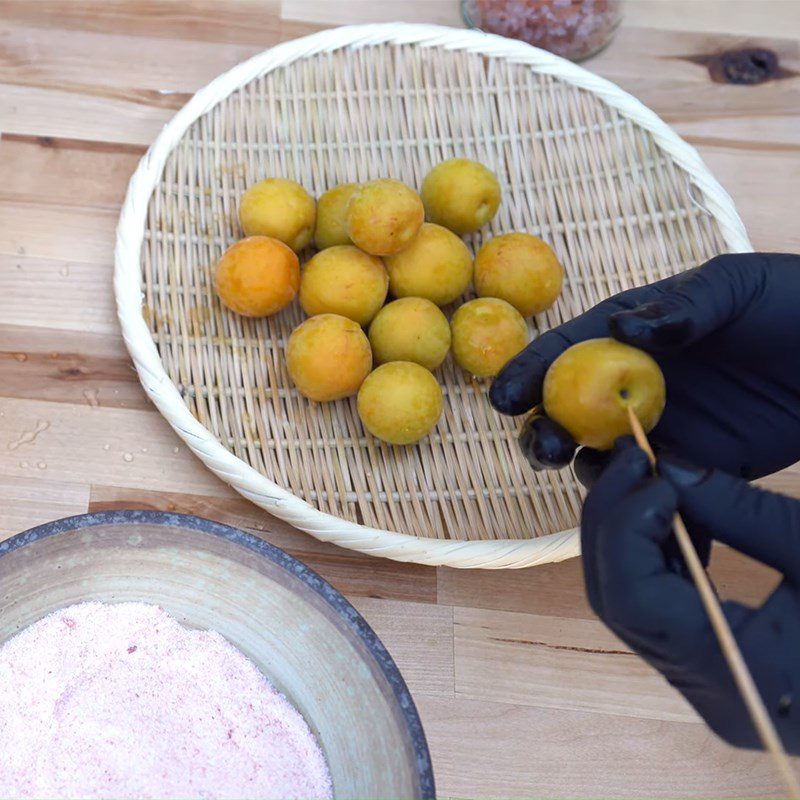
Once the plums are dry, use a toothpick or a sharp object to remove any remaining black parts at the top of the plum stems.
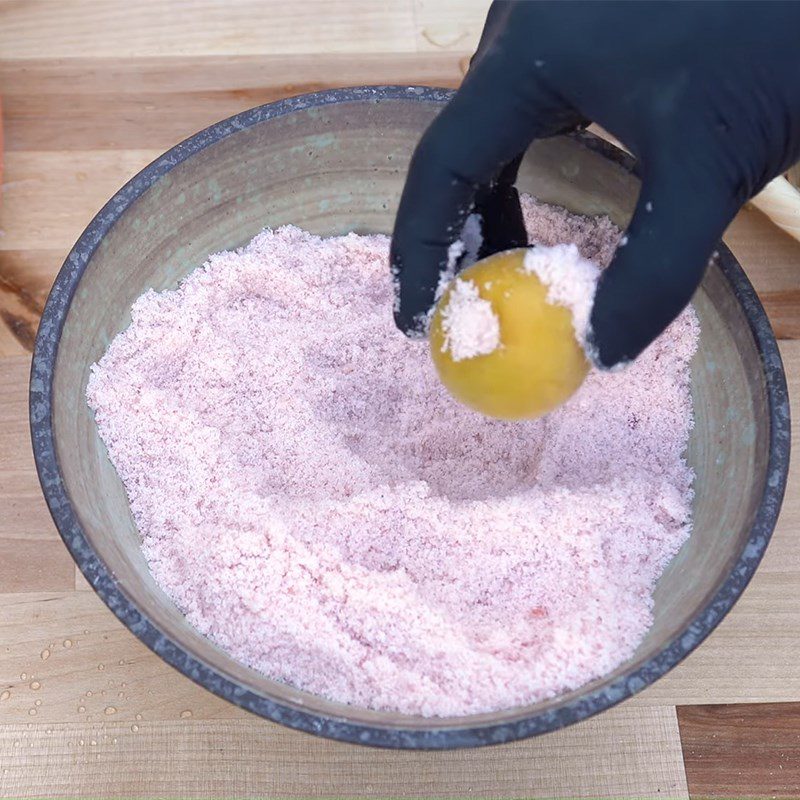
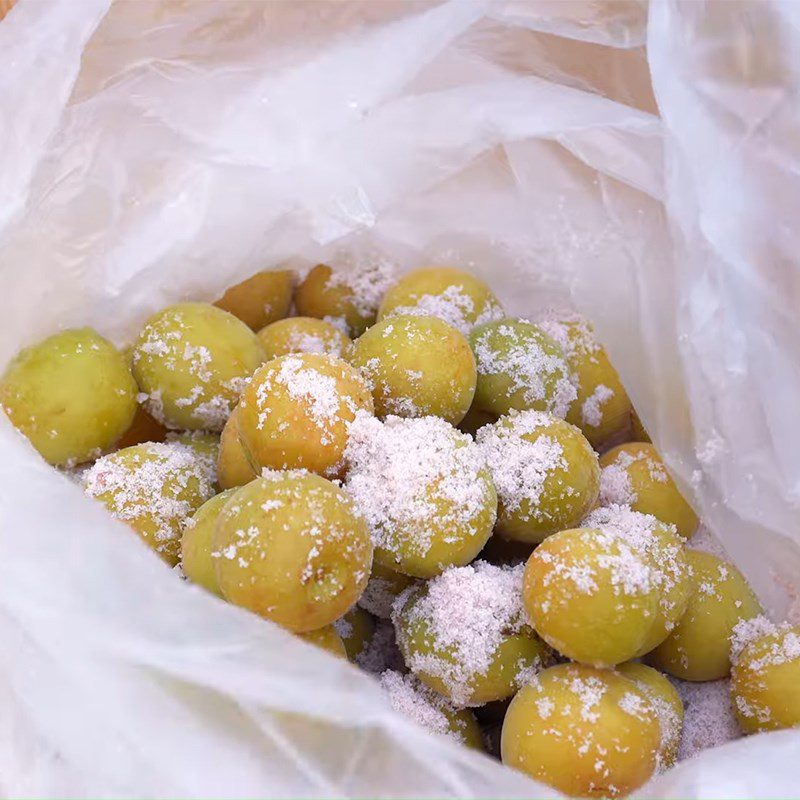
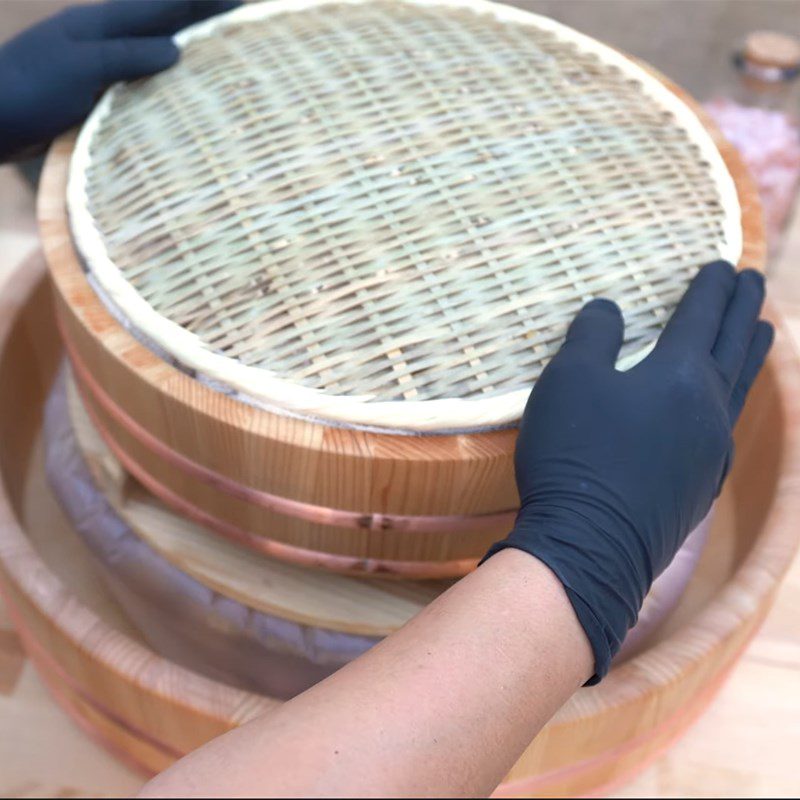
Then, roll the plums in a layer of pink salt and arrange them in a fermentation bag, sprinkling the remaining salt evenly on top, tie the bag, and ferment for about 20 days for the plums to absorb the salt.
Tip:
- To ensure successful fermentation, you should use a weight that is about 1/3 the amount of plums to press down on the fermentation bag to secure it.
- During the fermentation process, keep them in a place with moderate temperature, dry, and avoid direct sunlight.
-
Squeezing Perilla Leaves
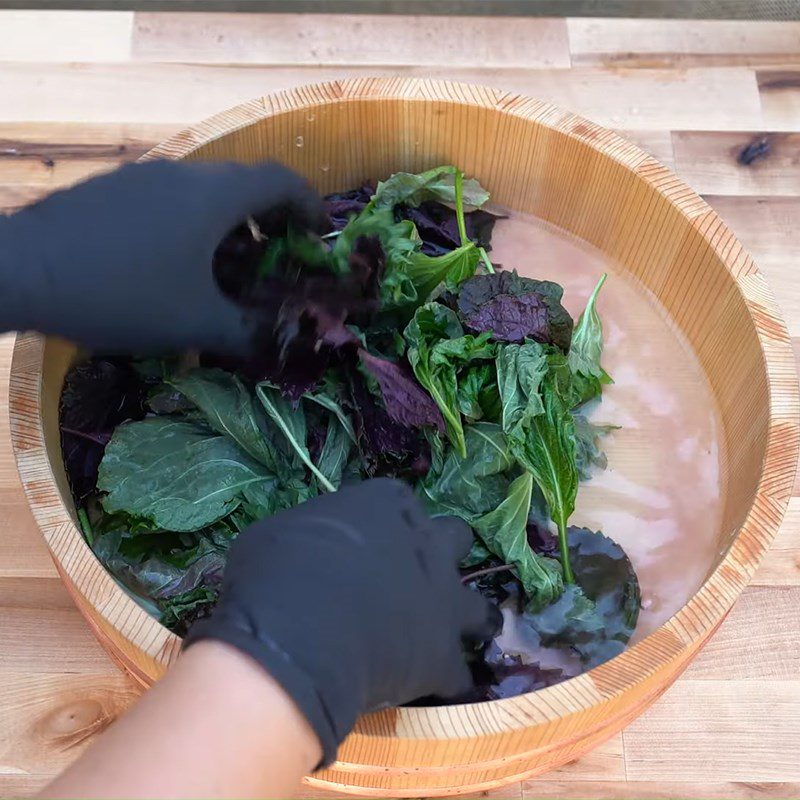
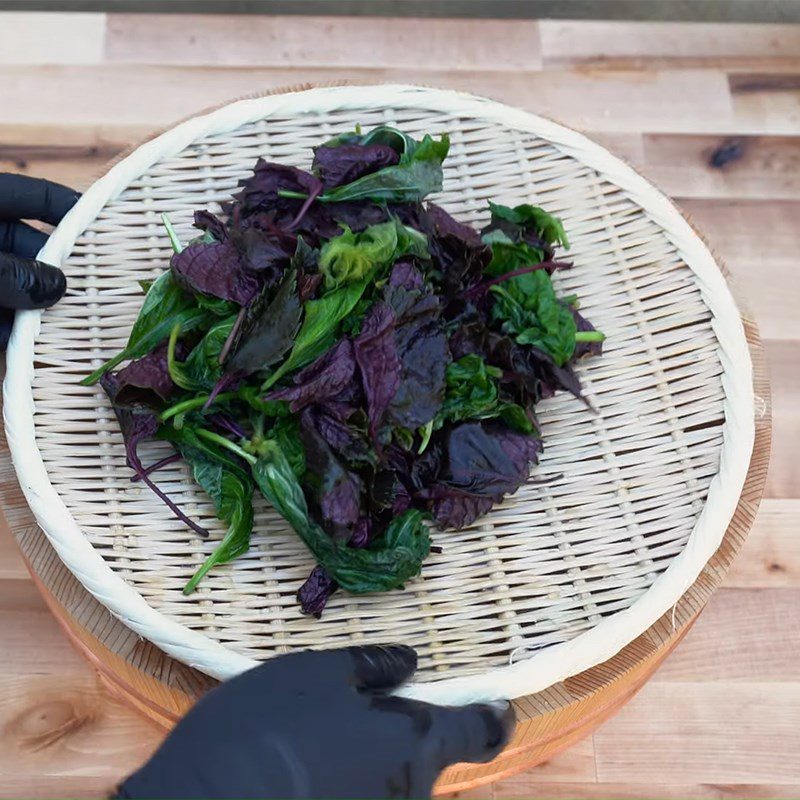
Wash the perilla leaves, squeeze out all the water, then take them out and let them drain.
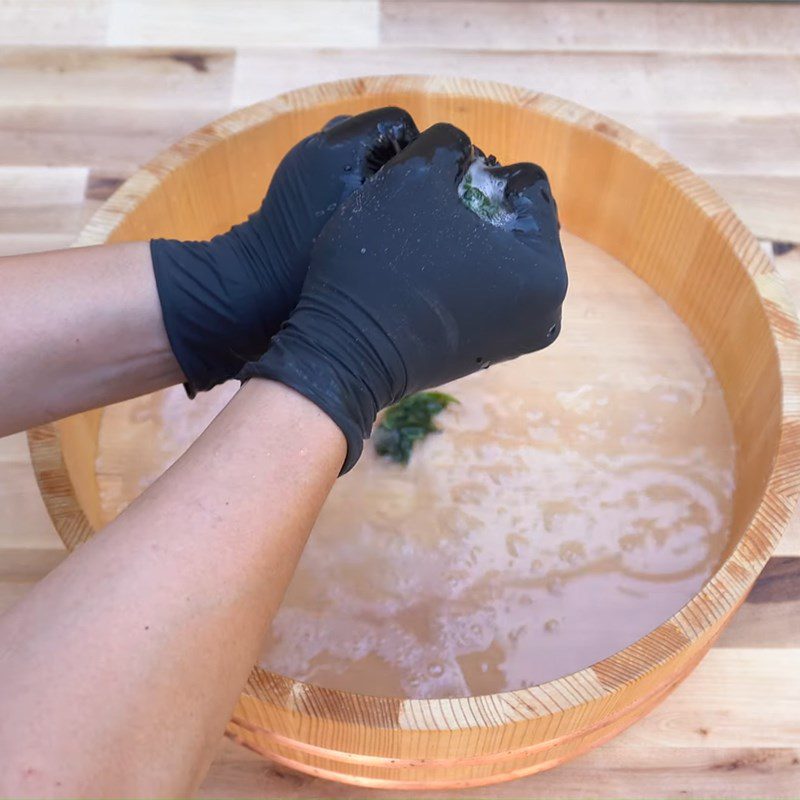
Put all the washed perilla leaves into a bowl, add 1 tablespoon of pink salt and squeeze evenly to reduce their bitterness.
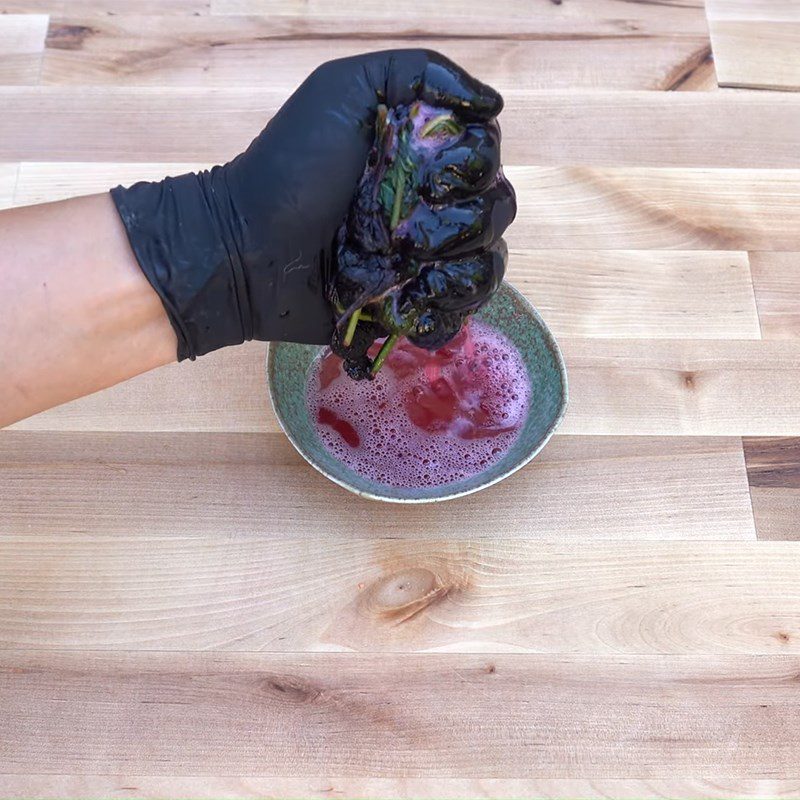
Squeeze until the perilla leaves start to release a pinkish-purple liquid, then stop the process and discard the bitter water from the perilla leaves.
Next, put the perilla leaves in a bowl and squeeze out the beautiful pinkish-purple liquid.
-
Fermenting Plums with Shiso Leaves
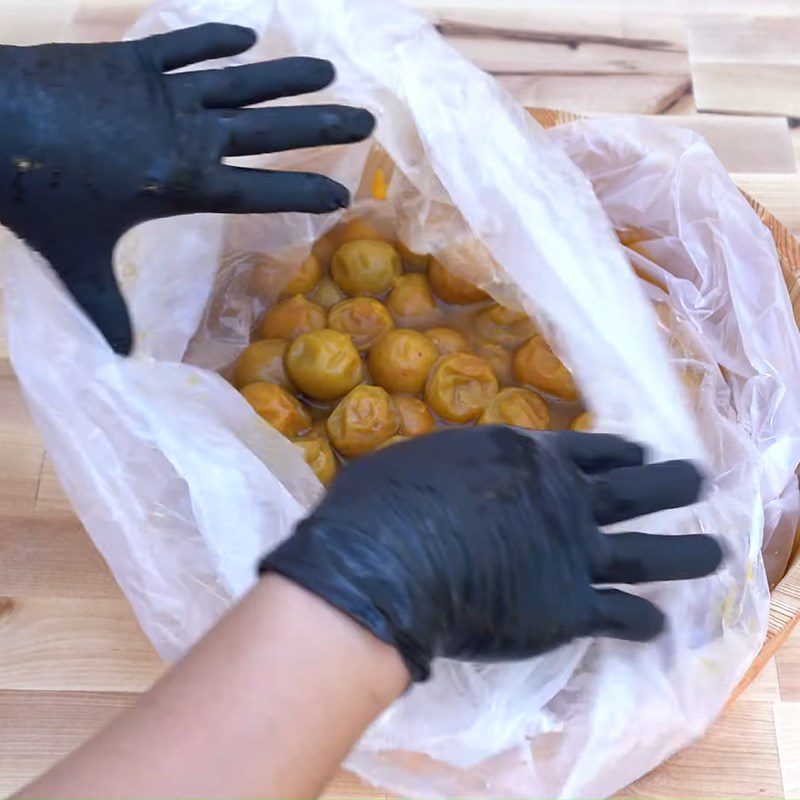
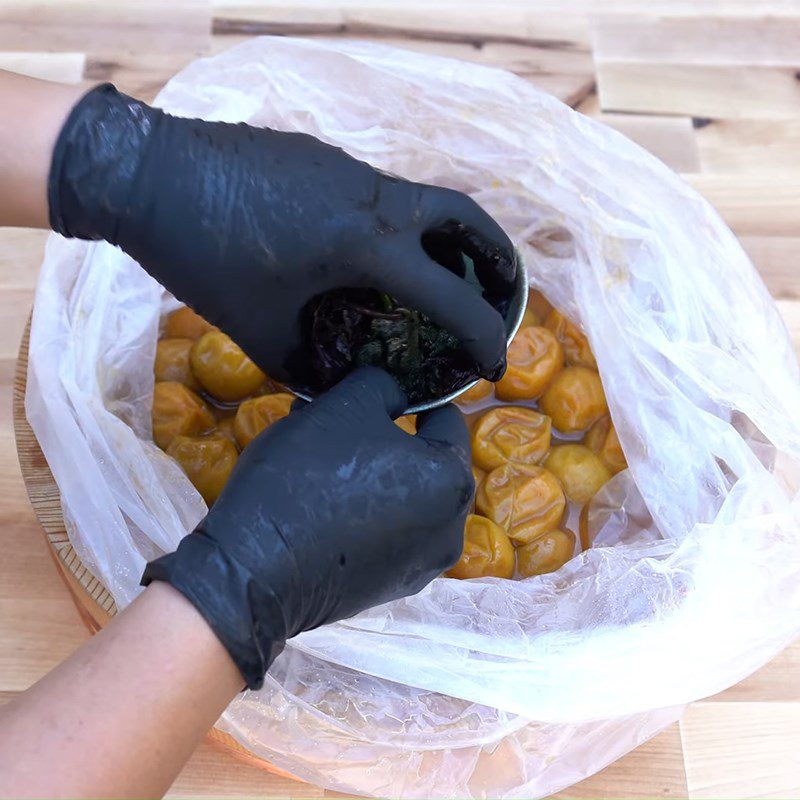
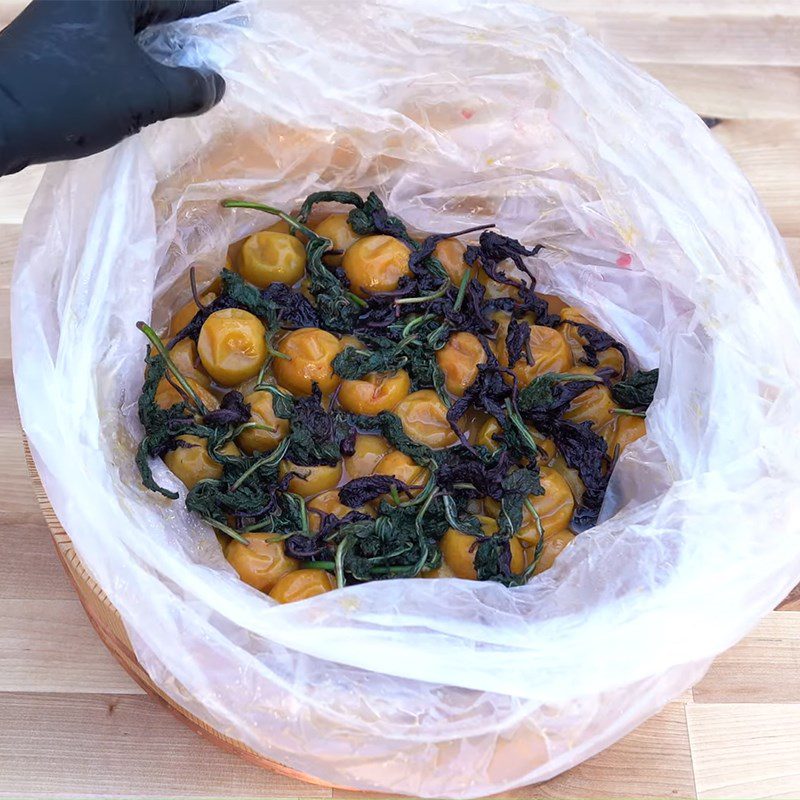
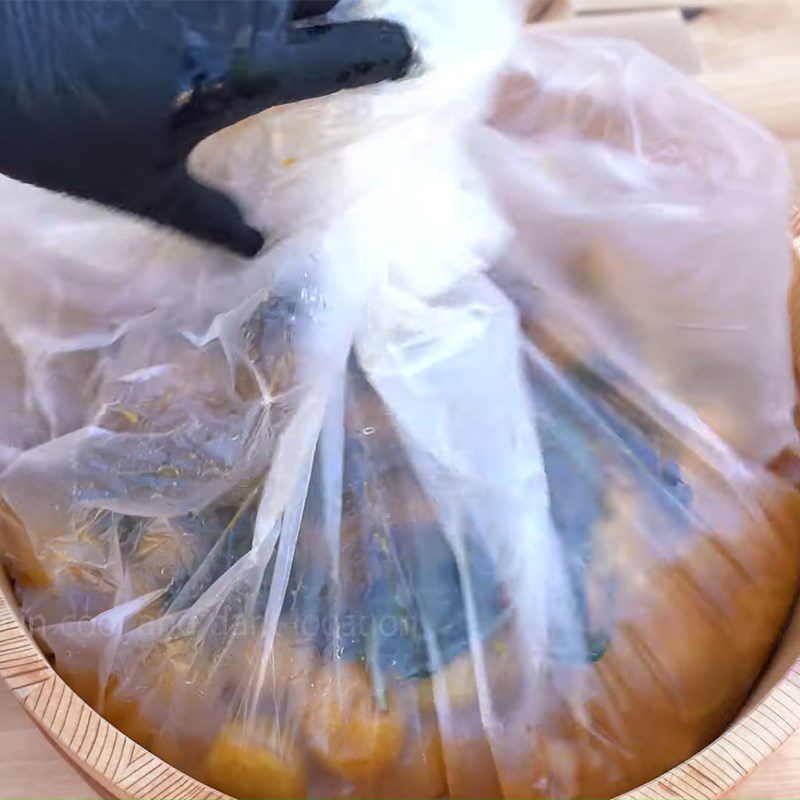
After 20 days, open the bag of fermented plums and pour in all the liquid and the squeezed shiso leaves.
You spread the shiso leaves evenly so that the plums are soaked uniformly, then tie the bag closed and continue to ferment for about 1 month.
-
Drying Salted Plums
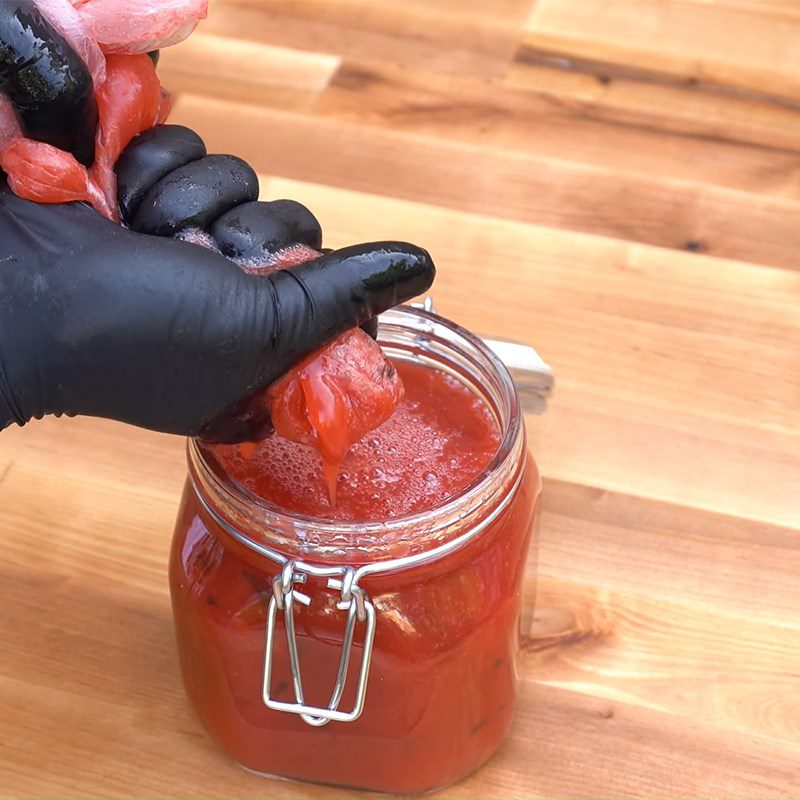
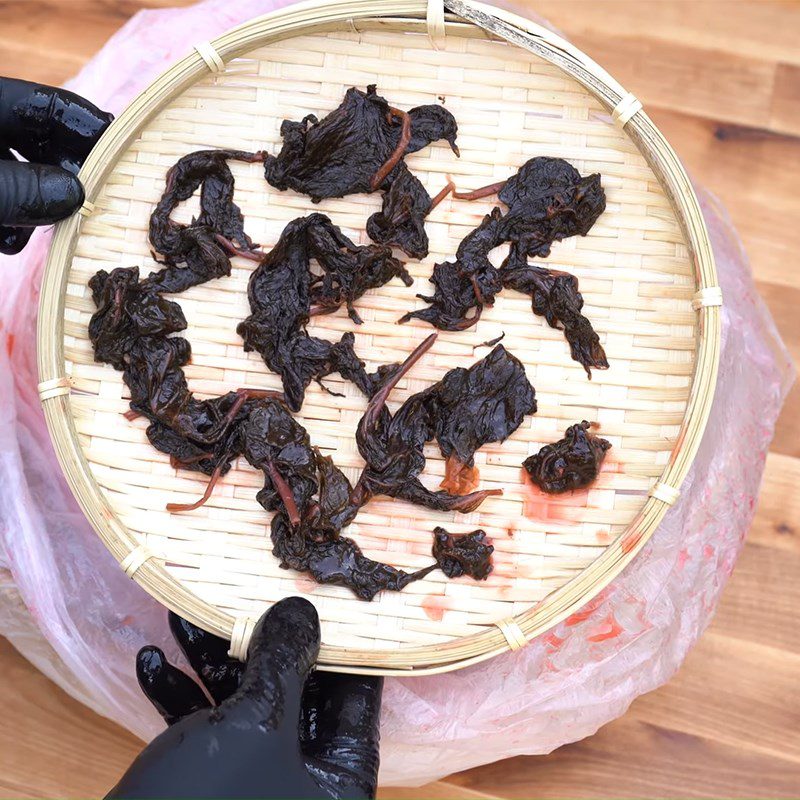
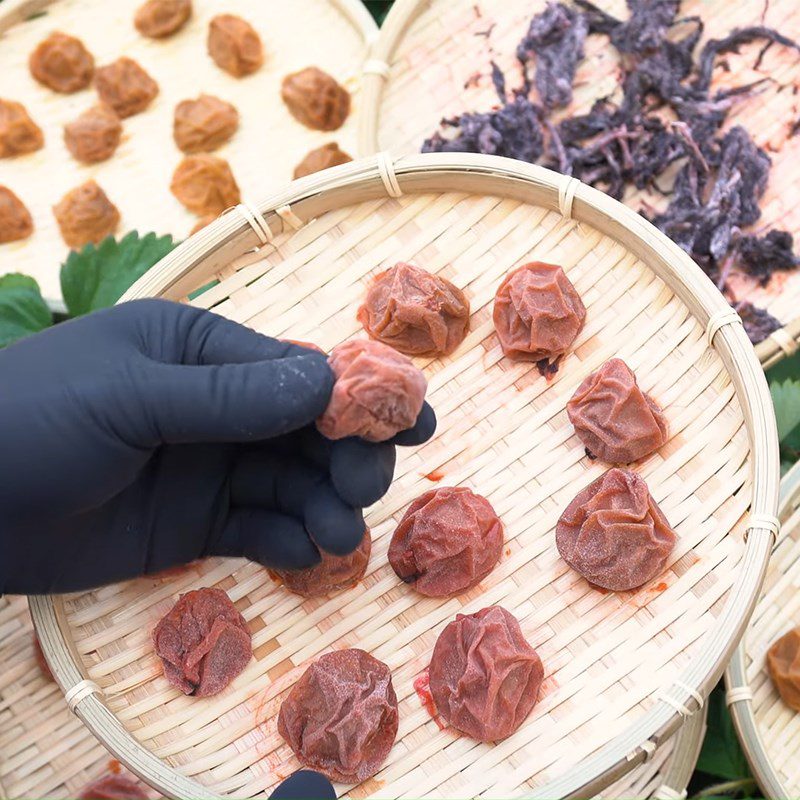
After 1 month, take the plums and shiso leaves out of the bag, gently squeeze to remove excess water, then spread them out on a tray (or plate) to dry in the sun for about 3 days.
Pour off the soaking liquid from the plums and store it separately in a glass jar.
Tip: During the drying process of salted plums and shiso leaves, to ensure even drying, remember to flip them regularly.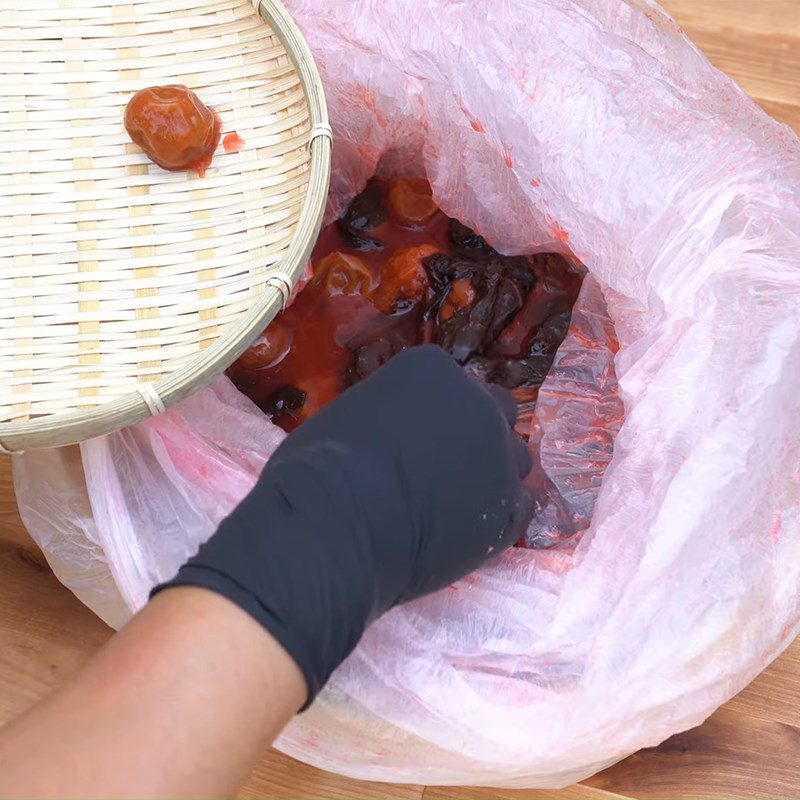
-
Completion
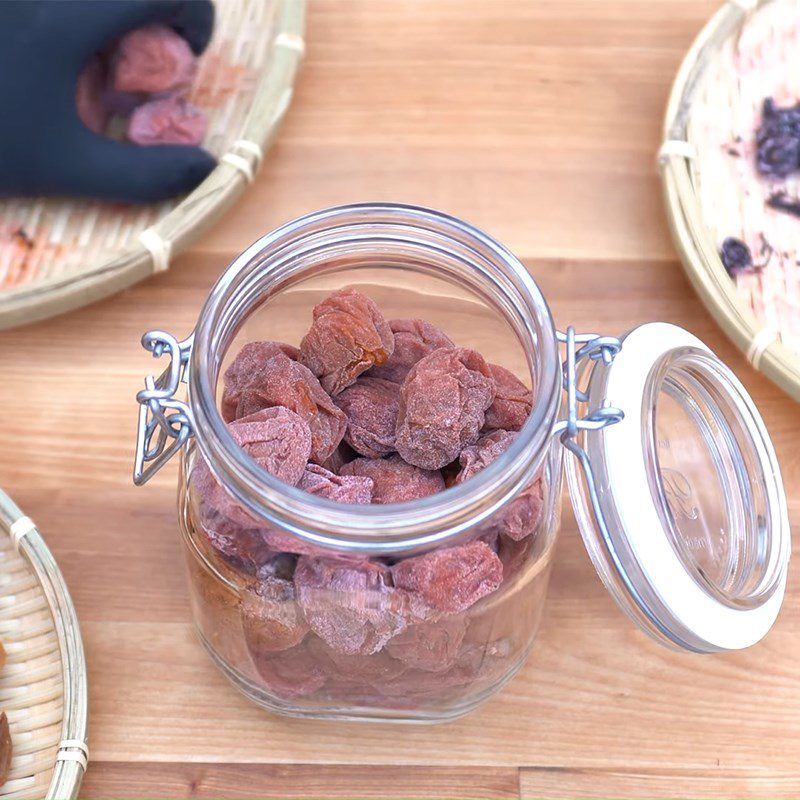
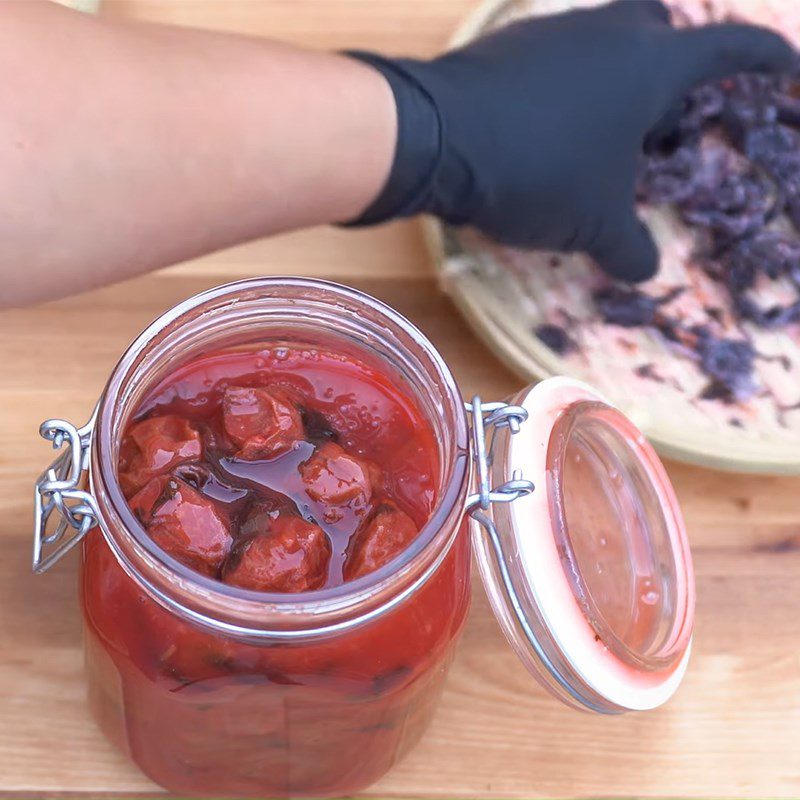
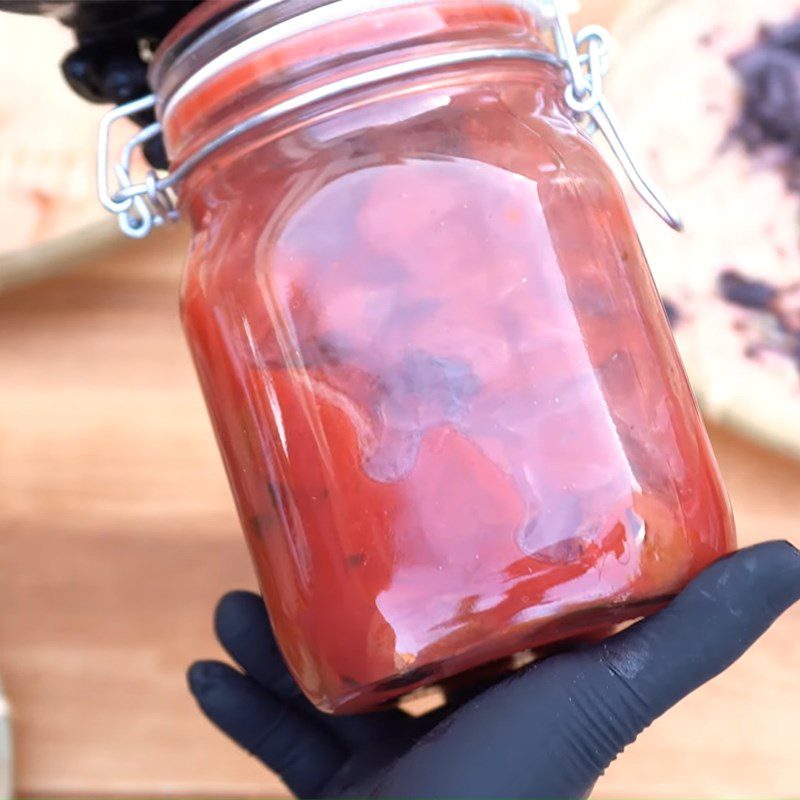
After drying the plums, wait for them to cool and then arrange them in a glass jar, slowly pouring the plum soaking liquid over them.
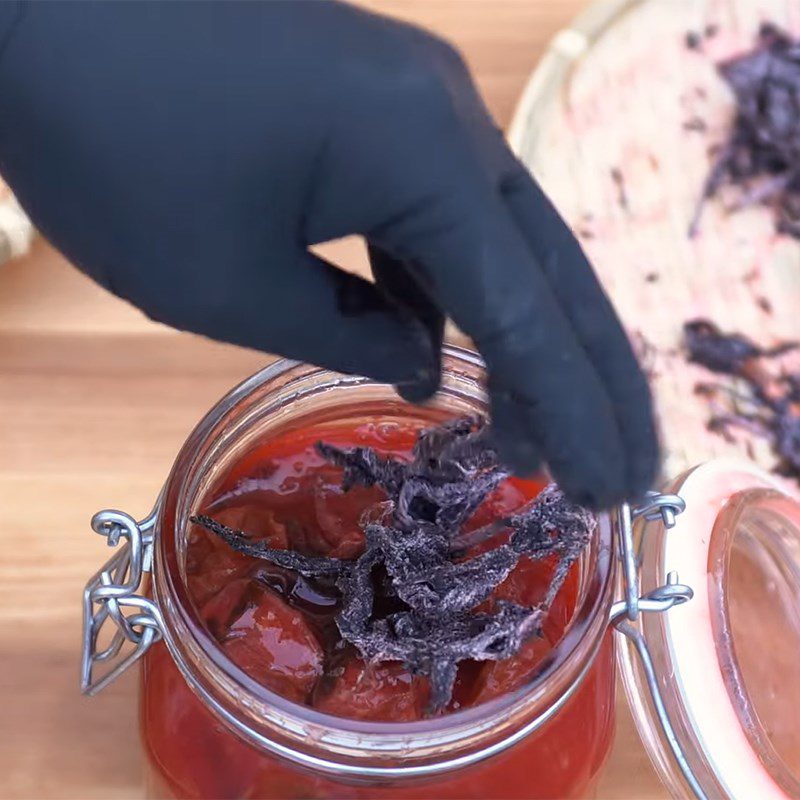
When the soaking liquid nearly fills the jar, add dried perilla leaves on top, close the jar, and gently shake it so that the plums and perilla leaves soak in the liquid.
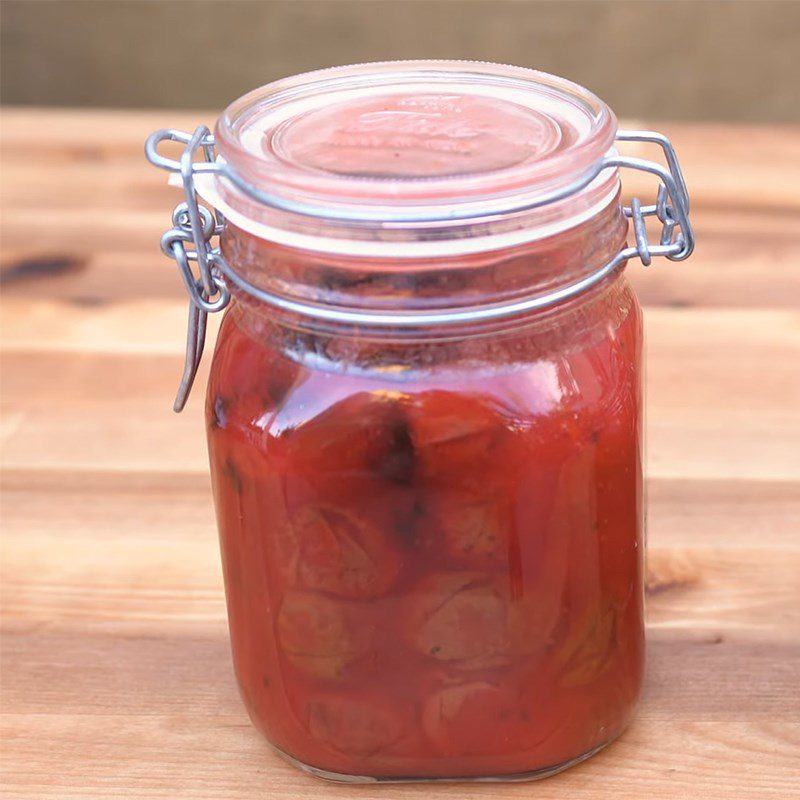
Soak the plums for about 2 – 3 months until they absorb the salt, and then they can be taken out for enjoyment.
-
Final Product
Japanese-style aged salted plum – Umaboshi after being soaked for 2 – 3 months will have a perfect blend of sweet, sour, and salty flavors. Additionally, the aroma from the perilla leaves is also extremely appealing and captivating.
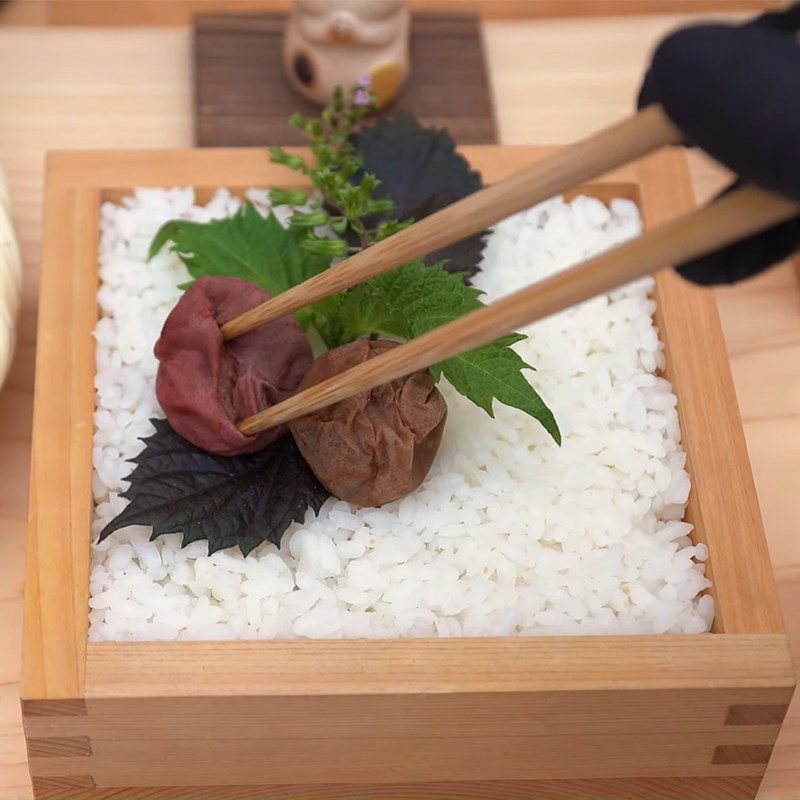
This dish is best enjoyed with white rice. The white rice will help reduce the salty taste and enhance the distinctive flavor of the salted plum.
So, what are you waiting for? Get into the kitchen and make a jar of Umaboshi salted plums for the whole family to enjoy. Wishing you success!
How to successfully make Japanese pickled plum – Umaboshi
- If you buy slightly green plums, let them ripen for 1 day before soaking them.
- You can also use alcohol to wash the plums before ripening. Alcohol will help remove any mold (if present) on the plums, ensuring a successful and safe ripening process.
- When removing the dark part left on the plum stem, do so carefully to avoid tearing the skin of the fruit. If the plum’s skin is torn, it may spoil easily during fermentation.
How to store Japanese pickled plum – Umaboshi
- You can store pickled plums in the refrigerator refrigerator, which not only helps preserve the plums longer but also enhances their flavor.
- Note that if you want to store Umaboshi for a longer time, you should increase the amount of salt and plums to a salt:plum ratio of about 12:100. If used for a short time, soaking them in a slightly lighter brine will make them easier to eat.
- When taking pickled plums for use, take a small amount and tightly close the lid. Note that the pickled plums taken out for use should not be returned to the jar, as this will make the plums spoil easily.
See more:
Tastetutorial.com has just guided you on how to make Japanese-style pickled plums – Umaboshi right at home. Show off your cooking skills and make it for your family to enjoy. Wish you success!
*Refer to the recipe and images from the YouTube channel Umami Garden


