-
Preparation
1 hour 30 minutes
-
Cooking
25 minutes
-
Difficulty
Medium
Many people think that making bread is quite difficult; however, it is actually simpler than you might imagine. Making bread is extremely quick when using a convenient air fryer. Join Tastetutorial.com now to learn how to make this delicious airy bread!
Ingredients for Air Fryer Bread For 7 pieces
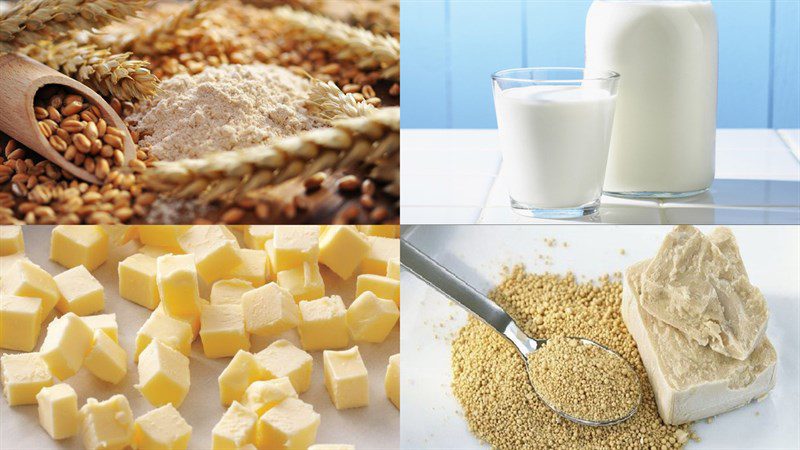
All-purpose flour 280 g Fresh milk 165 ml Instant yeast 3 g Salt 3 g Butter 10 g Cooking oil 10 ml
How to Make Air Fryer Bread
-
Mixing the dough
Add 280g of flour, 3g of yeast, 3g of salt, 10g of butter, and 10ml of cooking oil into a bowl, then mix well.
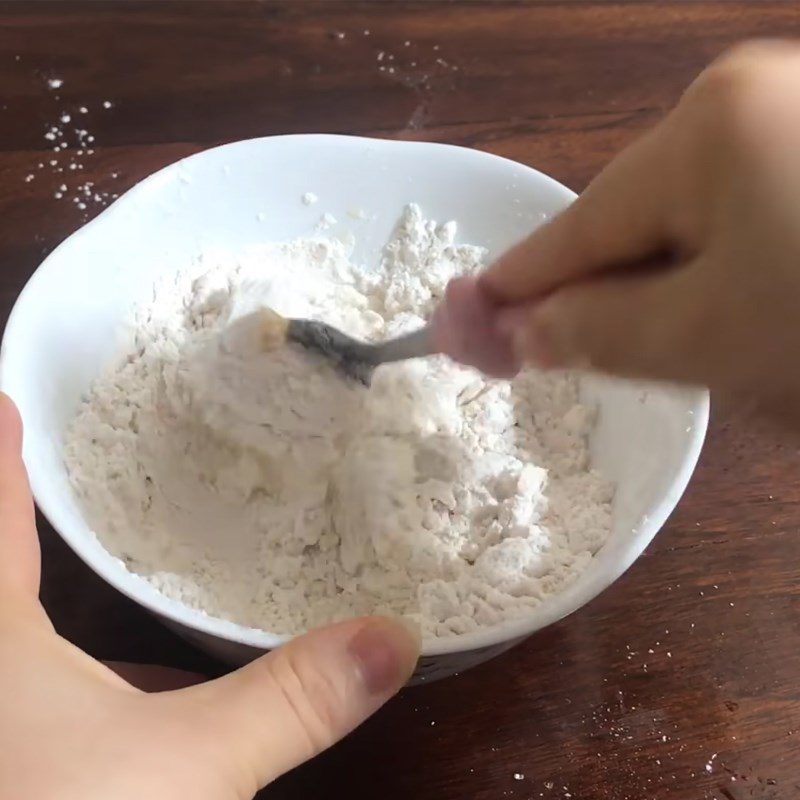
Gradually add 165ml of fresh milk into the flour mixture, mixing until the dough is cohesive, not too dry or too wet.
Note: Do not put salt directly on the yeast as it will kill the yeast or weaken its activity. You should mix the yeast and flour first, then add the salt.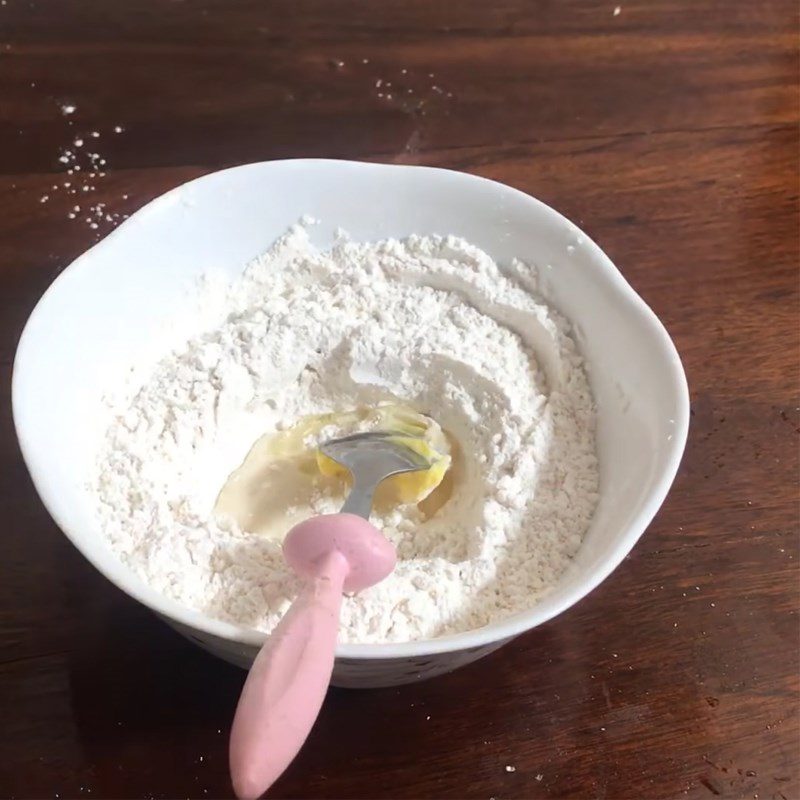
-
Kneading the dough
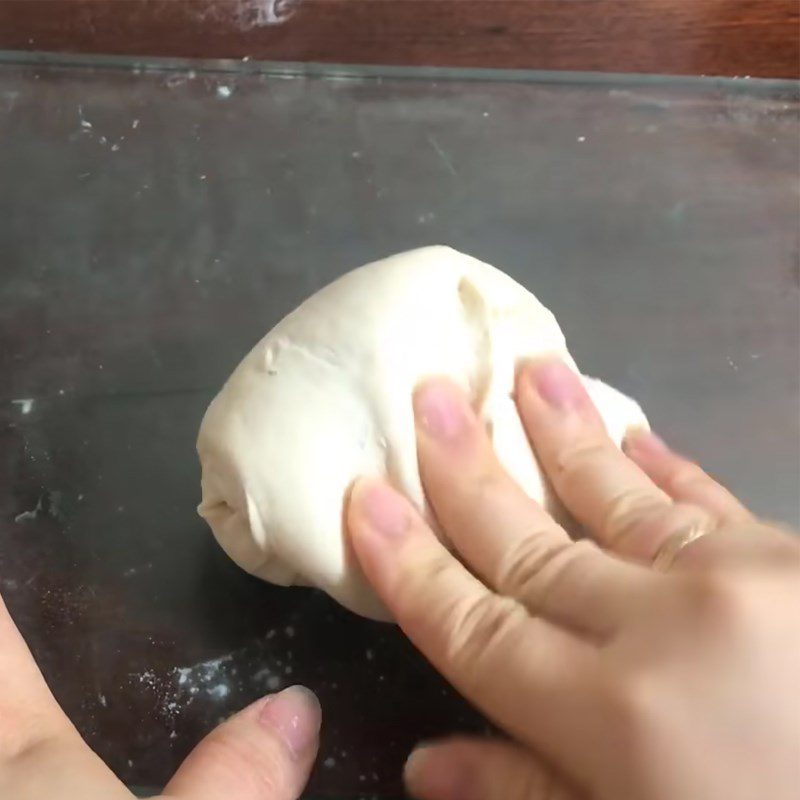
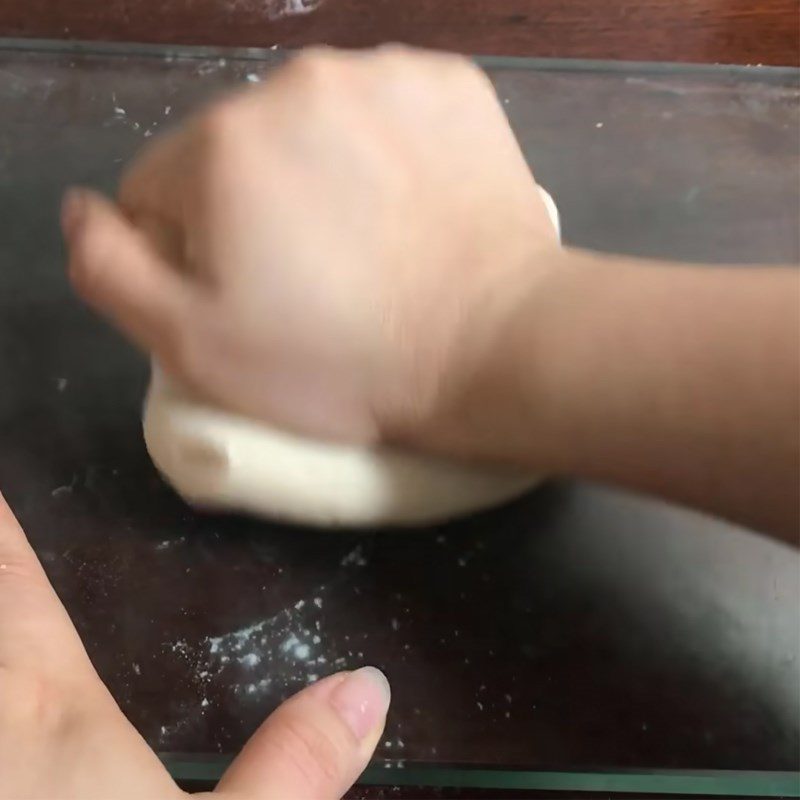
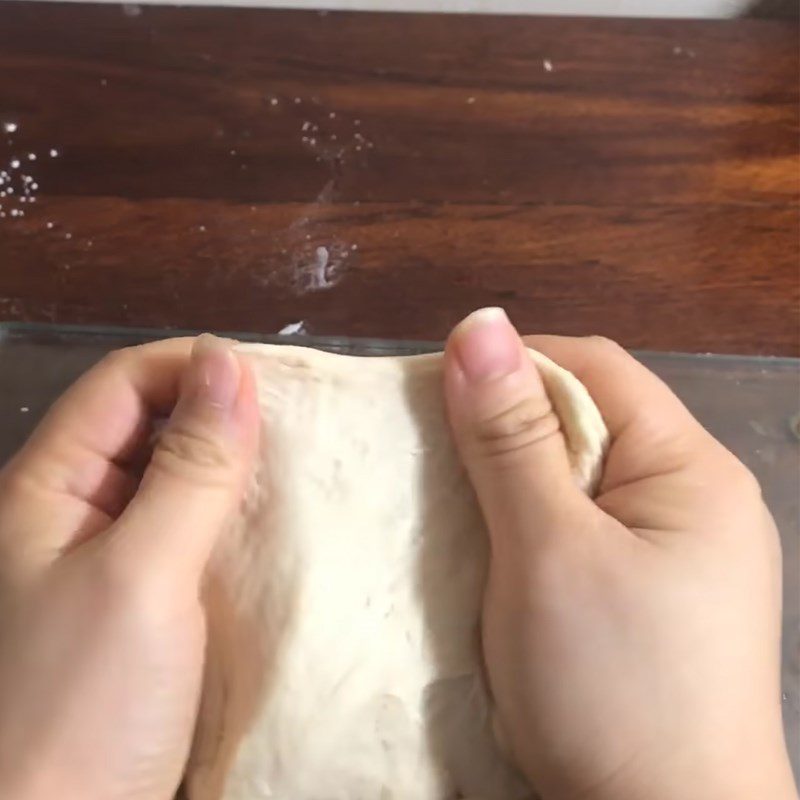
Use your hands to lightly knead the dough into a ball, then place the dough on the table and perform the kneading technique called Folding and Stretching.
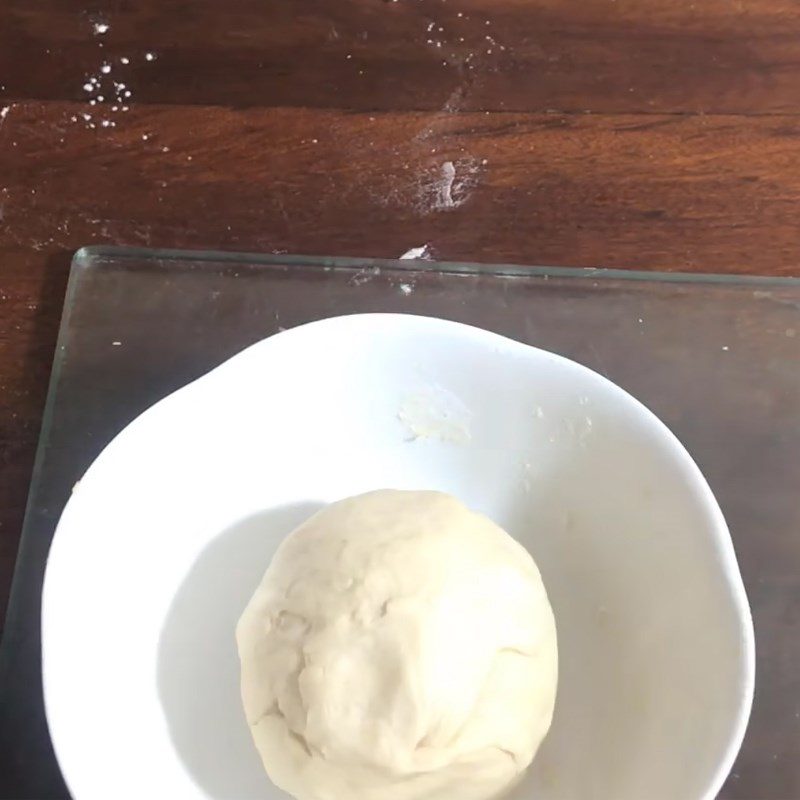
First, fold the dough over itself, then use the palm of your hand to press and stretch the dough away from you. Note that you should press and stretch the dough away, not press down. Next, rotate the dough 90 degrees and repeat the two steps above until the dough forms a uniform, smooth, and elastic ball.
How to tell if the dough is ready:
- The dough is soft and smooth, with good elasticity.
- The dough does not stick to your hands: When you press it, it feels slightly sticky, but when you lift your finger off, the dough does not stick to your hands.
- You can stretch the dough into a thin sheet without tearing it.
- Check the dough using the Windowpane test. Tear off a piece of dough and stretch it out. If the dough forms a thin membrane that is not easily torn and light can pass through, it is ready.
-
Dough proofing
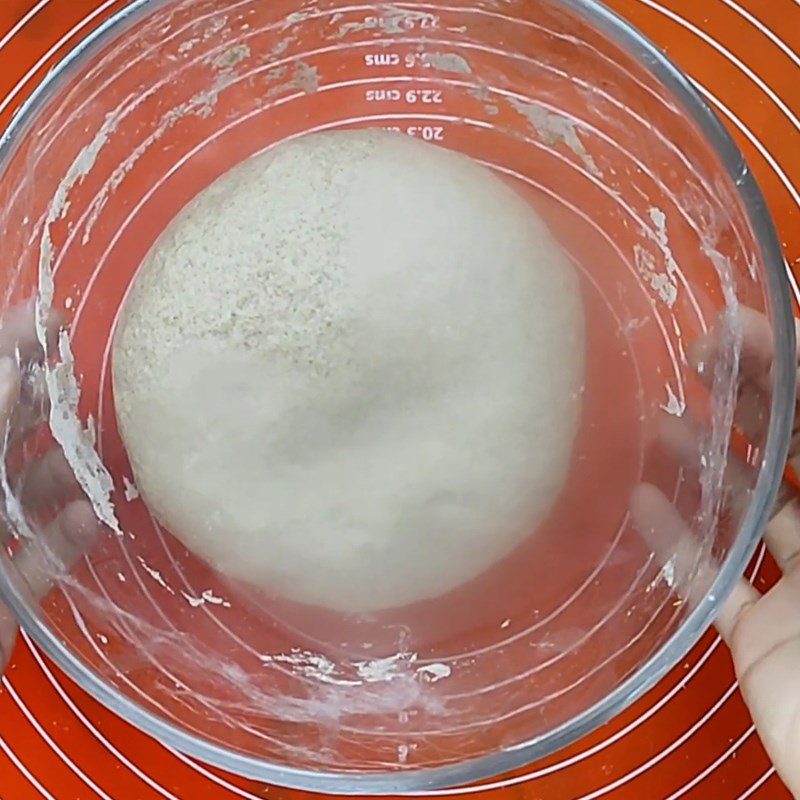
Cover the bowl of dough tightly with plastic wrap, then let it proof for 45 minutes – 1 hour until the dough doubles in size.
Tip: To check if the dough has proofed enough, gently press your finger into the dough; if the indentation remains, it is properly proofed.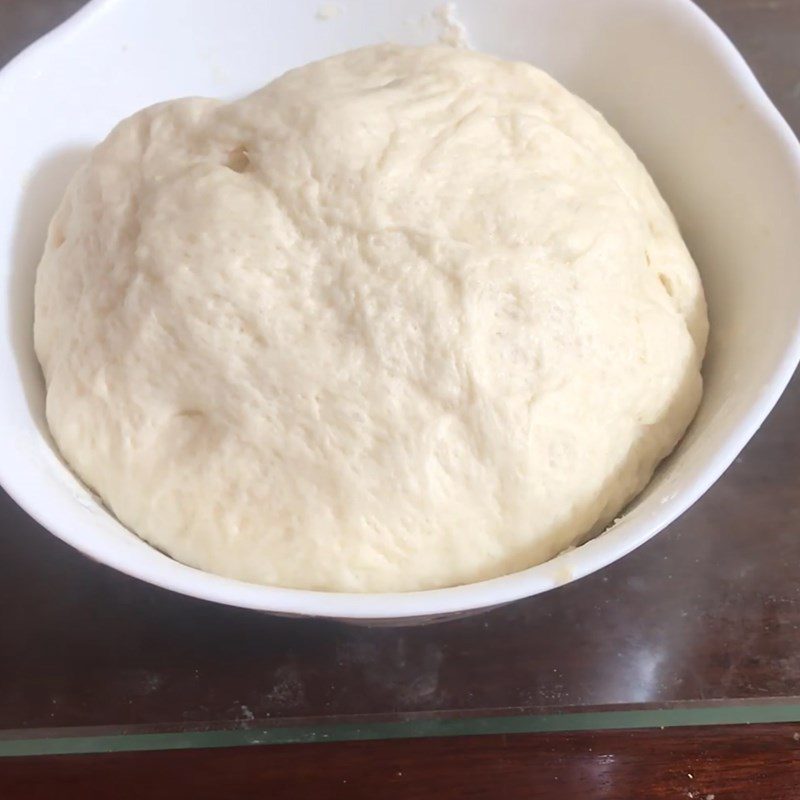
-
Shaping the bread
Roll the dough into a long shape, then divide it into about 7 portions.
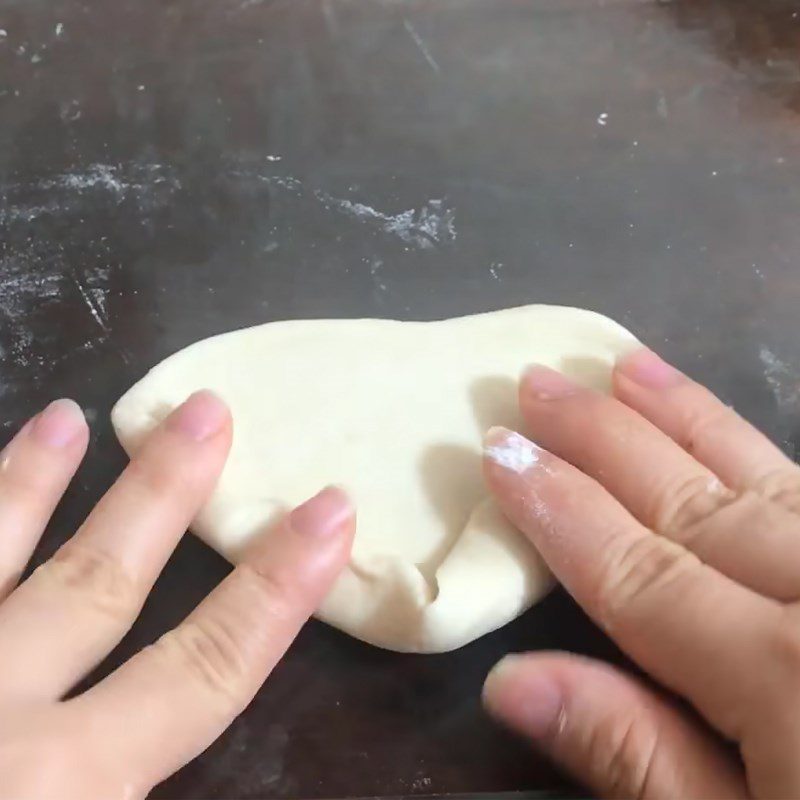
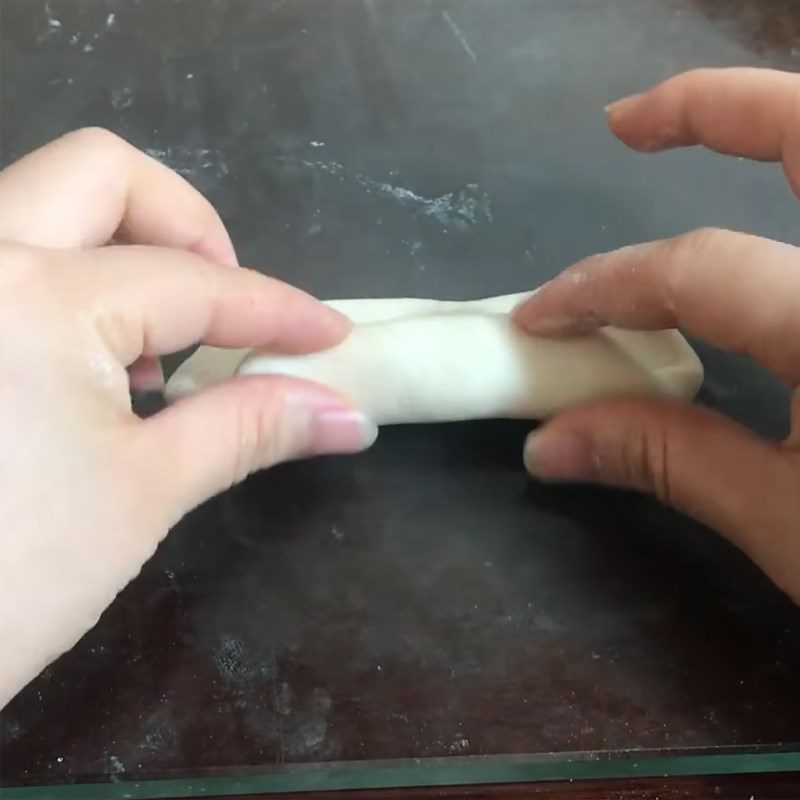
For each portion of dough, flatten it out and then roll it up, creating pointed ends at both sides.
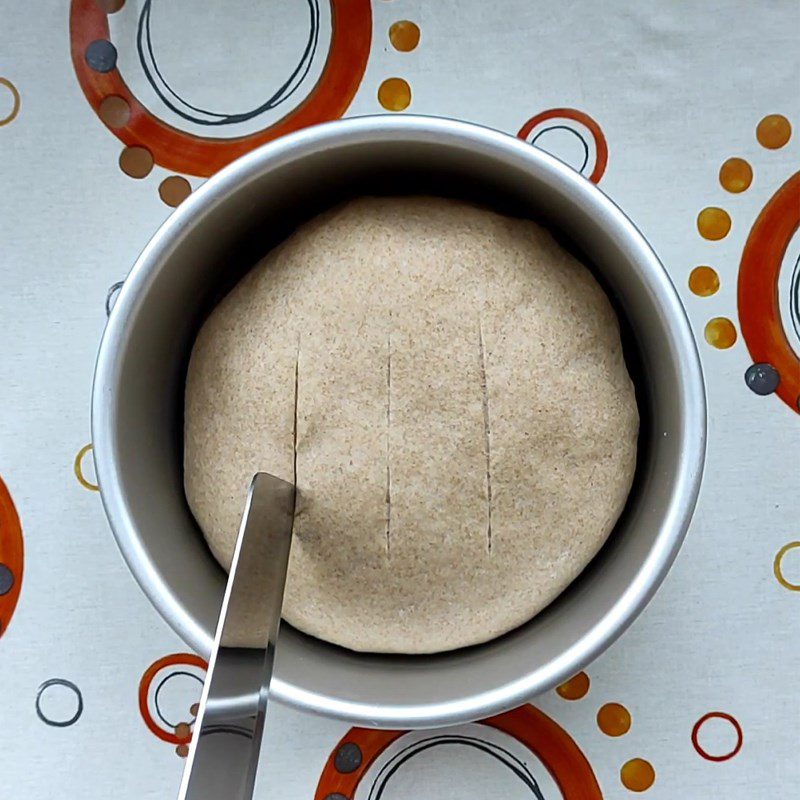
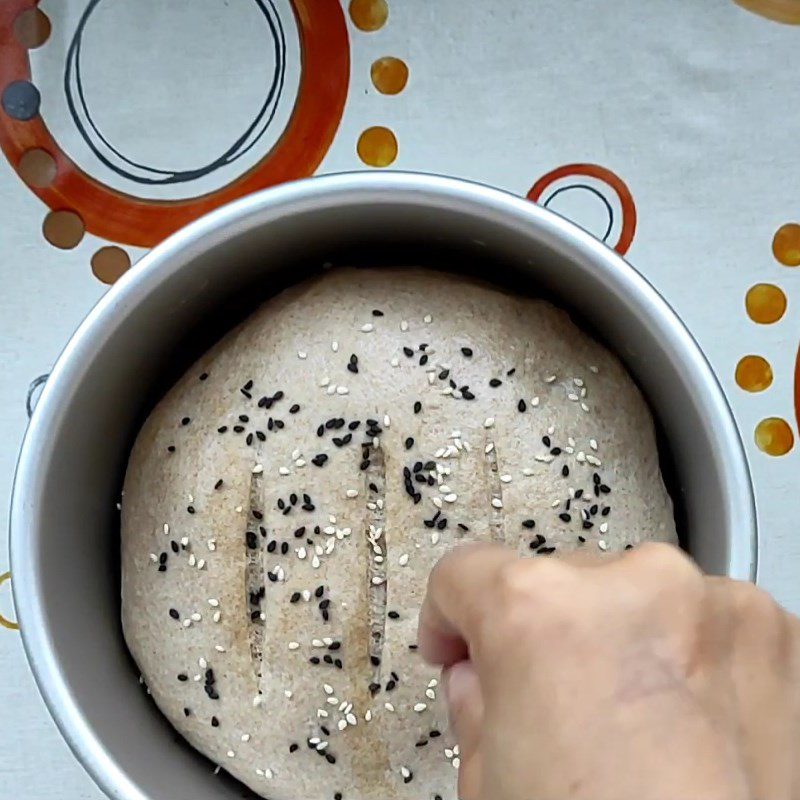
Cover the shaped dough for 15 – 30 minutes to let it rise, then use a knife to make a long slit on the surface of the dough.
Note:
- Do not apply too much pressure when shaping the bread as it will affect the dough’s rise and result in less tasty bread.
- The slit helps the bread expand while baking.
-
Bake the bread
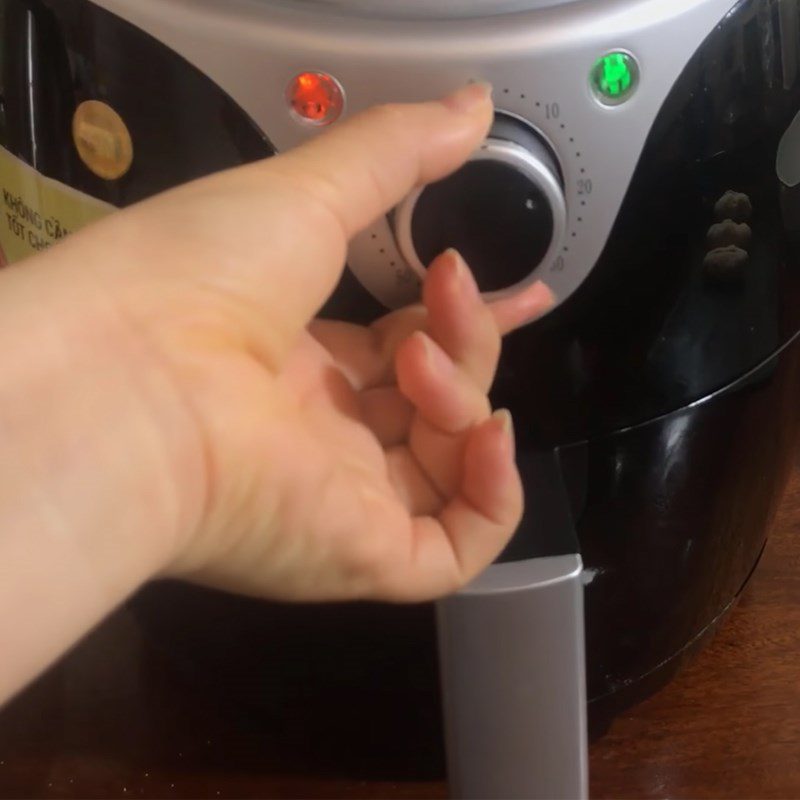
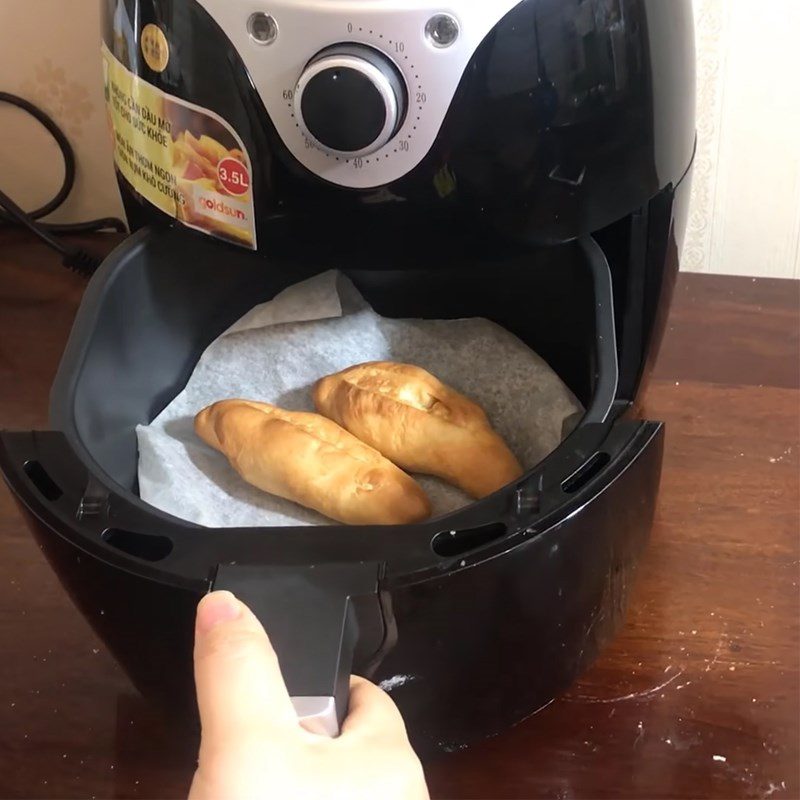
Preheat the air fryer at 180 degrees for 5 minutes.
Line with parchment paper and place the bread in the fryer, mist the surface of the bread with water to prevent it from drying out. Then bake for 20 minutes at 180 degrees Celsius.
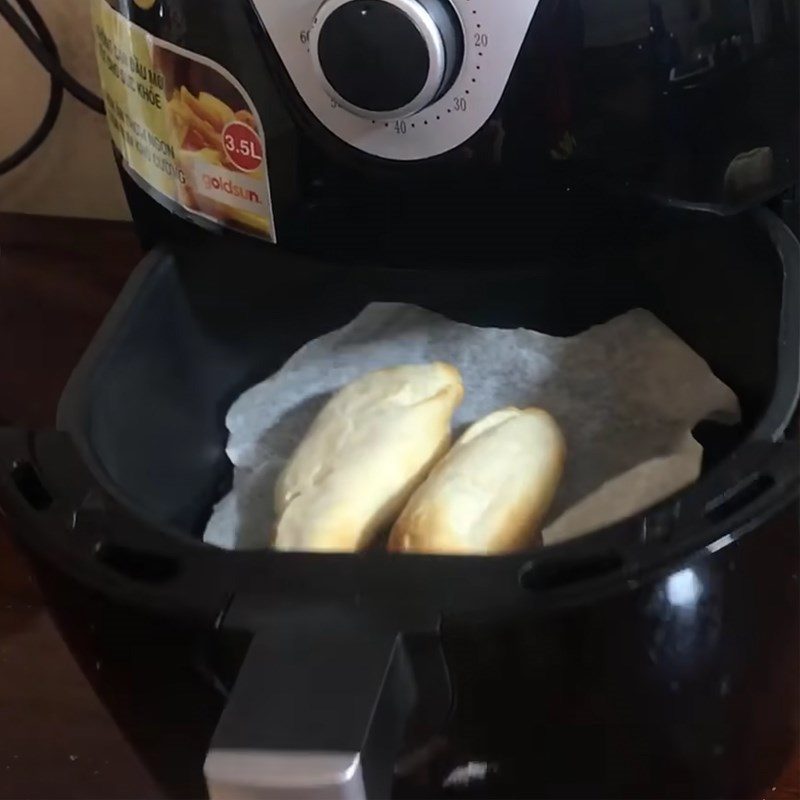
After 20 minutes, flip the bread and bake for another 5 minutes to finish.
Note: Every 10 minutes, you should take the bread out to check if it is done, as the temperature and baking time depend on the power of each type of air fryer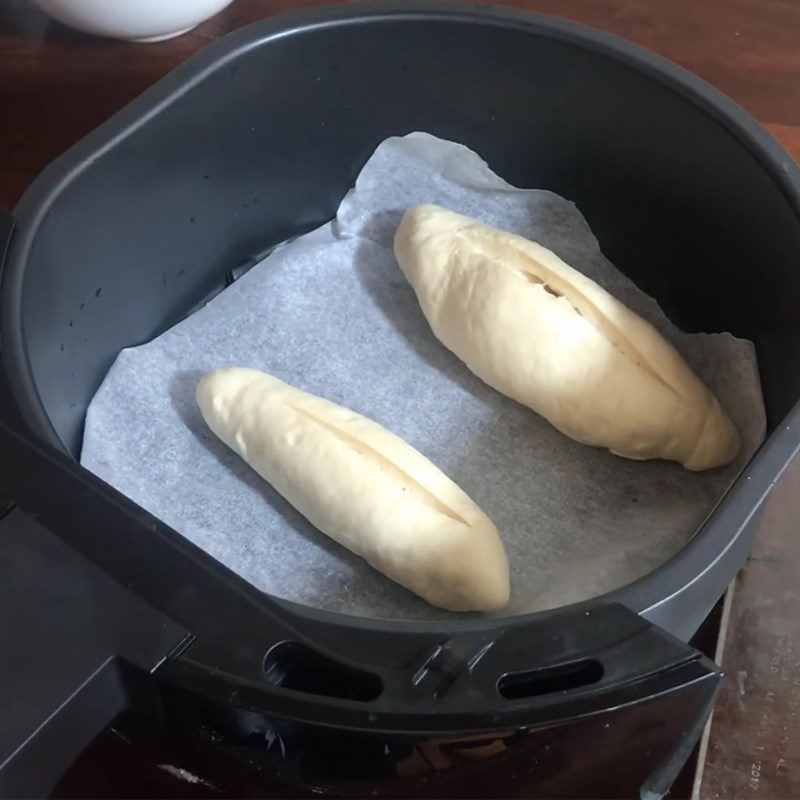
-
Final Product
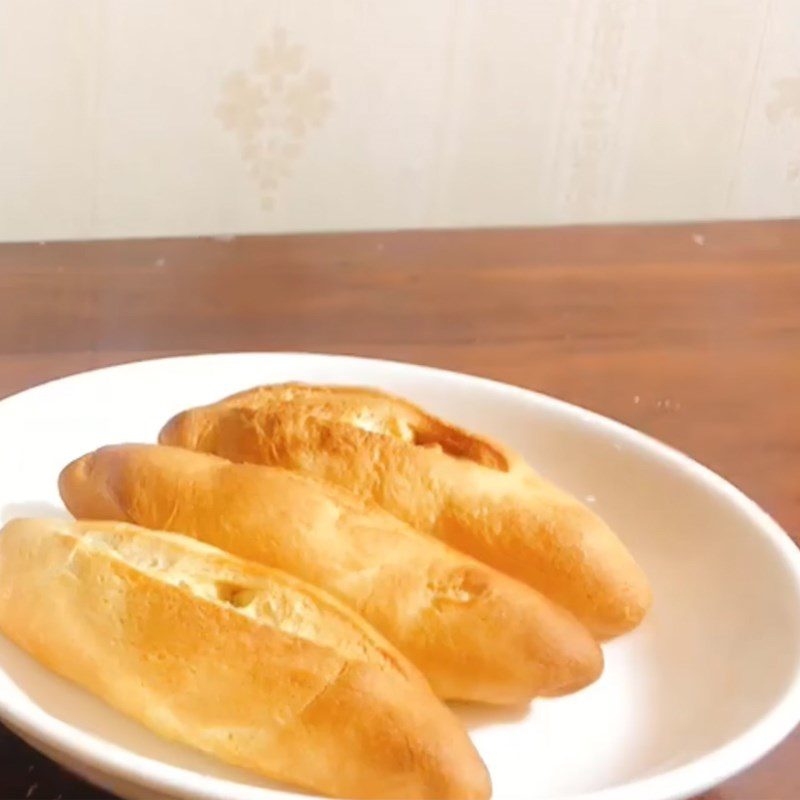
So we have a batch of crispy, delicious thick-crust bread. Just take a bite, and you will feel the crunchy exterior, while the inside is soft and creamy, with a nutty flavor.
Tips for successful execution
- If you are not using instant dry yeast, you need to activate the yeast with warm water or milk at 35 – 40 degrees Celsius, stir well and let it sit for 5 – 10 minutes until the yeast expands to form a texture similar to crab bricks. It should not be hotter than this as it will kill the yeast or weaken its activity)
- For making bread or pizza, you should use red instant yeast instead of yellow instant yeast.
- If the dough does not rise after proofing, check the expiration date of the yeast; if the yeast is close to the expiration date, its activity may be weak and it might be dead. To check, you can mix a little warm water at about 30 degrees (not exceeding 37 degrees). Add the yeast and wait for about 15 minutes; if the yeast expands and bubbles like crab bricks, it is still good, and you can use it with confidence.
- If the inside of the bread is dry after baking: This is due to baking for too long or the type of flour used has high water absorption. Therefore, during the kneading process, you should flexibly add milk to help the dough remain soft, moist, and tastier.
- Proof the dough for the right amount of time and at the correct temperature of 30 – 35 degrees Celsius to allow the dough to double in size. Do not proof for too long as it will give the bread a strong yeast odor.
- You can freeze the dough after the first proofing. When you need to use it, take it out to thaw and then proof it a second time (the second proofing will take a bit longer than usual) before baking normally.
Wishing you success in making this crispy, delicious bánh mì đặc ruột!


