-
Preparation
1 hour 15 minutes
-
Cooking
45 minutes
-
Difficulty
Easy
It is not necessary to have baking powder to make delicious bread. Let Tastetutorial.com reveal to you a super simple recipe for making bread without baking powder that still succeeds with a crispy outer crust and a soft inside today. Let’s get cooking and show off your skills!
Ingredients for Bread without Baking Powder For 3 loaves of bread
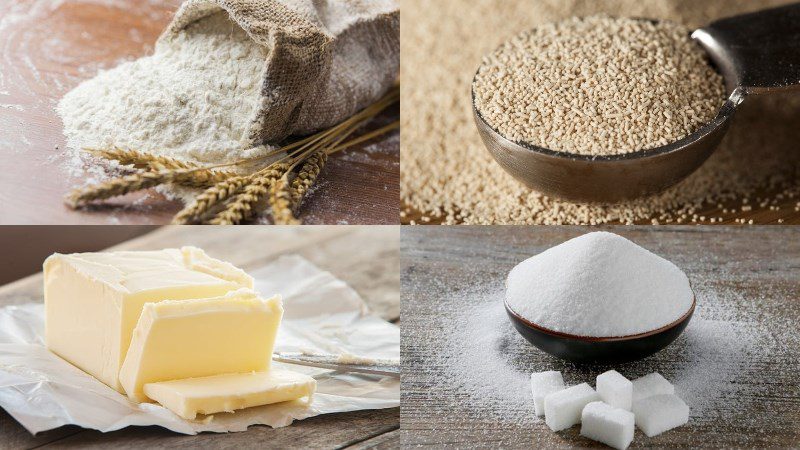
All-purpose flour 250 gr Instant yeast 5 gr Unsalted butter, melted 15 gr (or cooking oil) Vinegar 1 teaspoon Filtered water 180 ml Hot water a little Sugar 1 tablespoon Salt 1/2 teaspoon
What is Hoa Ngoc Lan flour? Where to buy it?
- Hoa Ngoc Lan flour is white flour with a protein content of 10 – 11%, similar to the commonly seen all-purpose flour, suitable for making many baked goods such as bread, fried cakes, bao buns, sponge cakes,…
- Hoa Ngoc Lan flour is produced in Vietnam, does not use harmful chemicals and preservatives, ensuring safety for consumers’ health.
- You can easily find Hoa Ngoc Lan flour at supermarkets, grocery stores,… at a price of about 20,000 VND/kg (price updated on 27/07/2021).
What is instant yeast?
- Instant yeast is a type of dry yeast, with fine brown granules. It is called instant yeast because this type of yeast can be mixed directly into the dough without needing to be soaked and activated beforehand.
- Instant yeast helps produce more gas than dry yeast, so for the same amount of flour, less instant yeast is needed than dry yeast.
- This type of yeast can be easily found at baking supply stores or purchased on e-commerce sites.
- When buying, you should pay attention to the expiration date and packaging quality to ensure the yeast is still fresh and active when used.
Required tools
How to make bread without baking powder
-
Mixing the dough
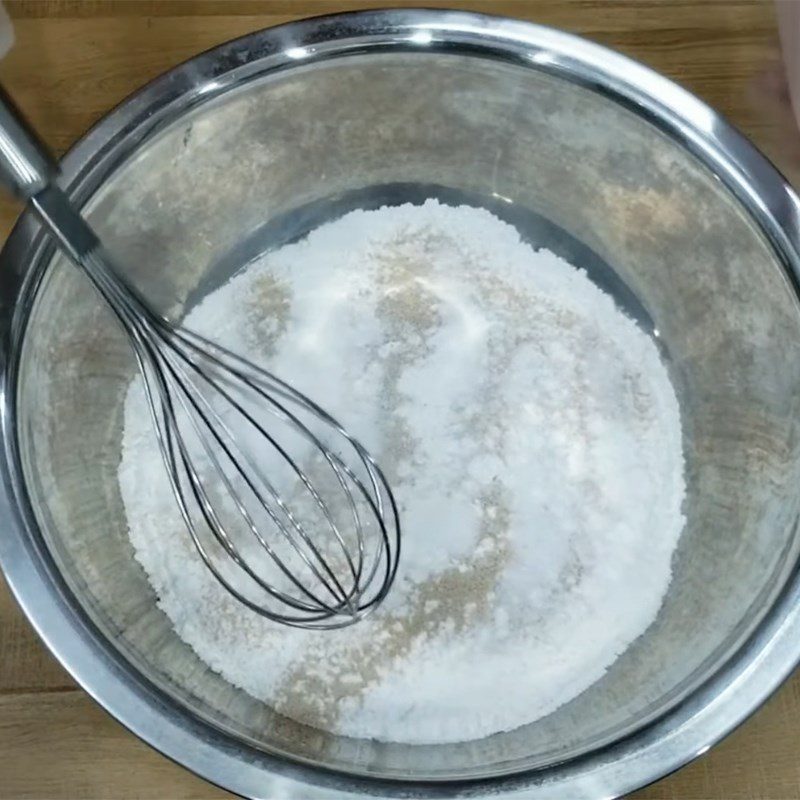
Sift 250g of Hoa Ngoc Lan flour into a large bowl, then add 5g of instant yeast, 1 tablespoon of sugar, and 1/2 teaspoon of salt and mix well.
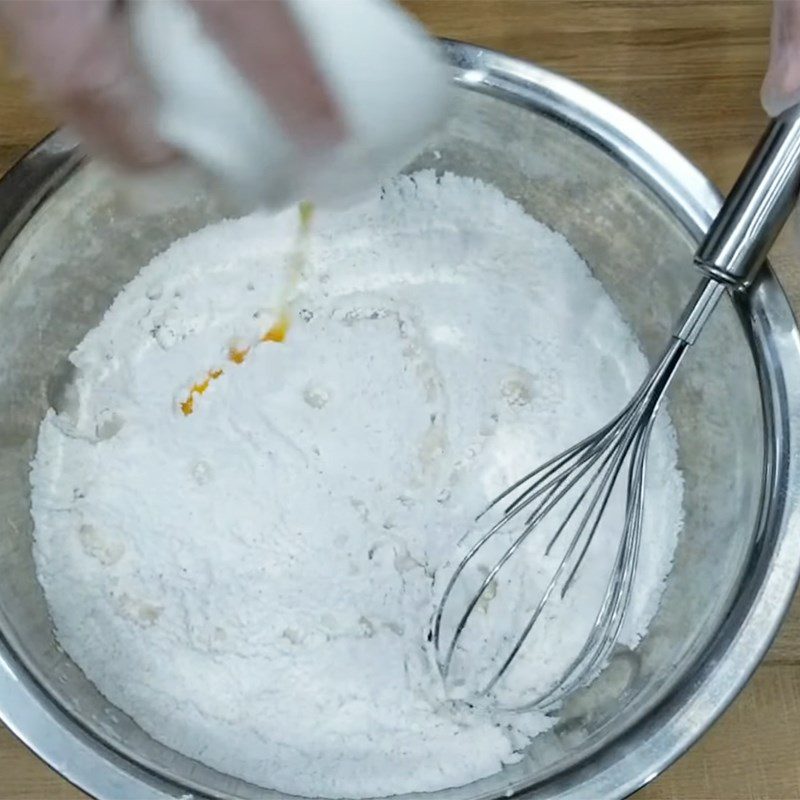
Next, add 1 teaspoon of vinegar and 15g of melted unsalted butter to the bowl and mix thoroughly.
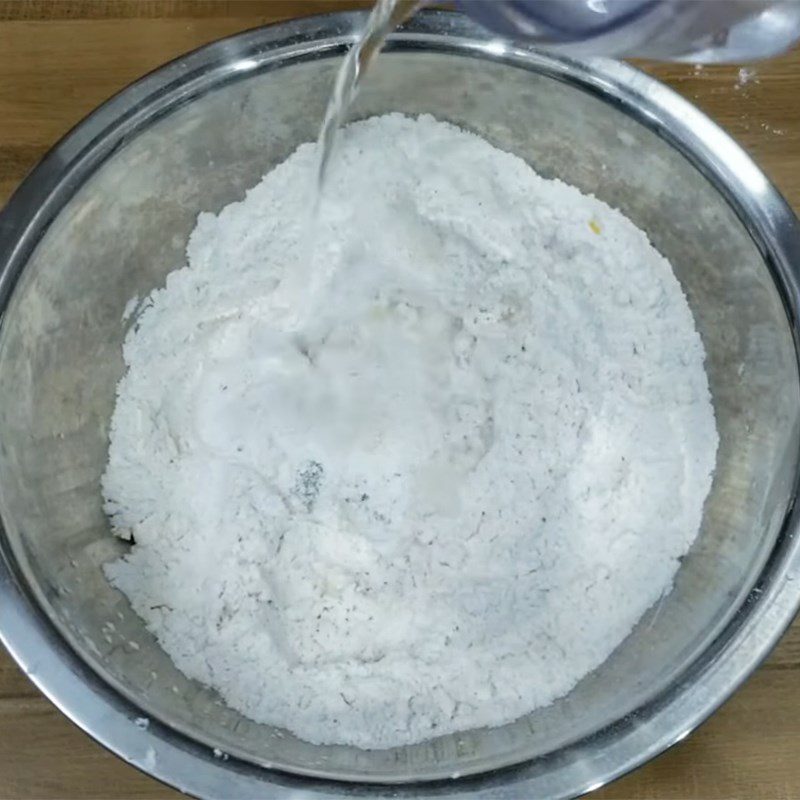
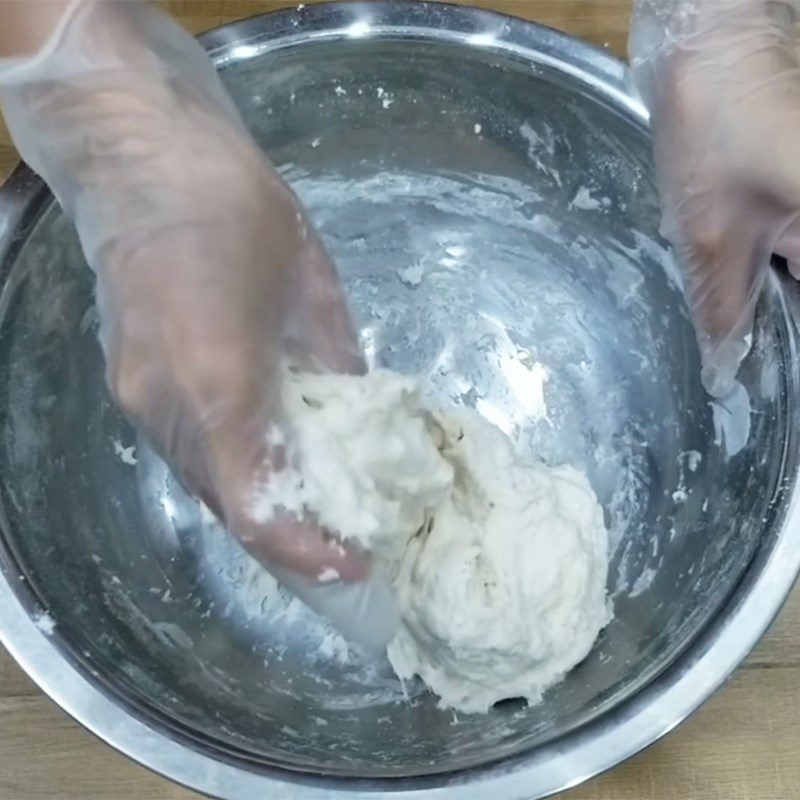
Pour in 90ml of water, knead by hand until the dough combines, then pour in the remaining 90ml and knead until the dough forms a cohesive mass that is still slightly wet and sticky to the touch.
-
Kneading and proofing the dough
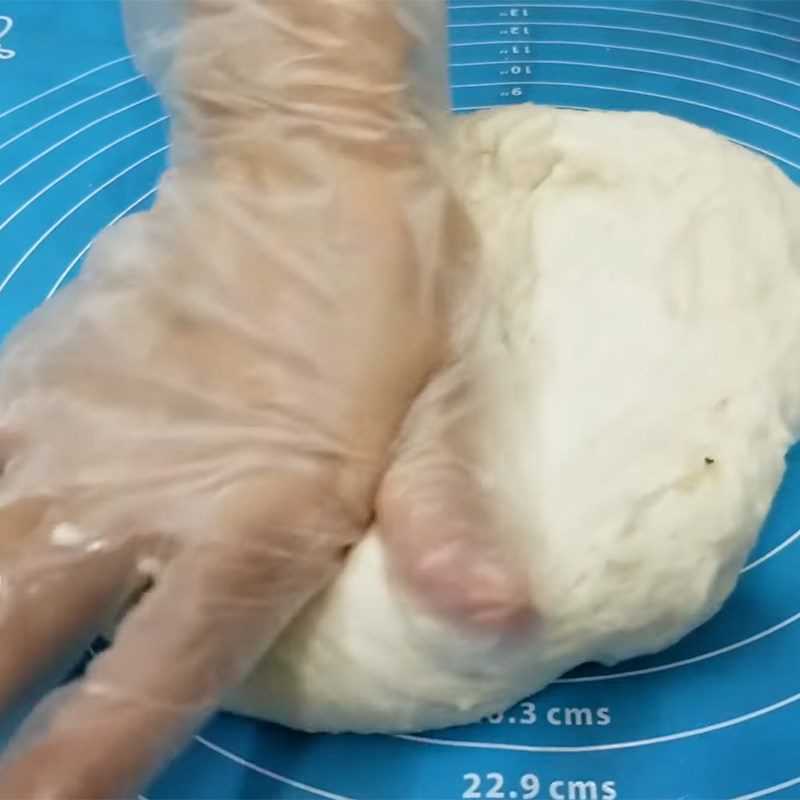
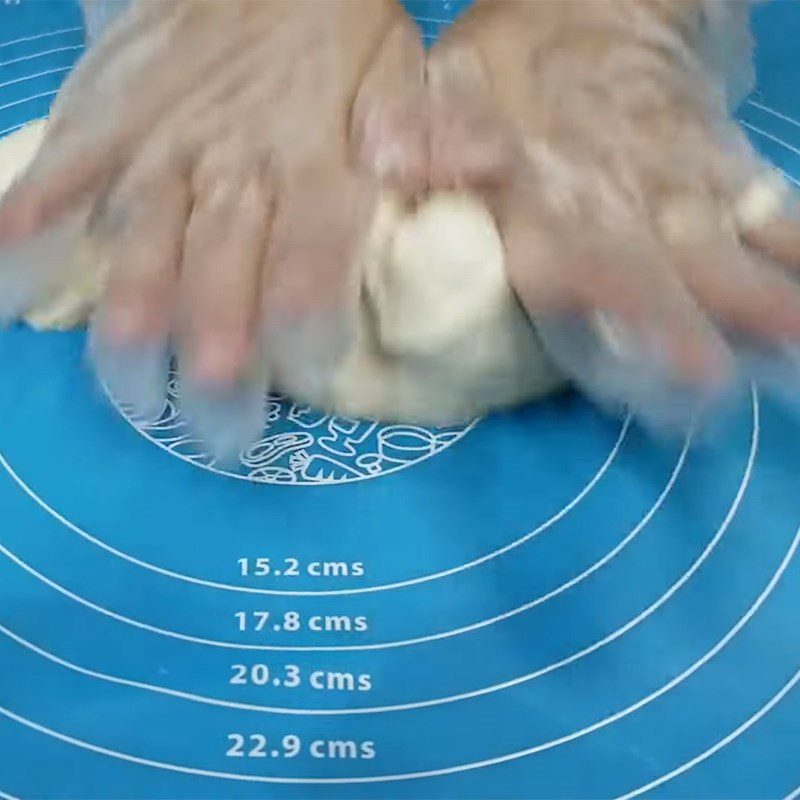
You place the dough ball on a flat surface and start kneading the dough.
Use the palm of your hand to knead by pressing and stretching the dough away, then fold the dough back and continue pressing and stretching (the folding and stretching technique). Knead continuously for about 15 minutes until the dough becomes elastic and does not stick to your hands.
How to tell if the kneaded dough is good:
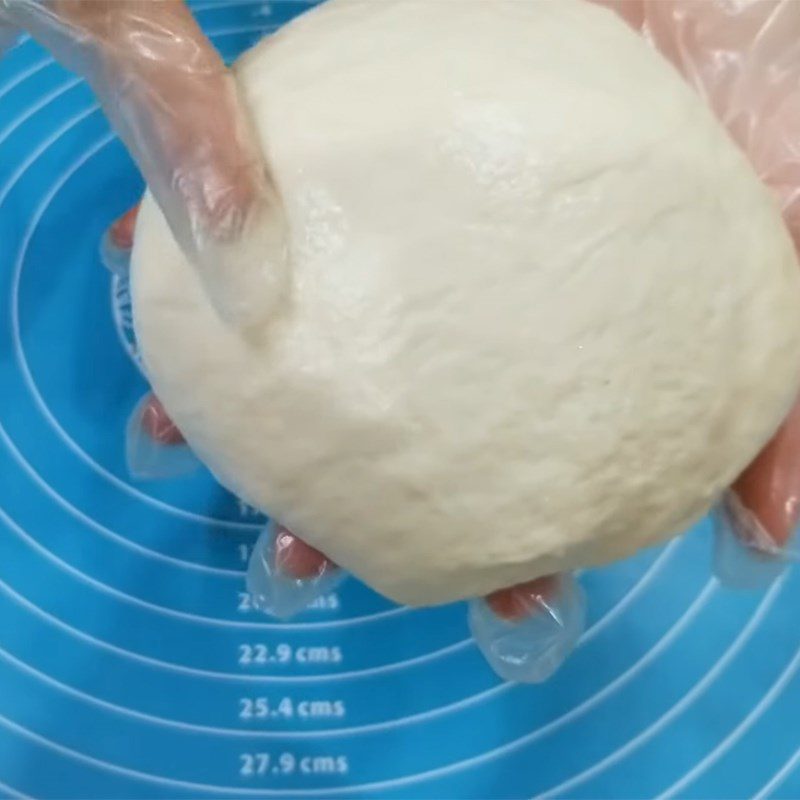
- The surface of the dough is smooth and elastic, slightly moist, not cracked, and does not stick to your hands.
- Pressing lightly with your finger on the dough will see it slowly spring back to its original shape.
- Tearing a piece of dough and stretching it without it breaking indicates that the dough is properly kneaded.
Cover the kneaded dough with a bowl or plastic wrap and proceed to let the dough rise for 15 minutes for it to expand evenly.
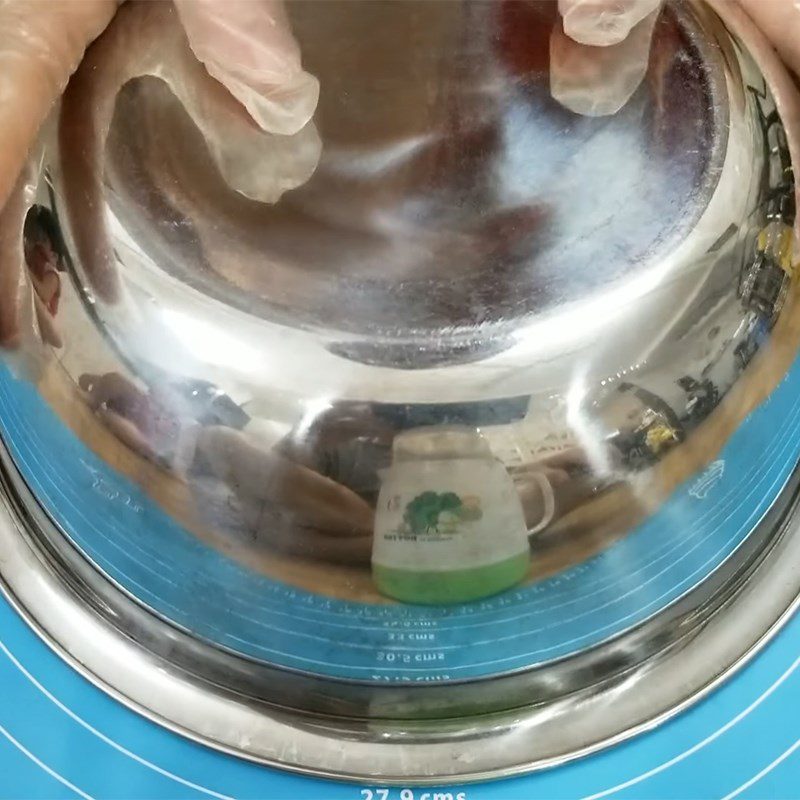
-
Divide the dough and shape it
After 15 minutes of rising, the dough has doubled in size. Take the dough out and divide it. With this recipe, you divide the dough into 3 equal parts to make 3 medium-sized loaves of bread.
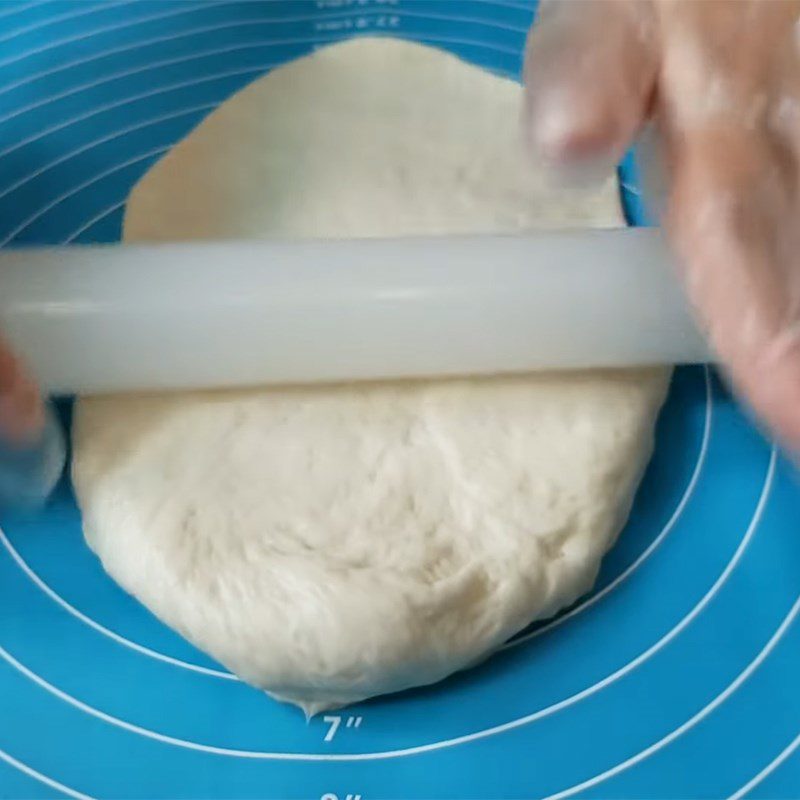
Then, use a rolling pin to flatten each portion of dough vertically to a thickness of about 1 – 2 cm.
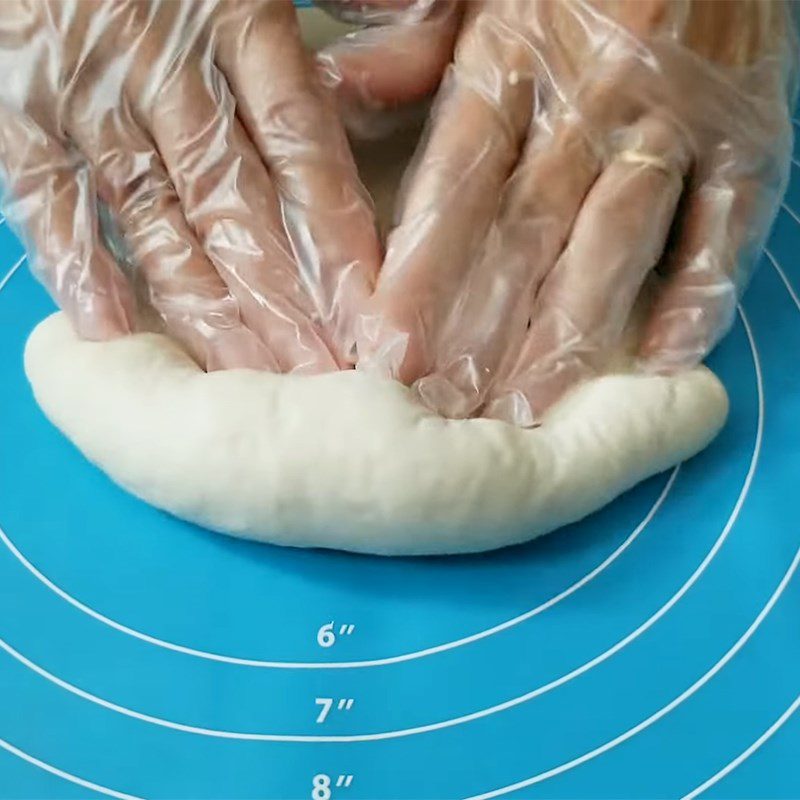
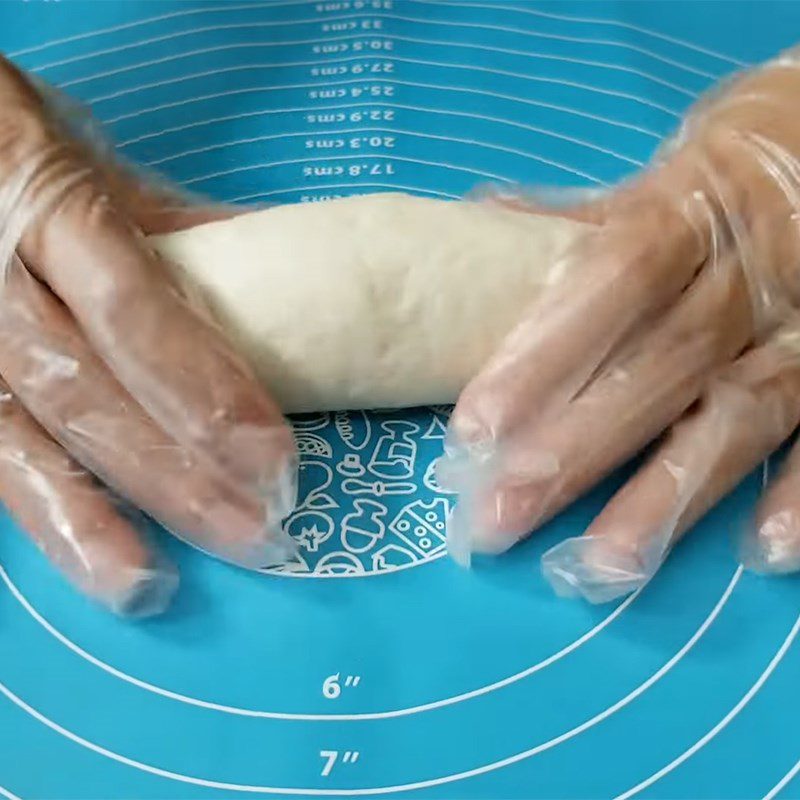
Shape the bread by rolling the dough into a circle, creating a bulge in the middle and pointed ends at both sides.
Note: You should perform this step quickly to avoid uneven rising of the dough balls; if the dough is left too long, it will over-expand and collapse when baked!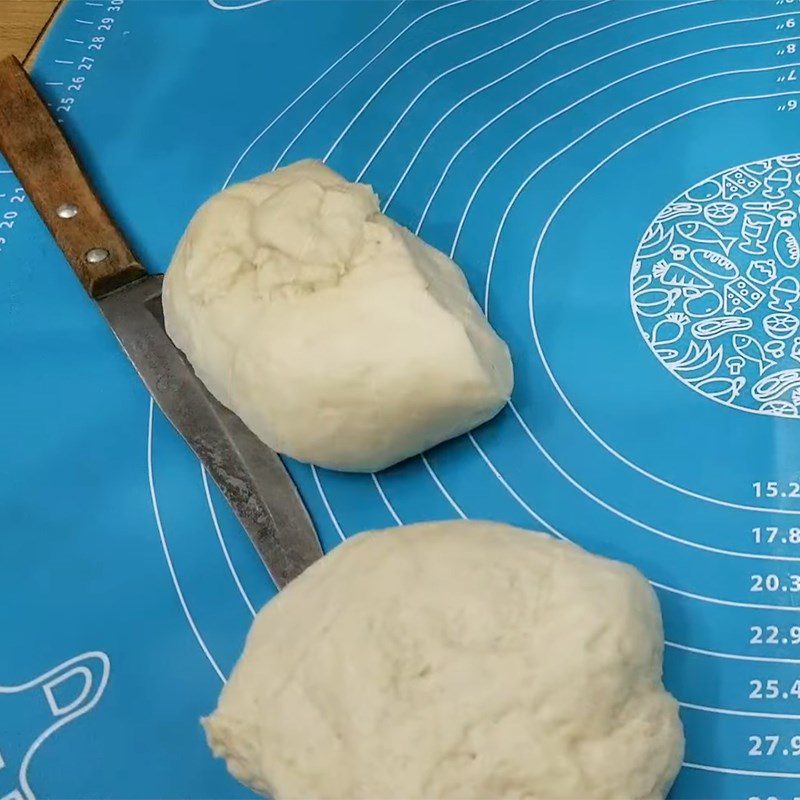
-
Second dough proofing
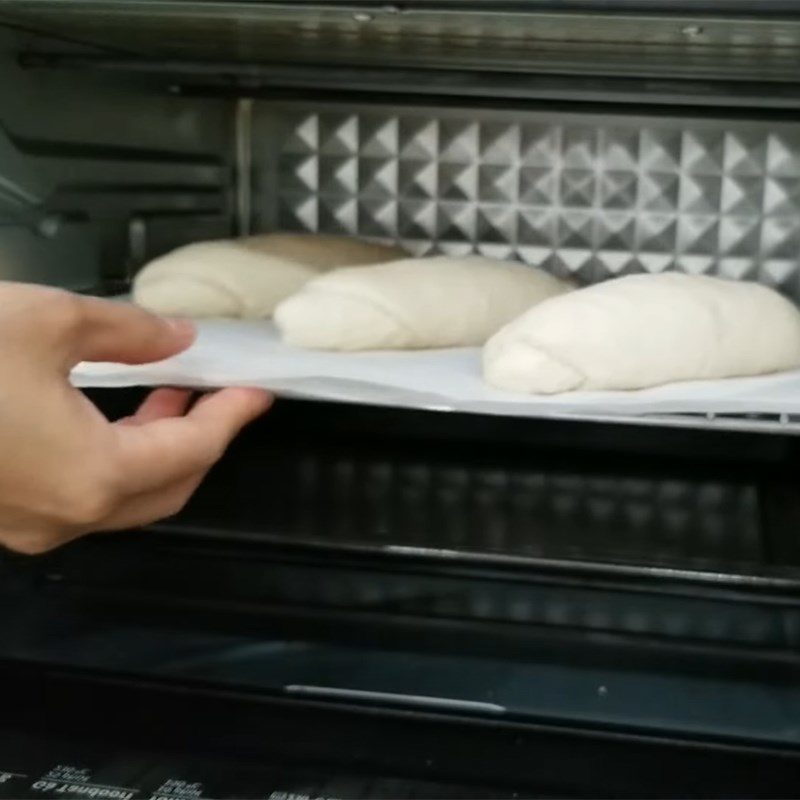
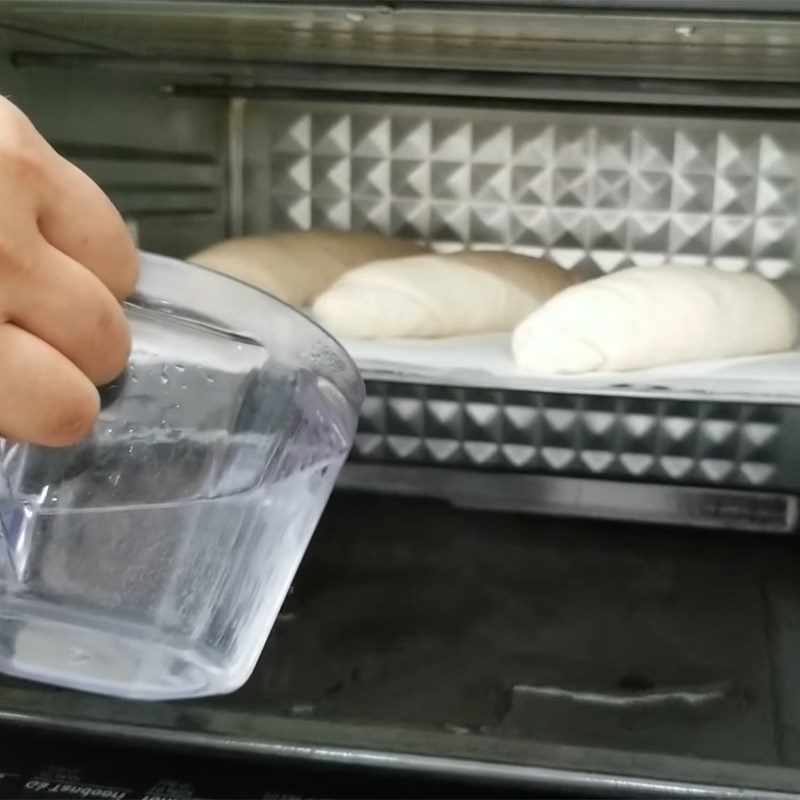
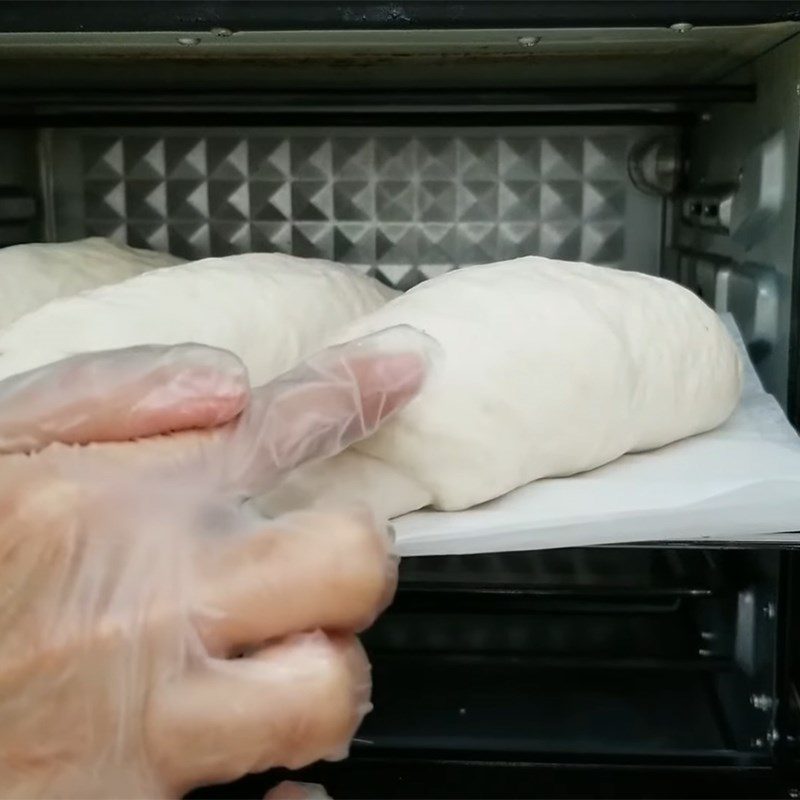
Place the dough on a baking rack lined with parchment paper and put it in the center rack of the oven (without turning on the oven). Pour hot water into a baking tray and place it on the bottom rack of the oven to create humidity.
Close the oven and proceed with the second dough proofing for 15 minutes. After proofing, check by pressing the surface with your hand; if the dough springs back immediately, it means it’s ready.
-
Create a groove on the dough surface
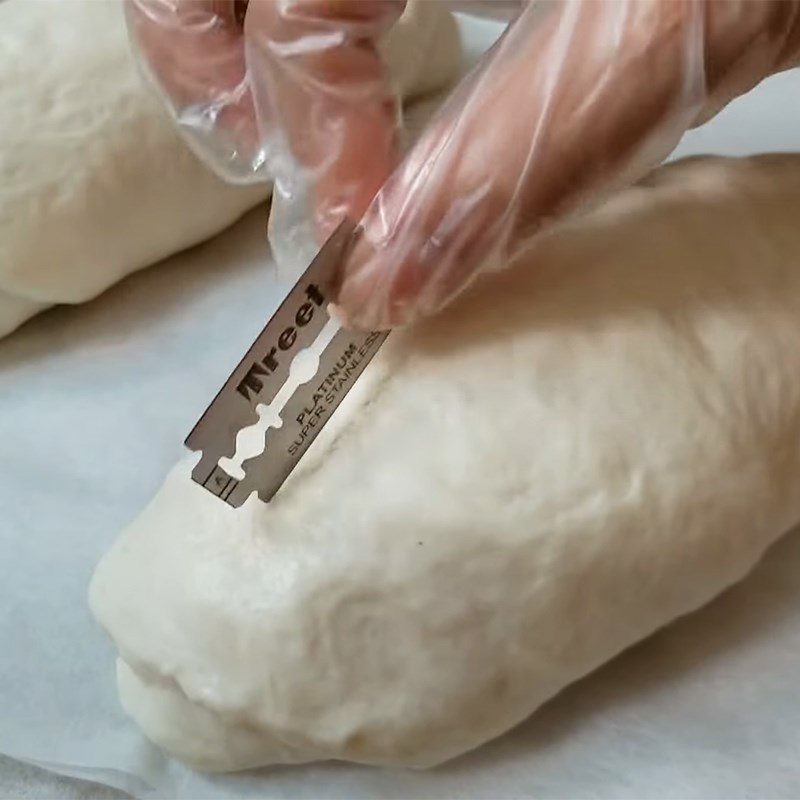
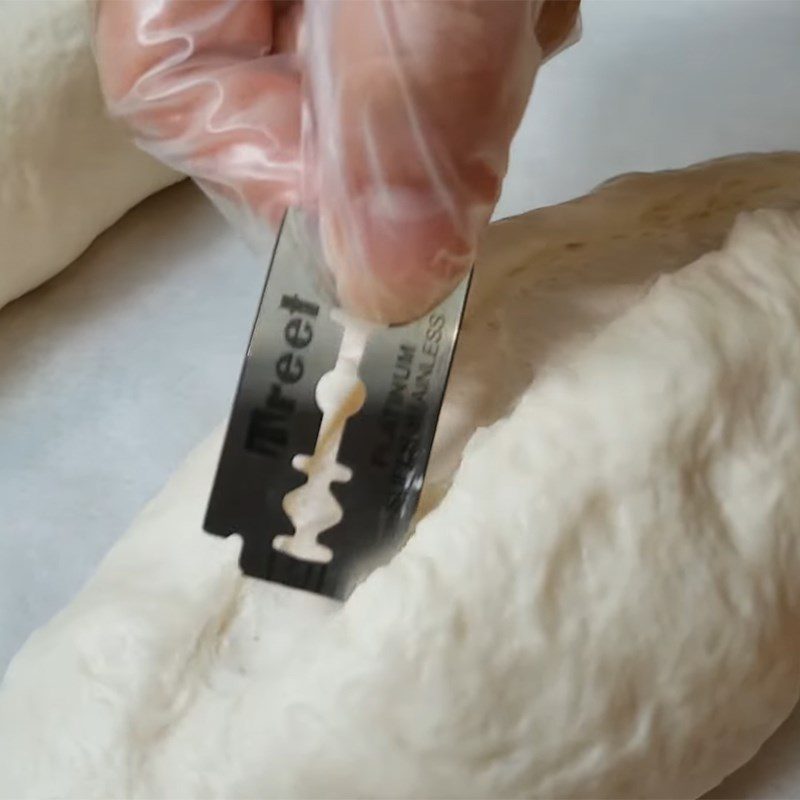
Use a razor blade (or a sharp kitchen knife) to make a cut in the middle of the dough surface. If the dough easily separates, it means it’s ready, and when baked, it will rise properly.
Continue to tilt the blade and make a light cut close to the edge of the previous cut to help the bread rise beautifully.
-
Bake the bread
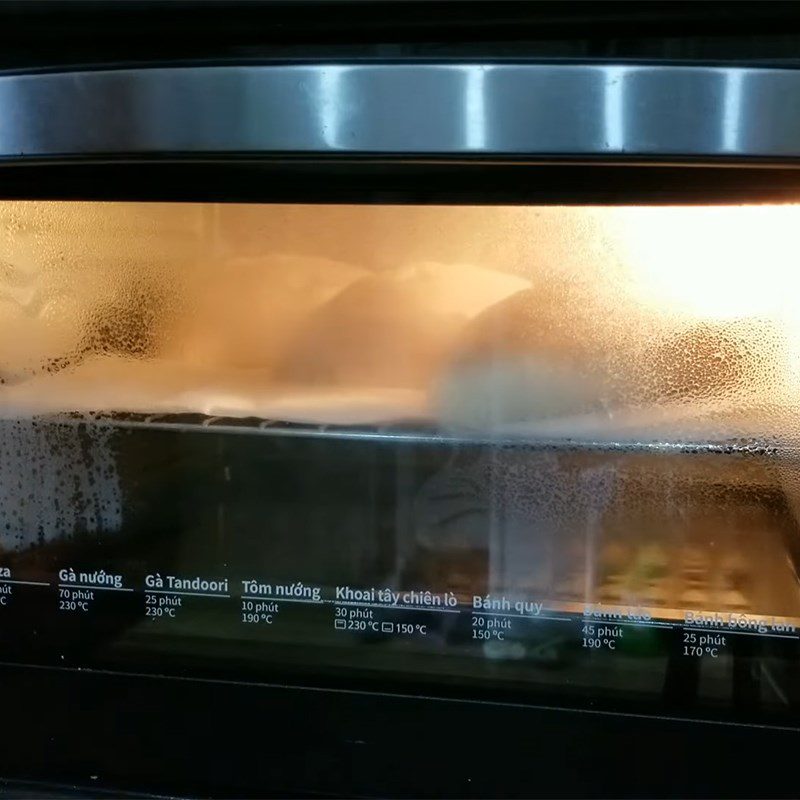
Keep the tray of hot water inside the oven, turn on both top and bottom heat, and preheat the oven to 230 degrees Celsius for 20 minutes.
Use a spray bottle to mist a layer of water on the surface of the bread to create moisture, then place the bread in the oven for the first bake at 230 degrees Celsius for 20 minutes.
After 10 minutes of baking, open the oven and spray more water on the surface of the bread, quickly close the oven and continue baking for the remaining 10 minutes.
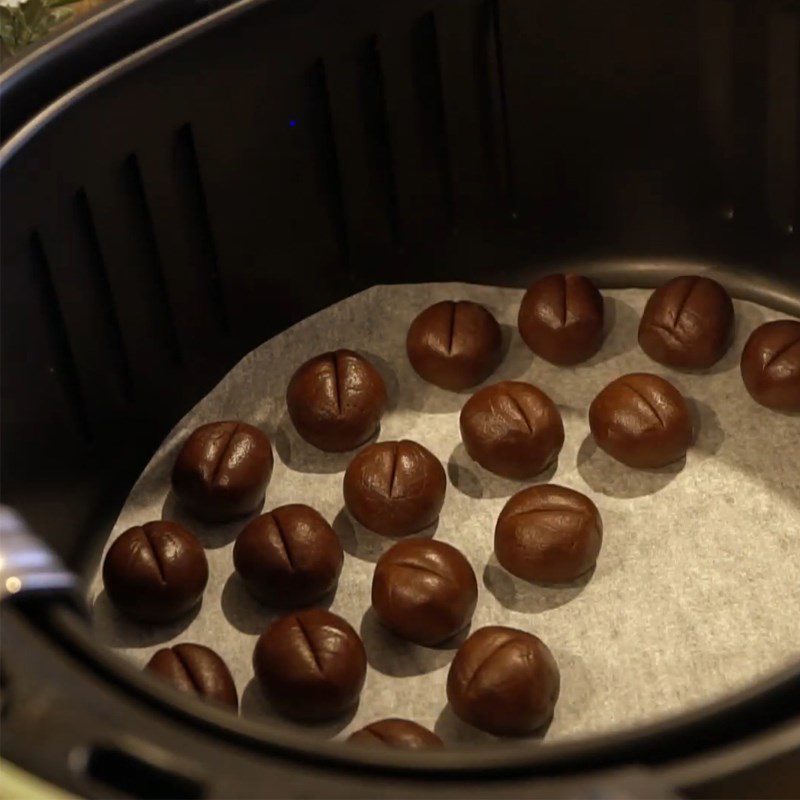
For the second bake, lower the temperature to 200 degrees Celsius and bake for 5 minutes to achieve an even golden color. Then open the oven, flip the bread upside down, and continue baking for another 10 minutes to finish.
-
Final Product
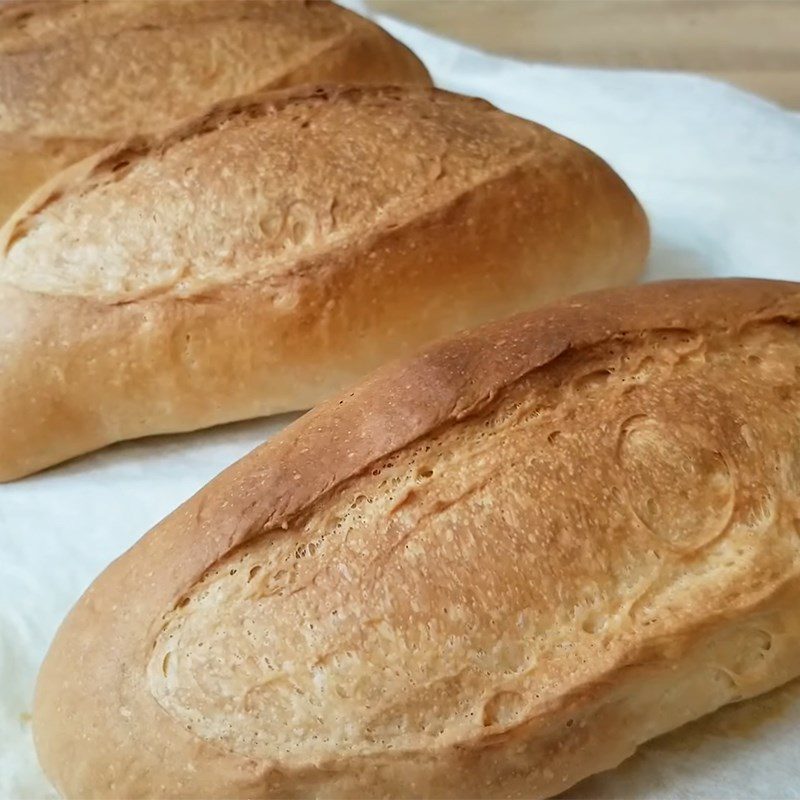
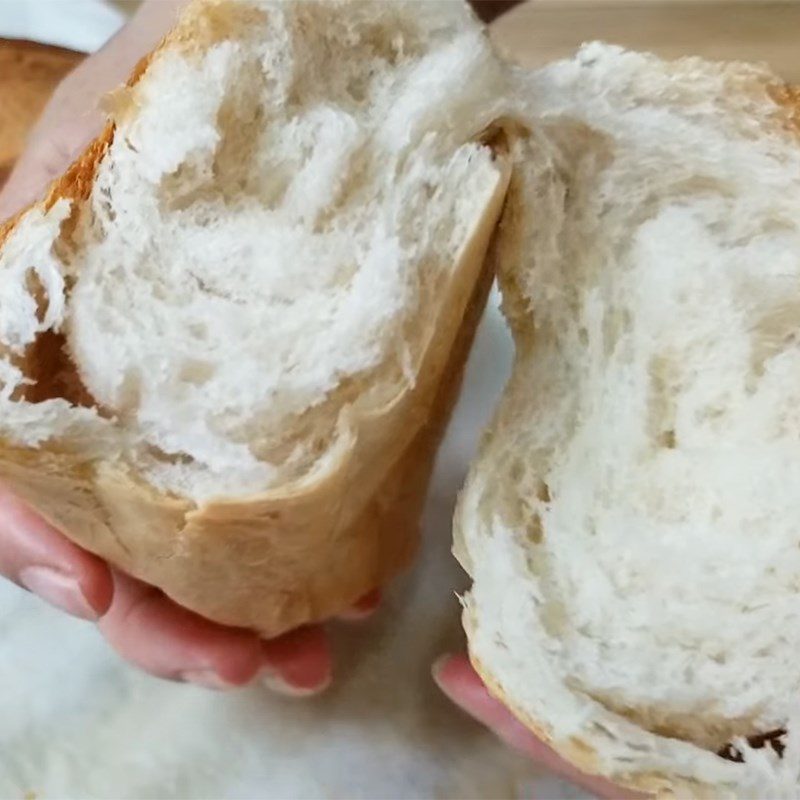
The bread when baked is evenly golden and fragrant, breaking a piece you can hear the crust crackle, while the inside is dense and chewy.
You can also enjoy the bread dipped in condensed milk or make a meat sandwich or pair it with soups, all of which are delicious.
These hot bread rolls without baking powder freshly made at home are still delicious and authentic while being easy to make and safe. Why not try making them right away?
Successful bread making tips without yeast
- You can use vinegar or apple cider vinegar in this recipe, but it’s better to use homemade vinegar instead of bottled (industrial) vinegar.
- The kneading process needs to be done correctly and the dough must be fermented for the right amount of time to rise evenly when baking.
- Preheat the oven to the highest temperature (230 degrees Celsius) before baking to stabilize the heat and bake the bread using the water bath method. Each oven will have different temperature levels, so keep an eye on it while baking.
- You need to work quickly from the step of creating grooves on the dough surface to baking, avoiding leaving the dough outside for too long which can cause excessive rising, leading to flat bread that doesn’t rise well during baking and becomes tough.
So you’ve got yourself a recipe for making bread without baking powder using just very simple ingredients, and the result is incredibly satisfying. Tastetutorial.com wishes you success in your cooking!


