-
Preparation
10 minutes
-
Cooking
45 minutes
-
Difficulty
Easy
You don’t need to go far when you can catch trends right in your own kitchen with the “hive charcoal bread” that is currently “taking the world by storm”. Let’s get into the kitchen with Tastetutorial.com to make a delicious bread that is super tasty and creamy with just a few simple steps!
Ingredients for Hive Charcoal Bread For 4 pieces
All-purpose flour 250 gr Bamboo charcoal powder 10 gr Chicken egg 1 piece Mozzarella cheese 50 gr Bread yeast 5 gr (instant dry yeast) White sugar 30 gr Unsalted butter 55 gr Cornstarch 25 gr Fresh milk 120 ml Cream cheese 80 gr Full cream milk powder 25 gr Filtered water 140 gr (about 140ml)
What is bamboo charcoal powder?
- Bamboo charcoal powder – takesumi, also known as bamboo starch, is a food additive originating from Japan.
- Bamboo charcoal powder has a deep black color, is very fine but has a slight roughness on the tip of your tongue when you taste it, and has almost no flavor or smell.
- Bamboo charcoal powder, when combined with other ingredients, will contribute to making the bread or dish have a unique flavor, deliciousness, and a natural black color.
Information about baking ingredients
- The ingredients used to make bamboo charcoal bread such as unsalted butter, type 13 flour, baker’s yeast, mozzarella cheese, cream cheese, whole milk powder can be easily purchased at baking supply stores, grocery stores, supermarkets, or can be ordered on e-commerce websites.
- When making bread, you should use unsalted butter instead of margarine or salted butter to help the bread taste better.
- Cream cheese, mozzarella cheese for safety, you can make cream cheese at home following the recipe from Tastetutorial.com.
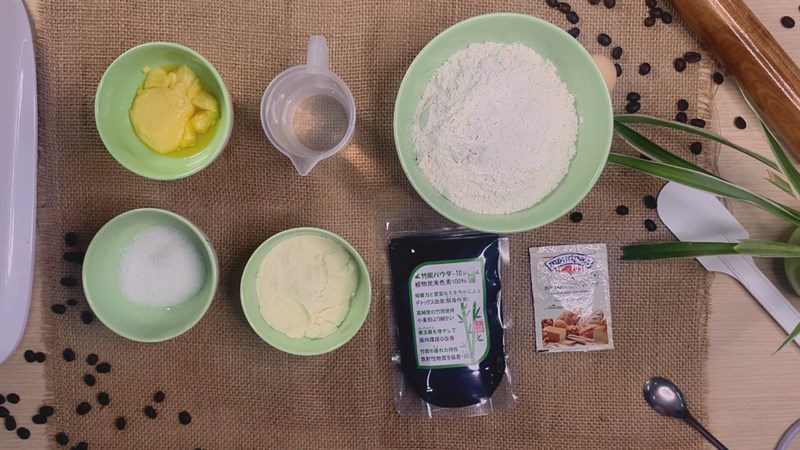
Tools needed
Dough mixer, mixing bowl, sieve, cake mold, oven,…
How to make Honeycomb Charcoal Bread
-
Mixing the dough
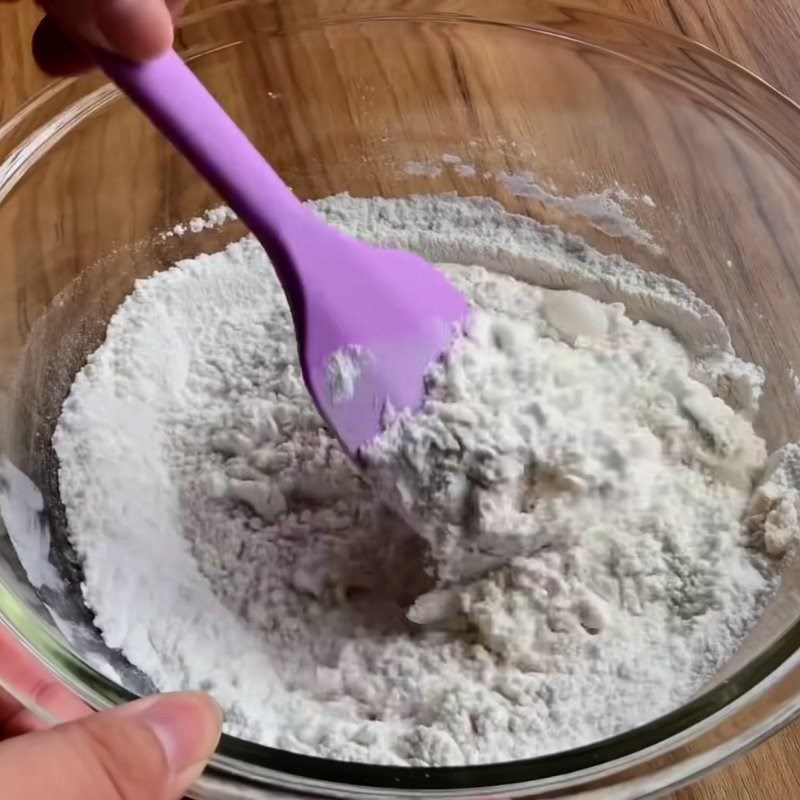
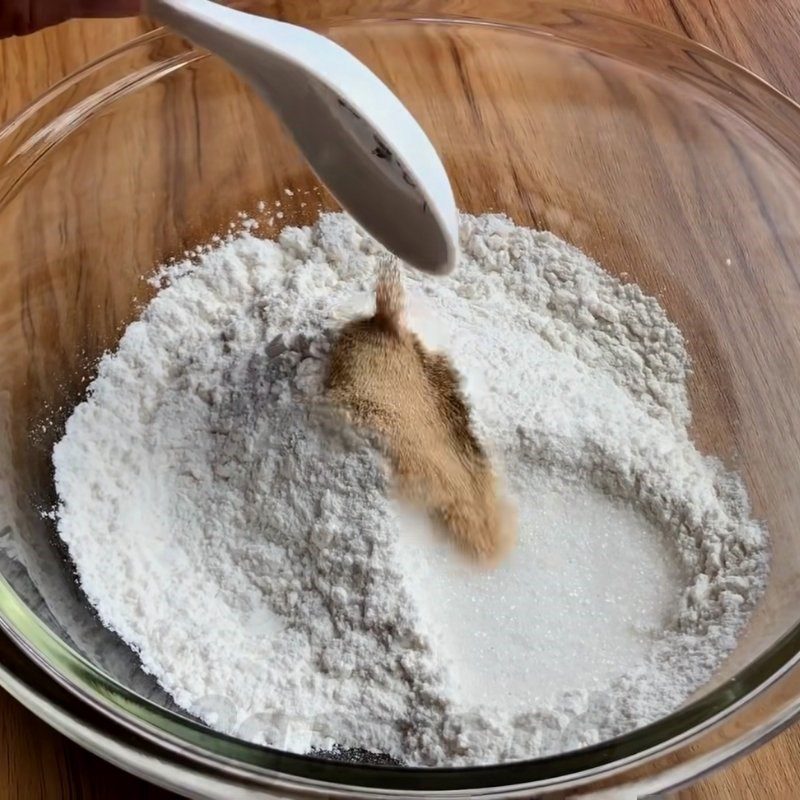
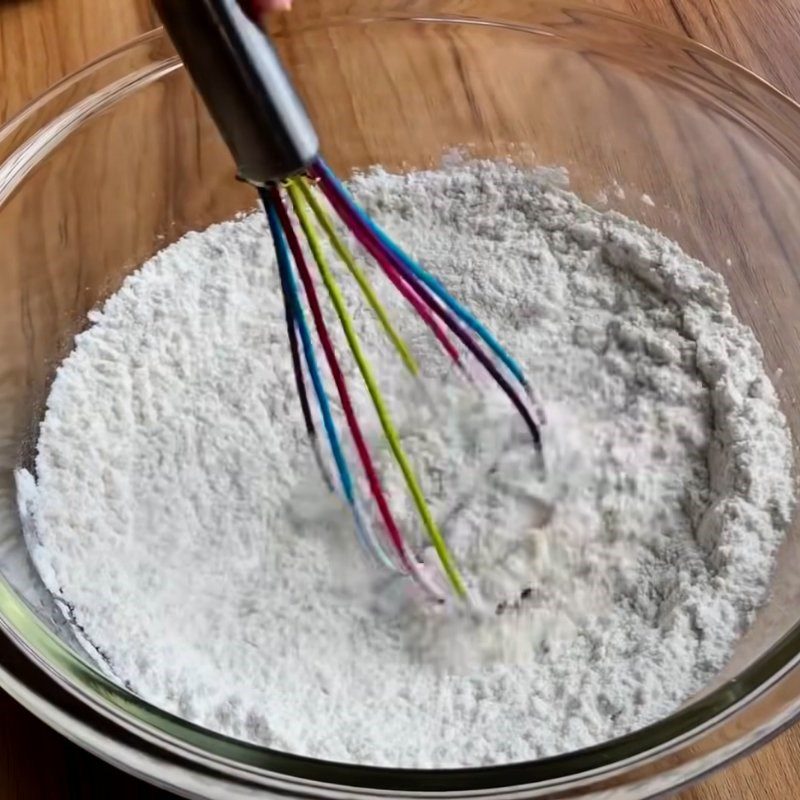
Gradually add 250g of all-purpose flour, 10g of bamboo charcoal powder, 5g of bread yeast, and 30g of white sugar into a mixing bowl.
Then, use a flat whisk to mix all the dry ingredients together thoroughly.
Next, add 140g of filtered water (you can substitute it with fresh milk) and 1 egg yolk into the flour bowl. Mix well once again.
Tip: You can sift the flour mixture through a sieve 1 – 2 times to make the flour fine and avoid clumping.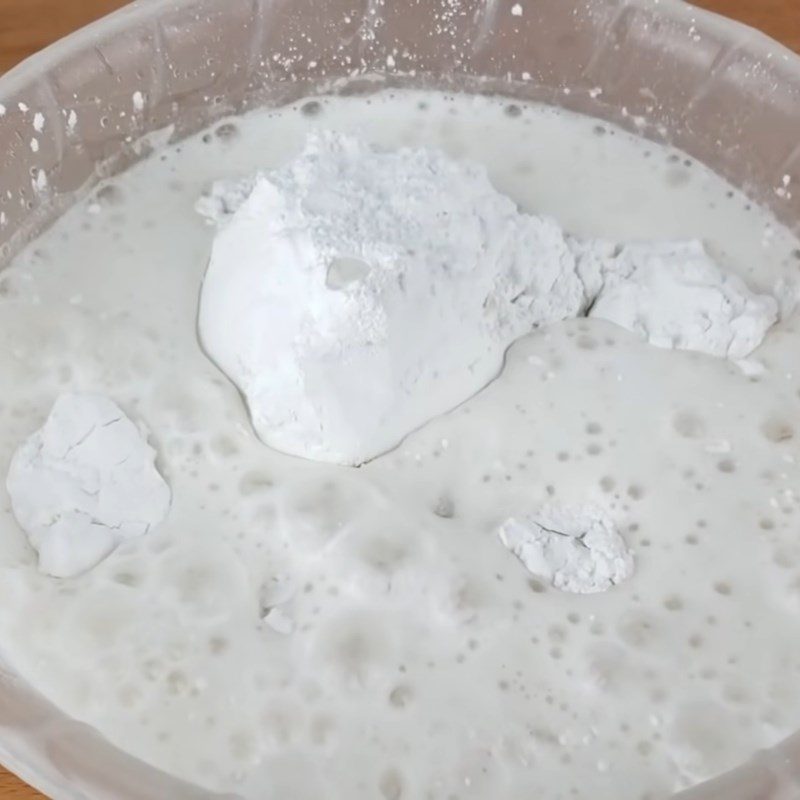
-
Kneading the dough
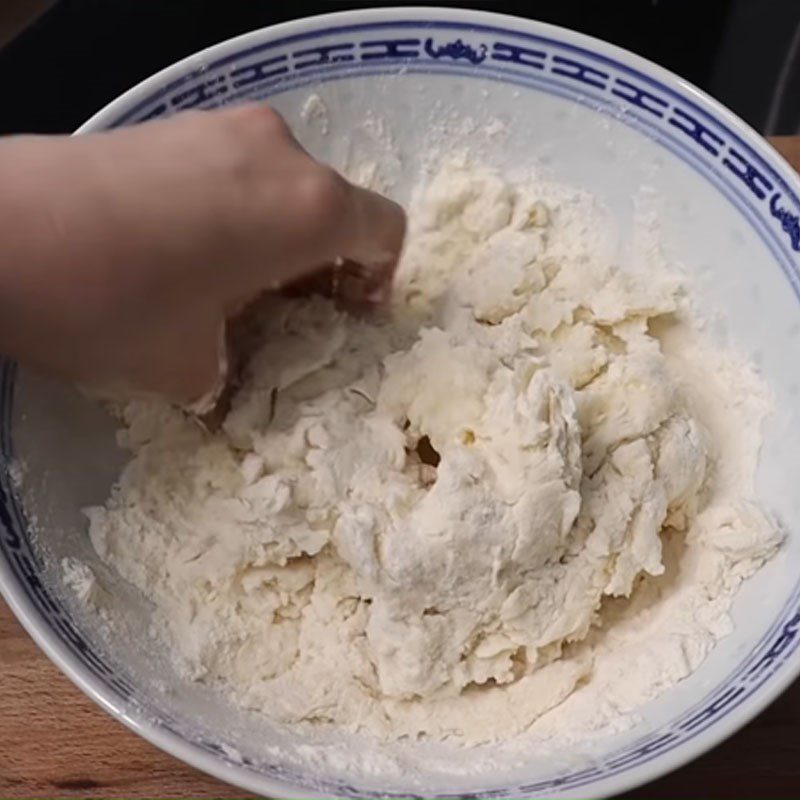
You put the dough mixture into the dough mixer for about 10 minutes, then add 35g of unsalted butter to the dough, kneading until the dough mixture forms a homogeneous mass that does not stick to your hands.
Evenly spread a layer of unsalted butter on the dough and the bowl to prevent sticking, then wrap tightly with plastic wrap, letting it rise for about 1 hour at room temperature until the dough doubles in size.
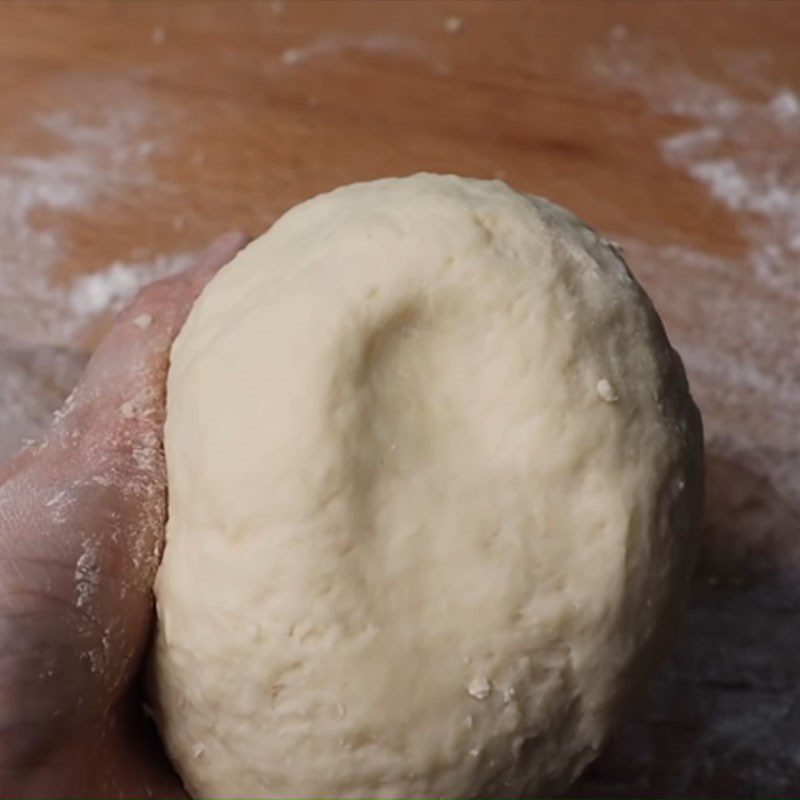
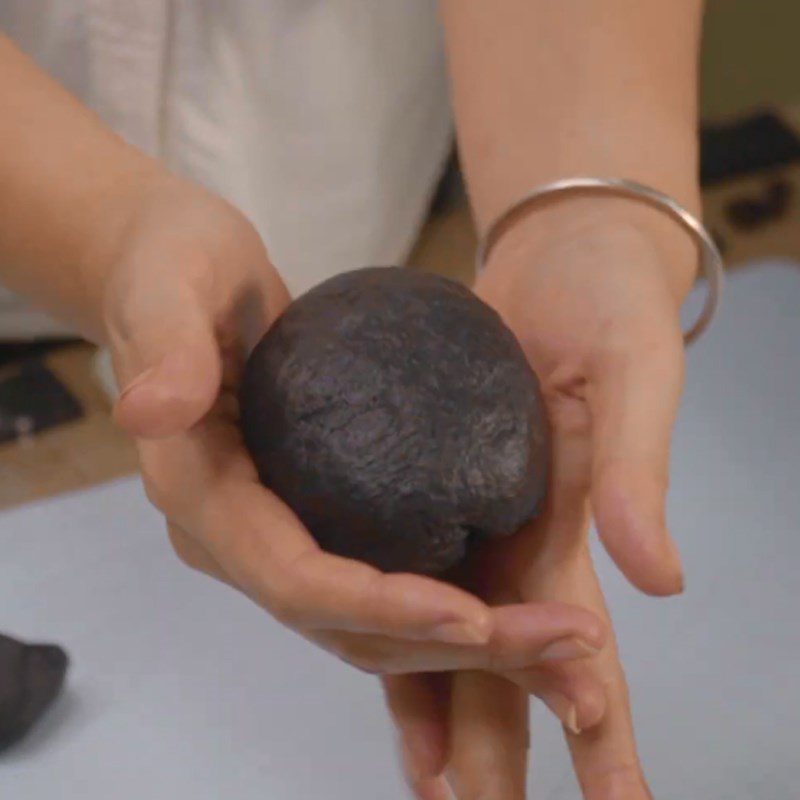
After the dough has risen, take it out and knead the dough again by hand. Then, divide the dough into 3 equal parts. Finally, you knead and roll each piece of dough into a ball.
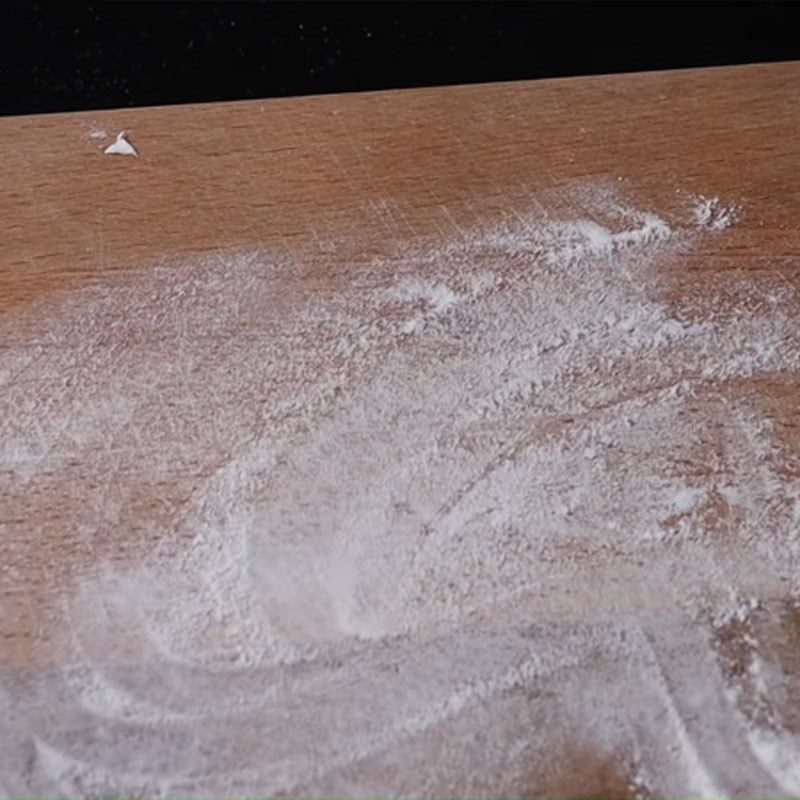
How to knead dough by hand:- Place the dough on the table and use your hands to knead the dough using the Folding and Stretching technique.
- First, fold the dough, then use the palm of your hand to press and stretch the dough away. Note to press and stretch the dough away, not press down. Next, rotate the dough mass 90 degrees and repeat the two steps above for 15 minutes.
- When the dough feels smooth, add the unsalted butter to the dough, then continue kneading until the dough forms a mass that does not stick to your hands.
-
Making cream cheese
Place a pan on the stove, add 120ml of fresh milk, 80gr of cream cheese, 55gr of unsalted butter, 50gr of cheese, and 25gr of cornstarch into the pan.
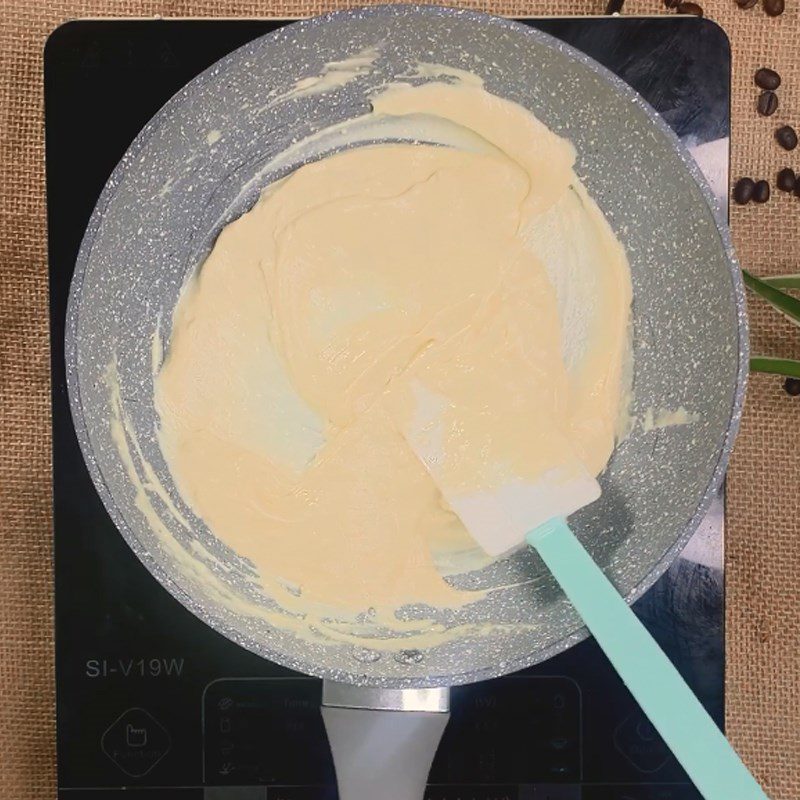
Next, heat the mixture over medium heat, stirring continuously until the cornstarch dissolves. Stir until the cream cheese mixture thickens, then turn off the heat and let it cool.
Finally, put the cream cheese into a piping bag and place it in the refrigerator refrigerator.
Tip: You can put the cream cheese in the refrigerator for a better taste when eating.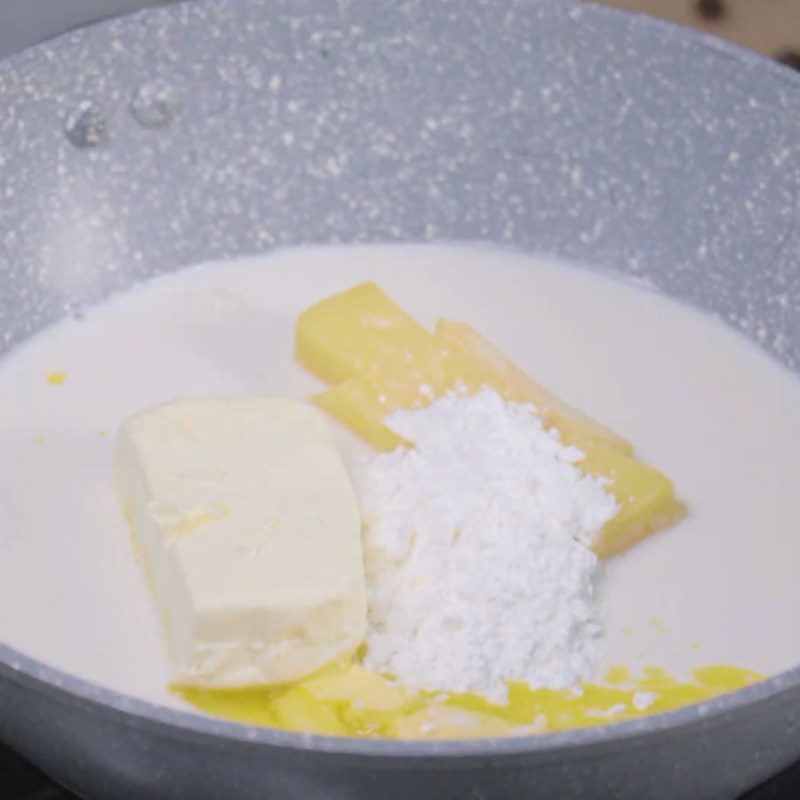
-
Baking the cake
To stabilize the oven temperature, preheat the oven to 160 – 170 degrees Celsius for 10 minutes.
Next, spread a thin layer of unsalted butter inside the cake mold so that it is easier to remove the cake after baking.
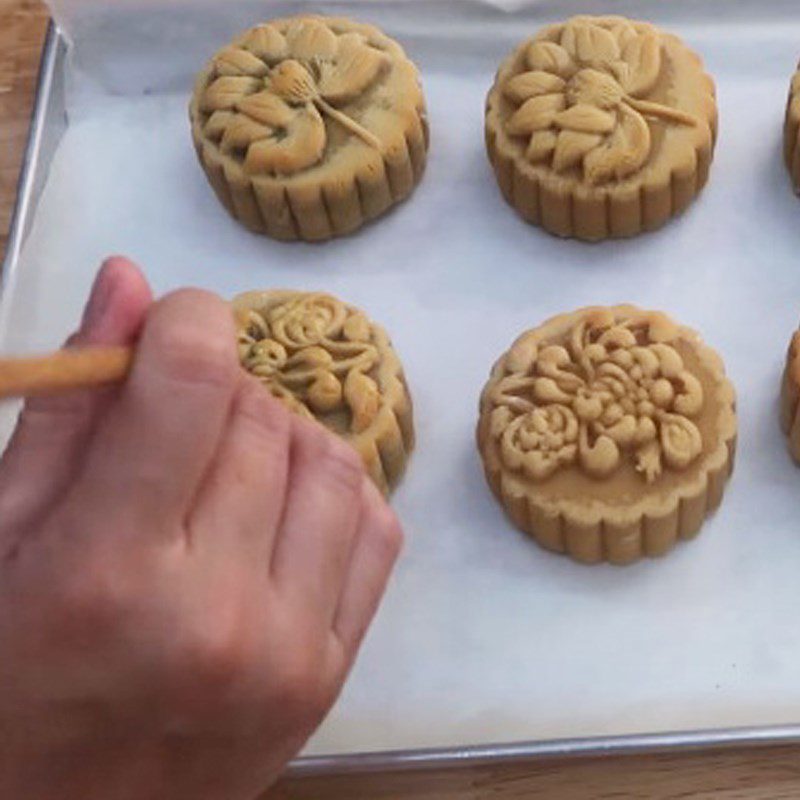
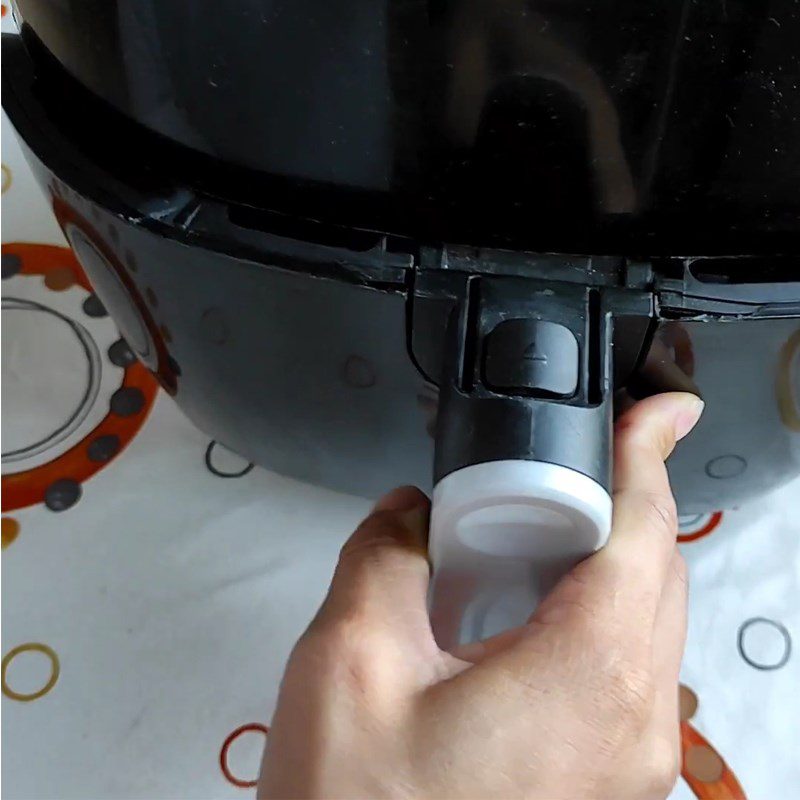
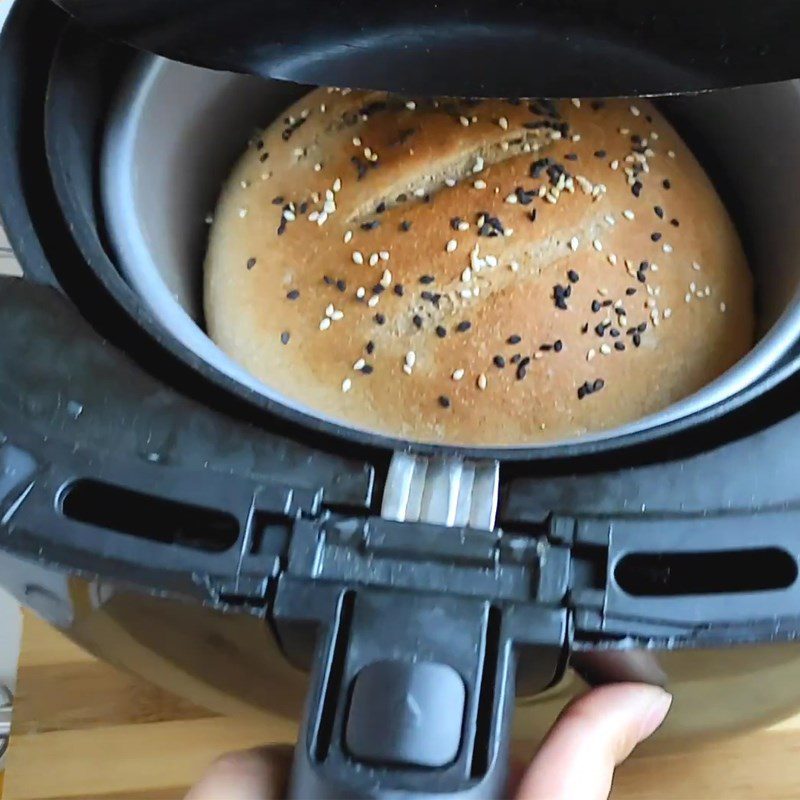
Then, place the rolled dough balls into each mold, add another layer of tray on top, and bake in the oven at 145 degrees Celsius for 35 minutes.
Tip: You should place an additional layer of tray on top of the cake. This way, the cake will not puff up while baking, and the top surface will be even and flat.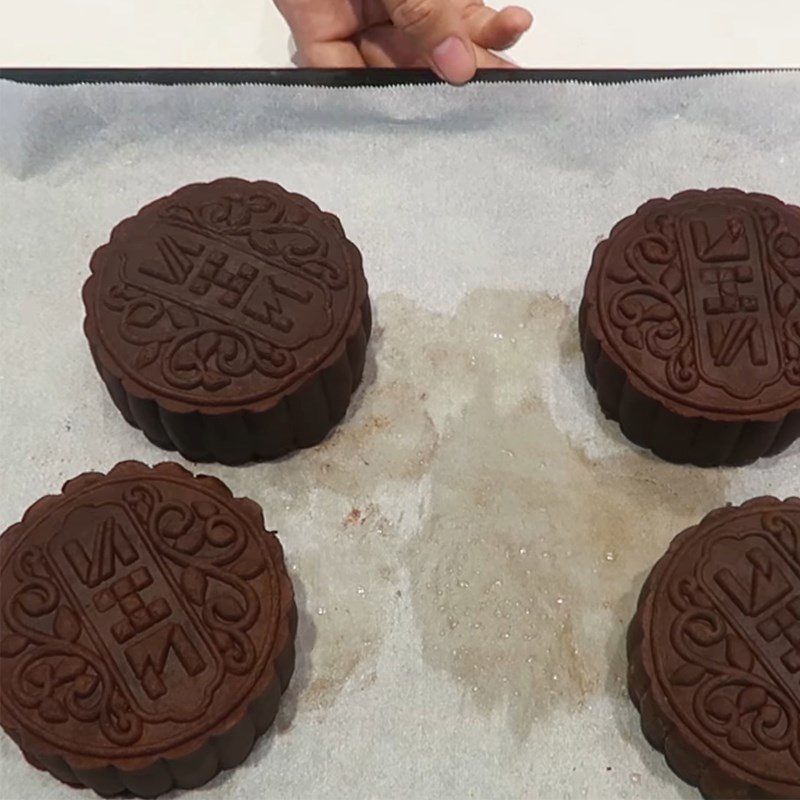
Make Holes and Fill with Cream
After baking, let the bread cool to room temperature.
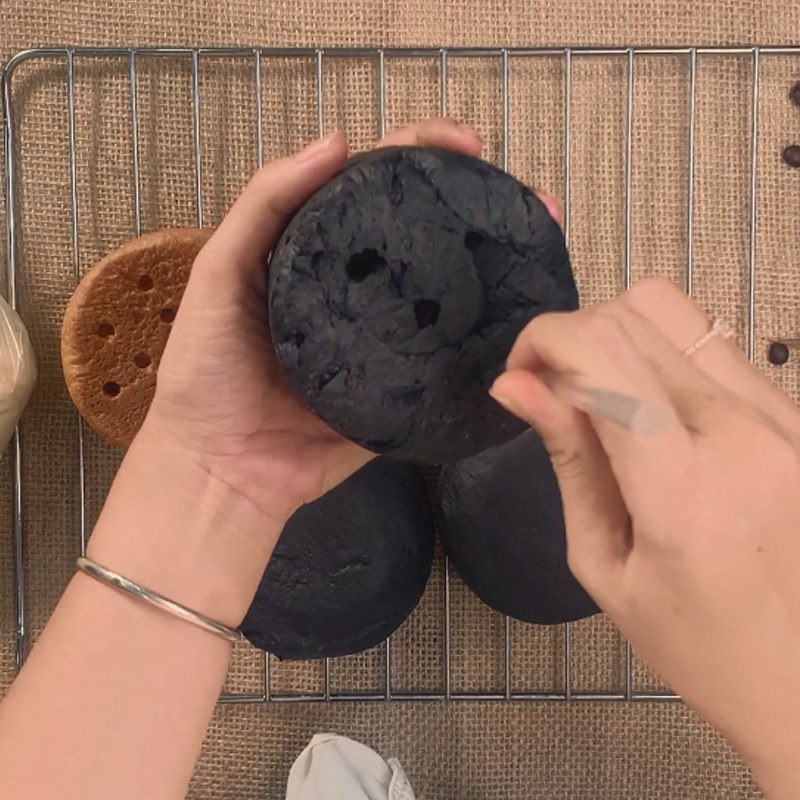
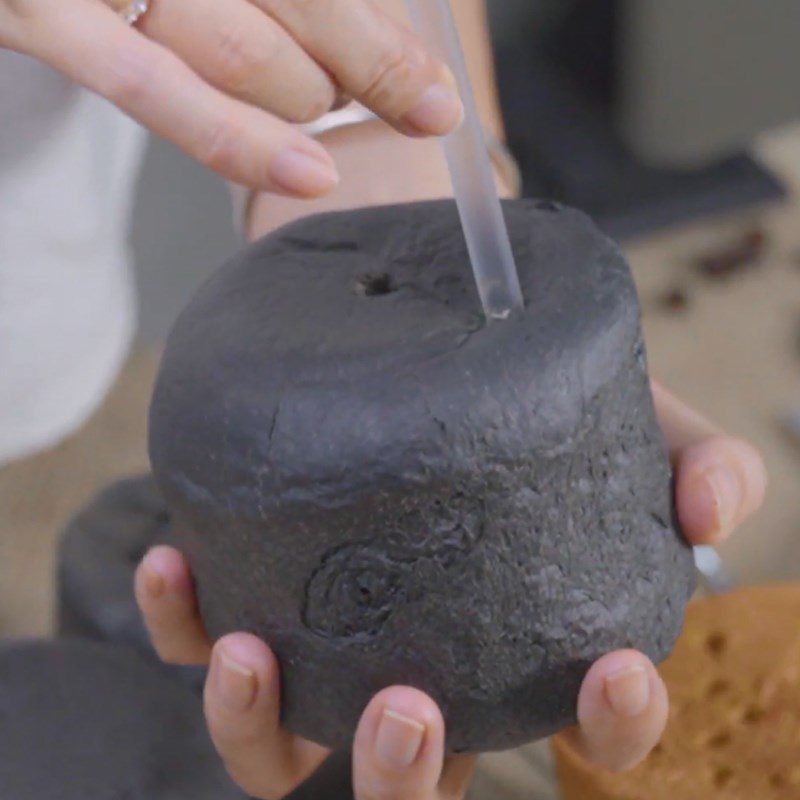
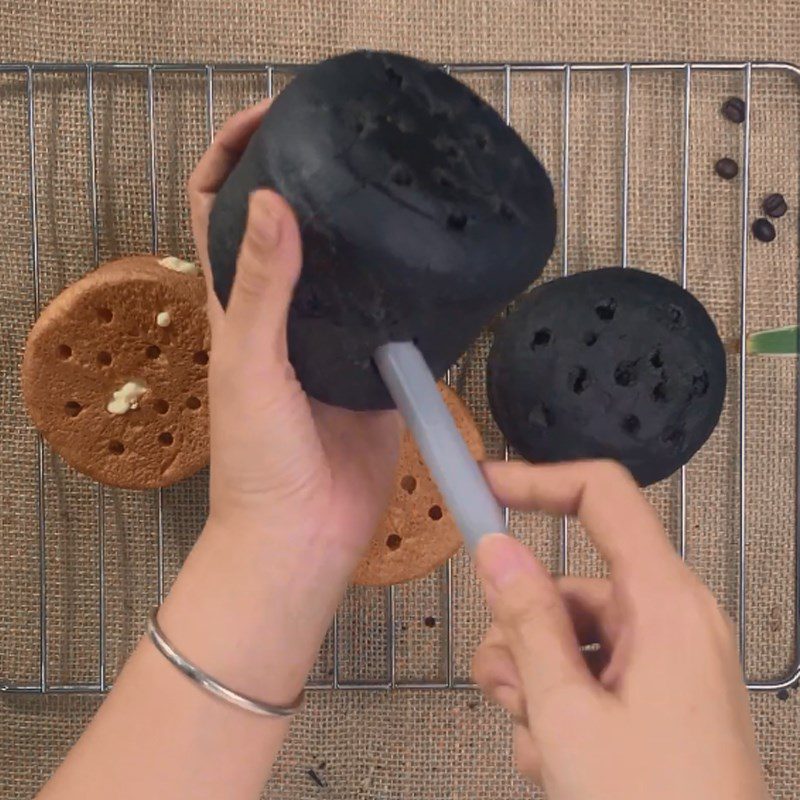
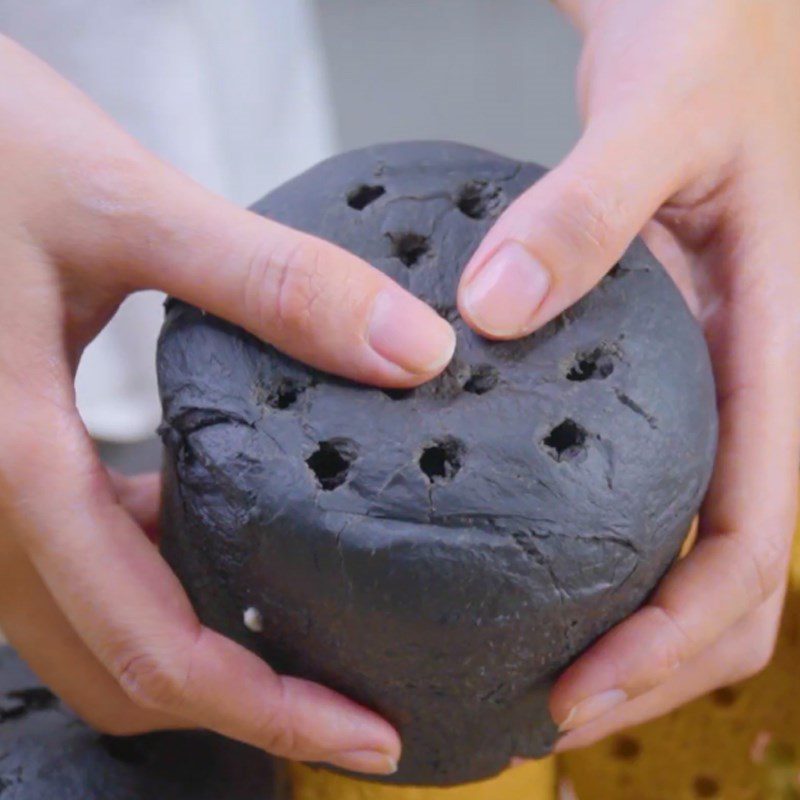
Next, to create the honeycomb shape, use a small straw to poke several holes on the surface of the bread, poking about half the length of the straw, avoiding poking all the way through the bread.
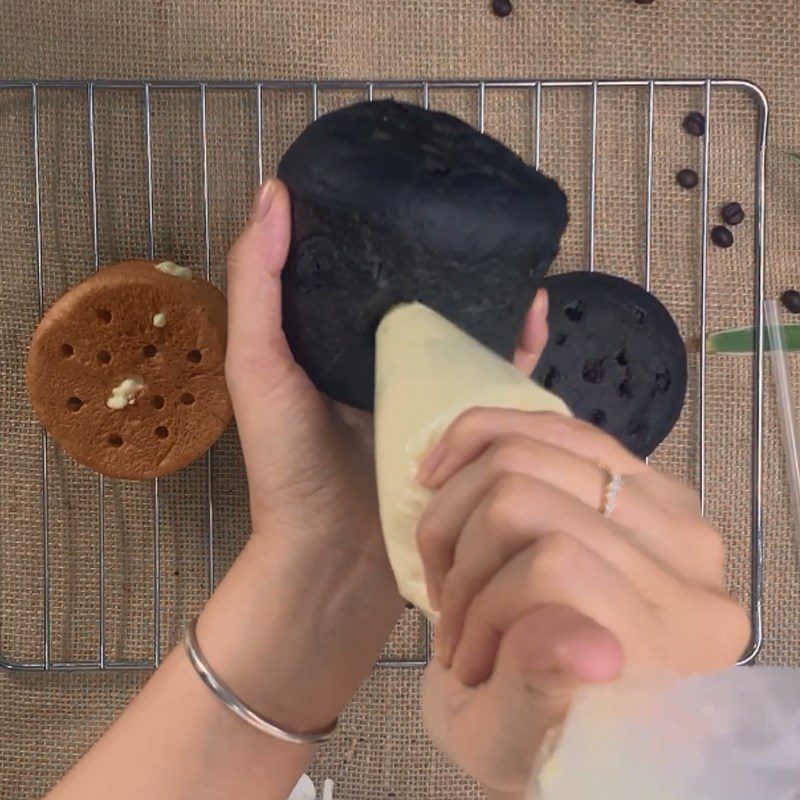
Then, use a larger straw (the one for bubble tea) to make a hole on the side of the bread. After that, fill the inside of the bread with cream, gently rotate the cream bag to distribute the cream evenly inside the bread.
- Pumping the filling from the side will make it easier and allow for more filling compared to filling directly from the top.
- Let the bread cool completely before filling with cream to prevent the cream from spoiling and becoming sour.
Final Product
The bread with the appearance of honeycomb charcoal is incredibly eye-catching. The bread has a light aroma of bamboo charcoal, soft and fluffy. When you tear the bread in half, you’ll see the creamy cheese filling ooze out, rich and delicious. So why hesitate? Let’s catch the honeycomb charcoal bread trend right now!
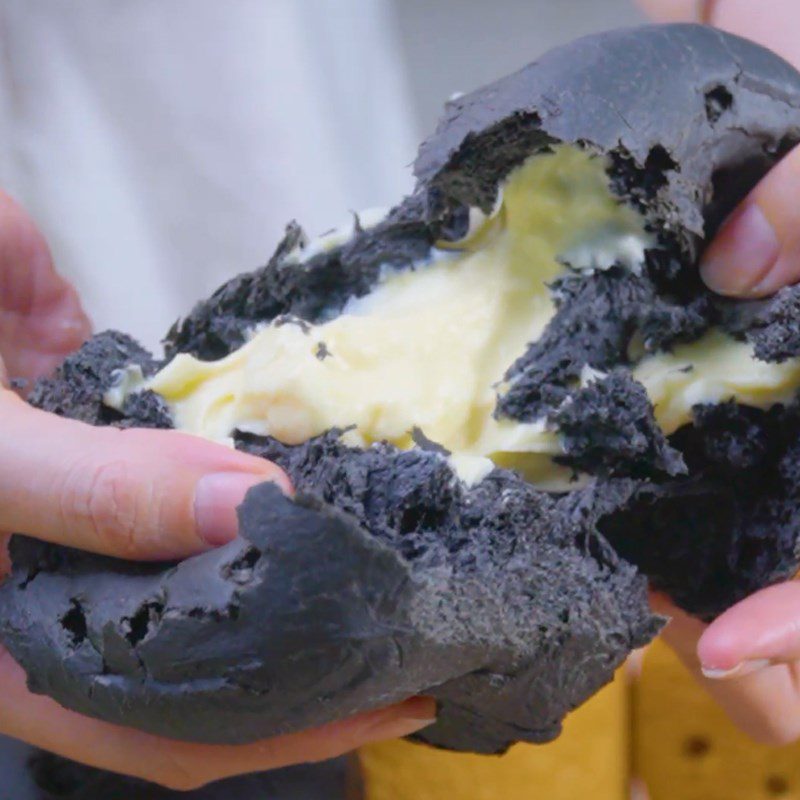
With the simple recipe above, you can immediately make the delicious, soft, and ultra-rich honeycomb charcoal bread. Let’s catch this super hot trend right away. Tastetutorial.com wishes you success with this recipe!
*Refer to the recipe and images from the YouTube channel The Bakery That Makes If You Like, Stops If You Don’t


