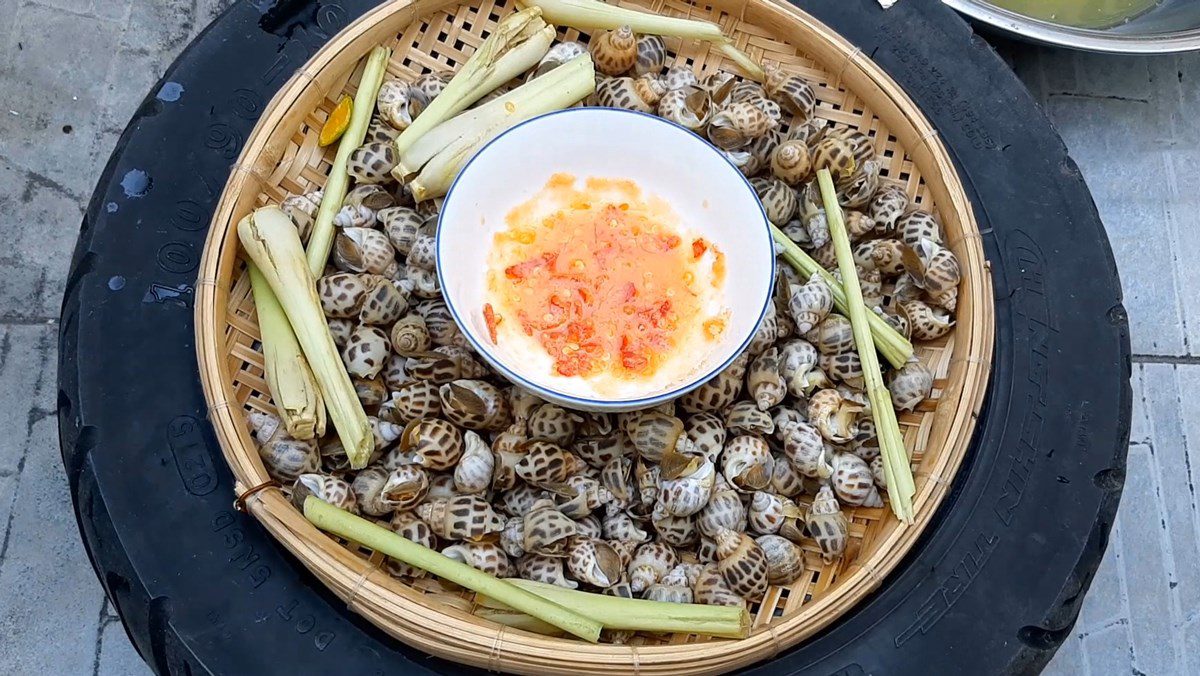
You love eating sea snails but are too familiar with steamed sea snails with lemongrass or salted sea snails, so why not try these 2 ways of grilling sea snails below, super simple yet preserving the delicious flavor of sea snails. Let’s join Tastetutorial.com into the kitchen to make these 2 grilled dishes right away!
1. Grilled sea snails baked in foil
-
Preparation
10 minutes
-
Cooking
45 minutes
-
Difficulty
Easy
Ingredients for Grilled sea snails baked in foil For 2 people
Sea snails 1 kg (small size) Soda 160 ml (1/2 can) Lemongrass 3 stalks Chili 2 pieces Tangerine 2 pieces Common spices a little (salt/ sugar/ monosodium glutamate)
How to prepare Grilled Sea Snails wrapped in foil
-
Prepare the ingredients
After purchasing, you soak the sea snails in a basin of water for 2 – 3 hours to allow them to expel all impurities.
Then you rinse them thoroughly 2 – 3 more times to ensure the sea snails are really clean.
The lemongrass should be washed clean, then cut into pieces and crushed.
-
Make chili salt
You put 2 chili peppers in a mortar and crush them, then add 1 tablespoon of salt, 1/2 teaspoon of sugar, and 1/2 teaspoon of monosodium glutamate and grind them finely.
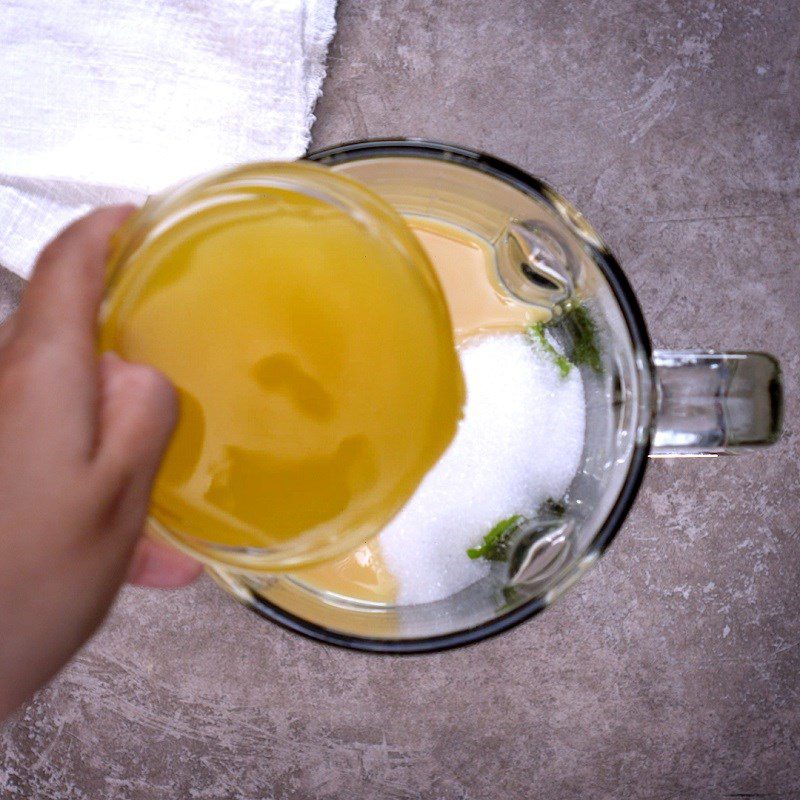
After the salt turns red, squeeze in the juice of 2 calamondin limes and mix well.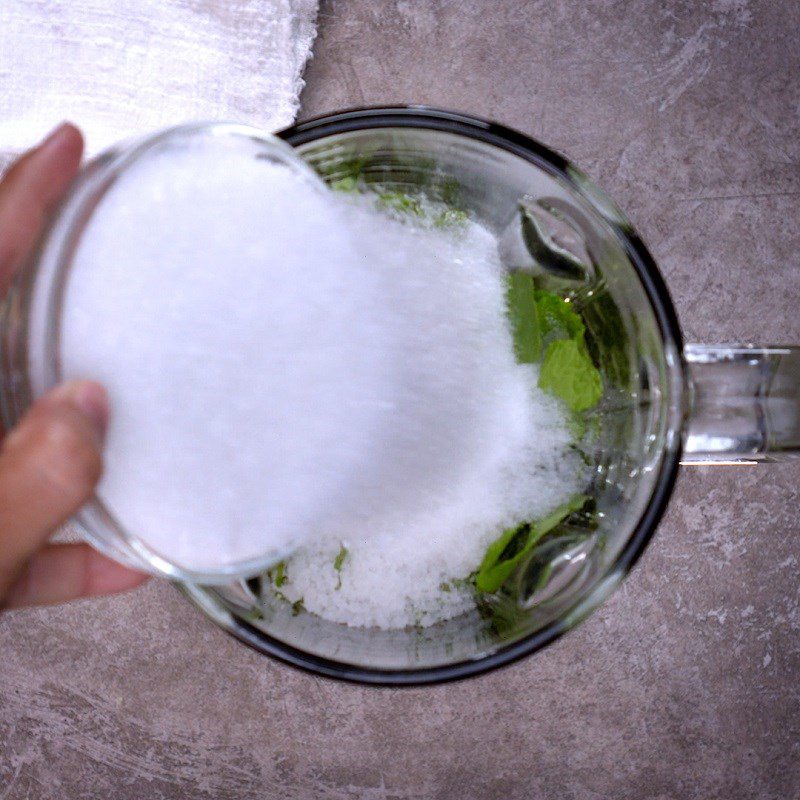
-
Grilled sea snails in the oven
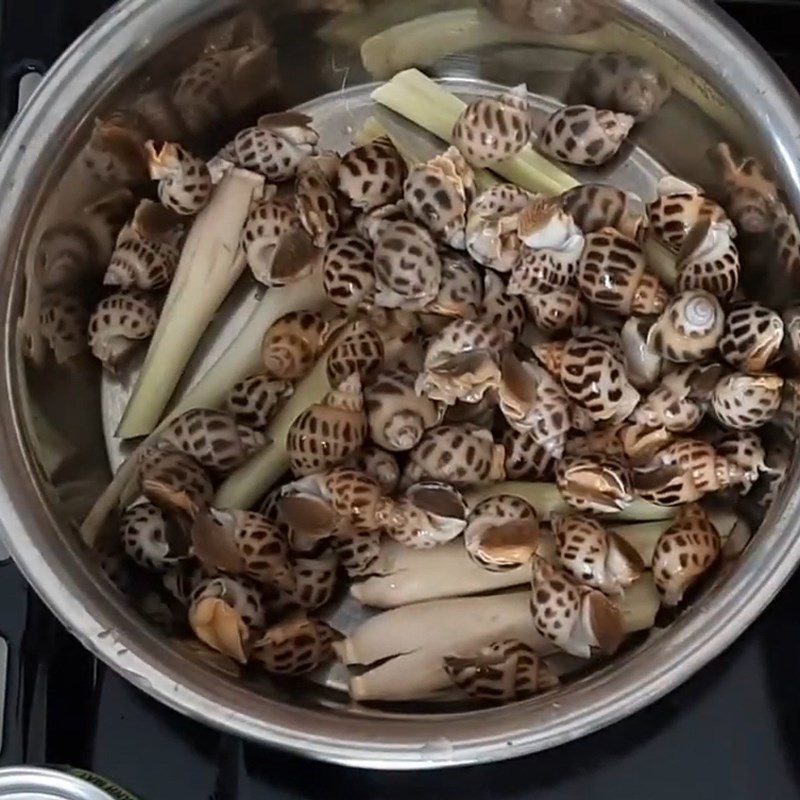
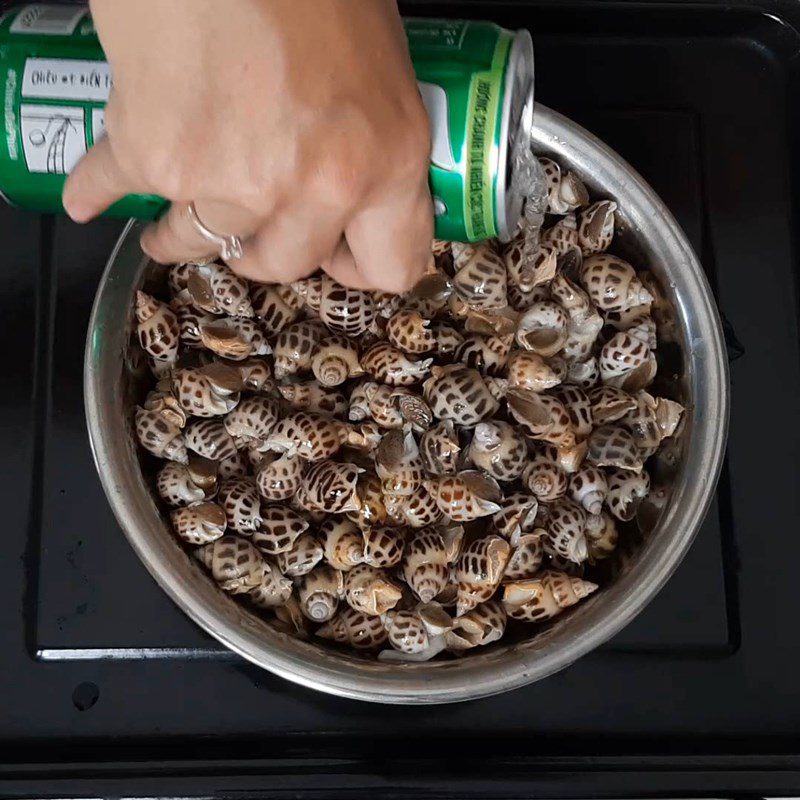
Place the prepared lemongrass at the bottom of the tray, then put the sea snails on top and pour in 1/2 can of soda.
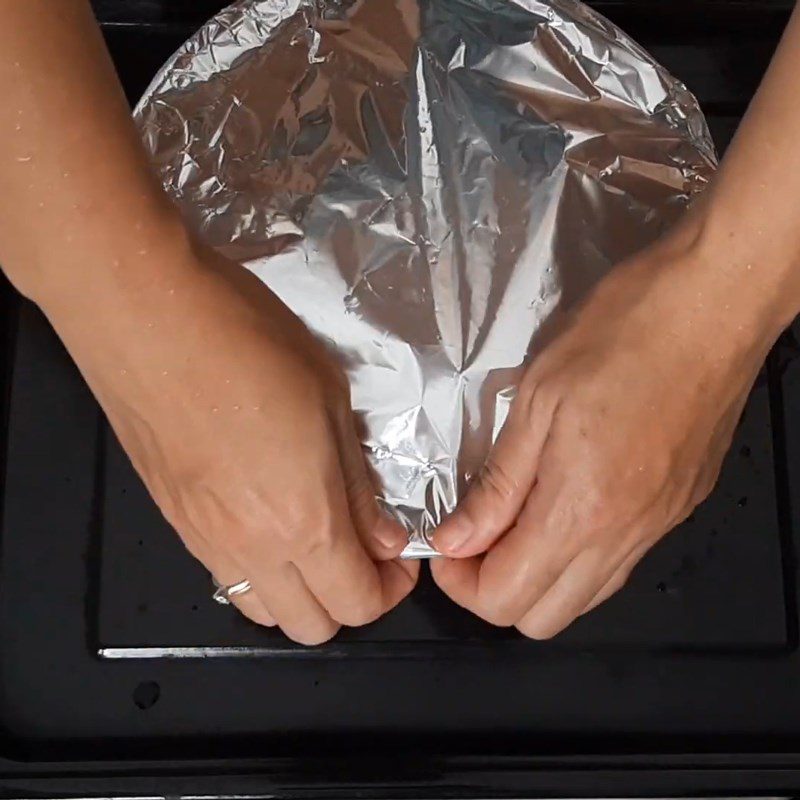
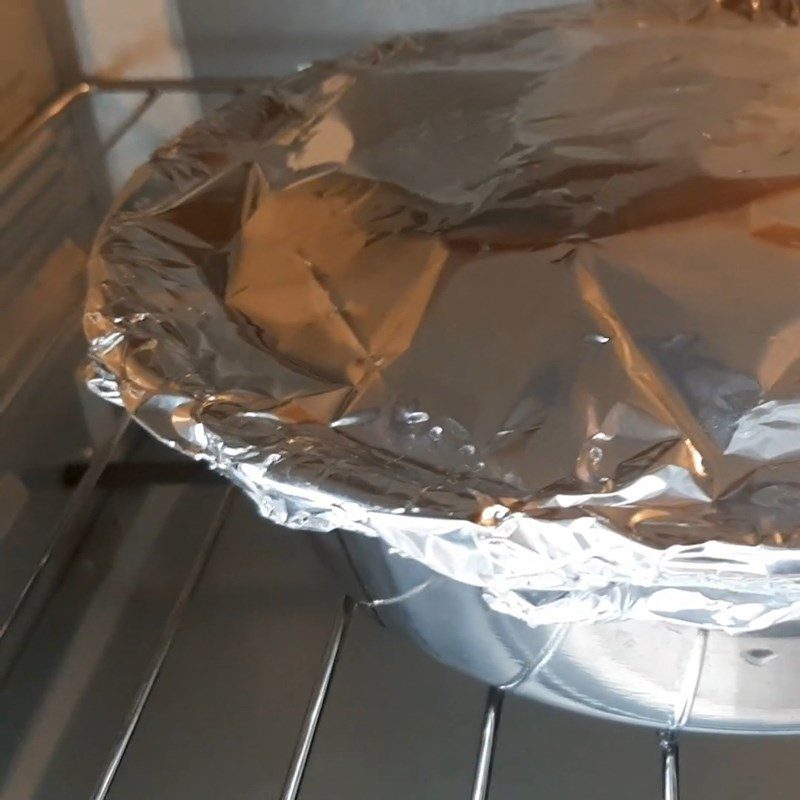
Wrap the tray with foil, then place it in the oven at a temperature of 150 degrees Celsius for 30 minutes.
-
Final product
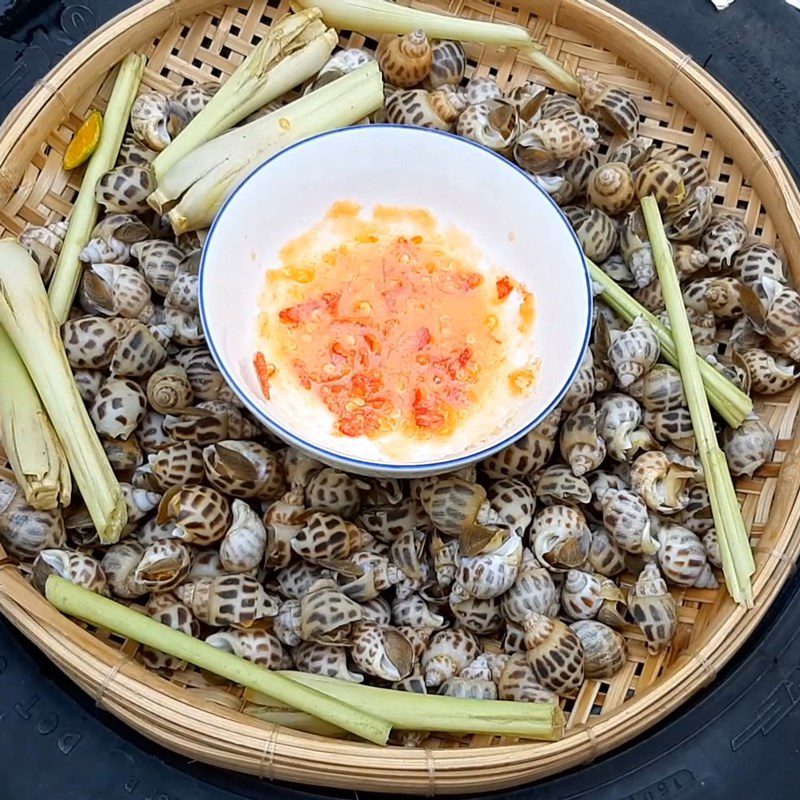
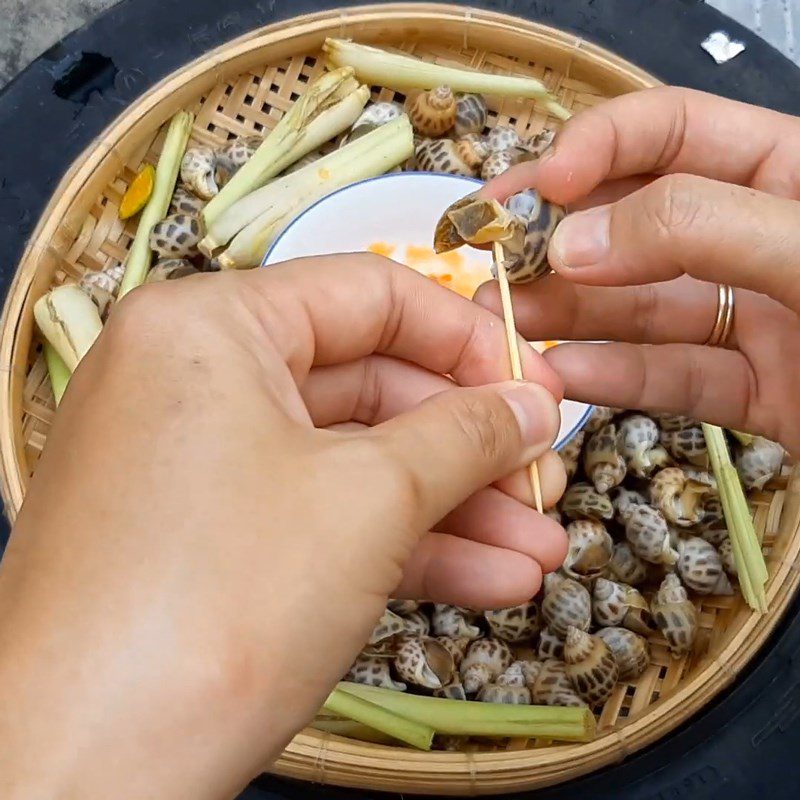
The sea snails have a sweet, chewy flavor, fragrant with lemongrass, loved by both adults and children. Take the hot sea snail meat and dip it in a bit of spicy, salty-sweet chili salt, incredibly delicious!

2. Grilled sea snails
-
Preparation
10 minutes
-
Cooking
30 minutes
-
Difficulty
Easy
Ingredients for Grilled sea snails Serves 2 people
Sea snails 1 kg (small size) Chili 1 piece Lemon 1/2 piece Common spices A little (salt/ pepper/ monosodium glutamate)
How to prepare Grilled sea snails
-
Prepare the sea snails
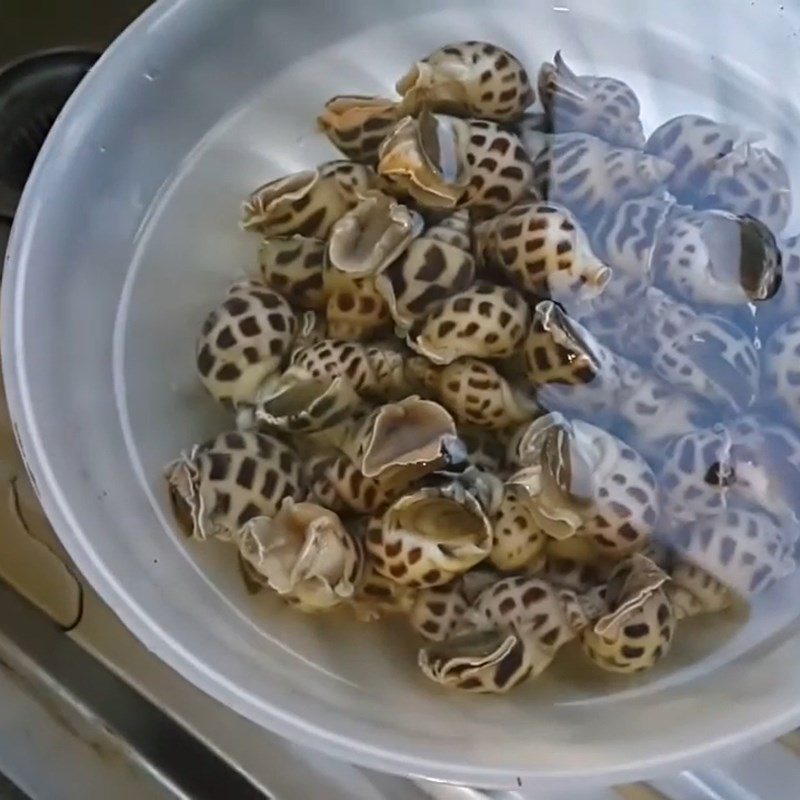
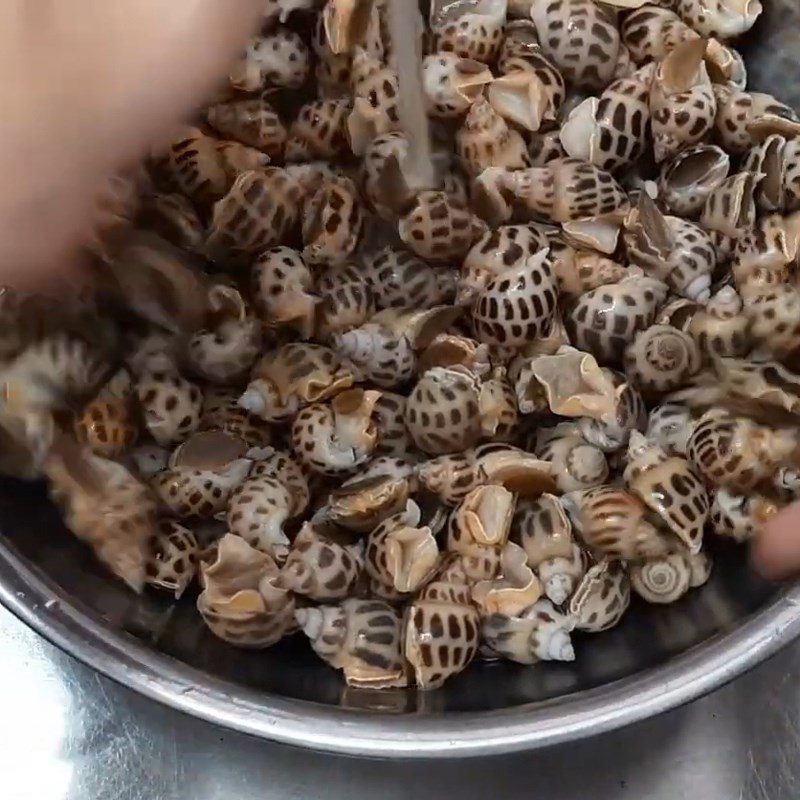
After purchasing, soak the sea snails in a basin of water for 2 – 3 hours to allow them to expel dirt.
Then rinse thoroughly 2 – 3 more times with clean water to ensure the sea snails are clean.
-
Make lemon pepper salt
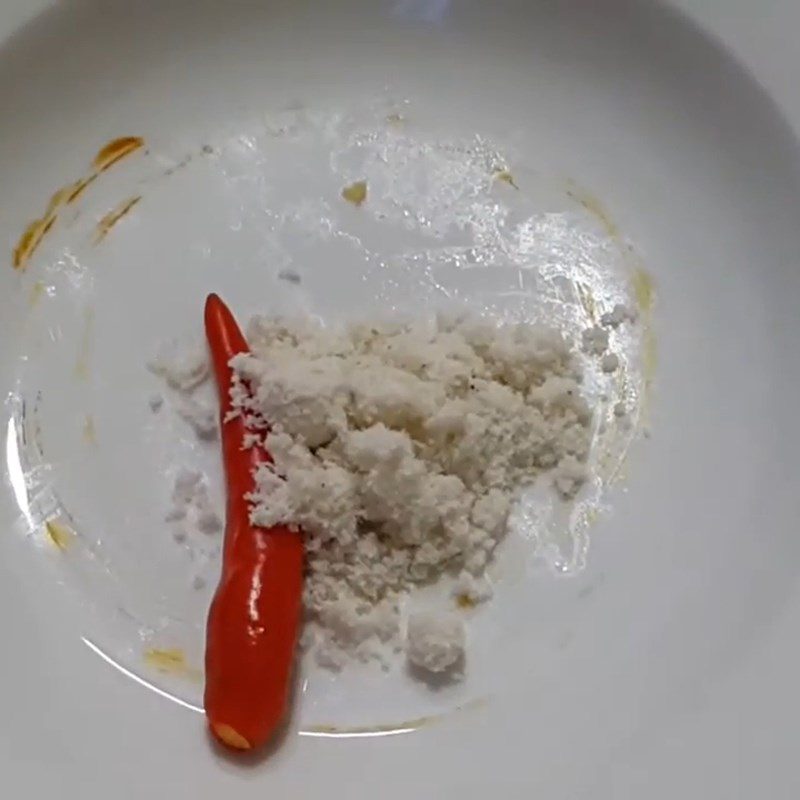
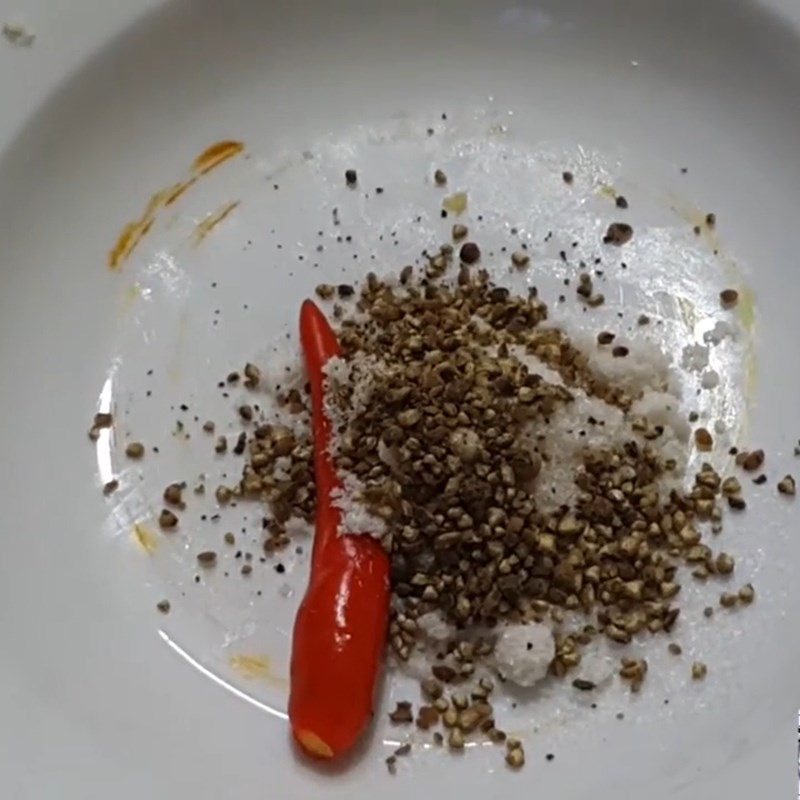
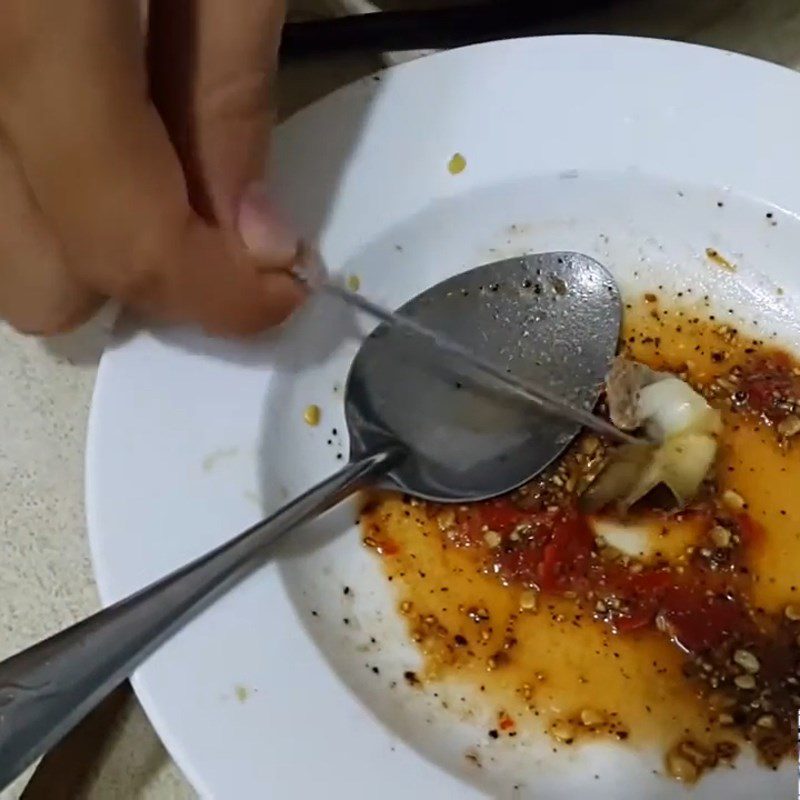
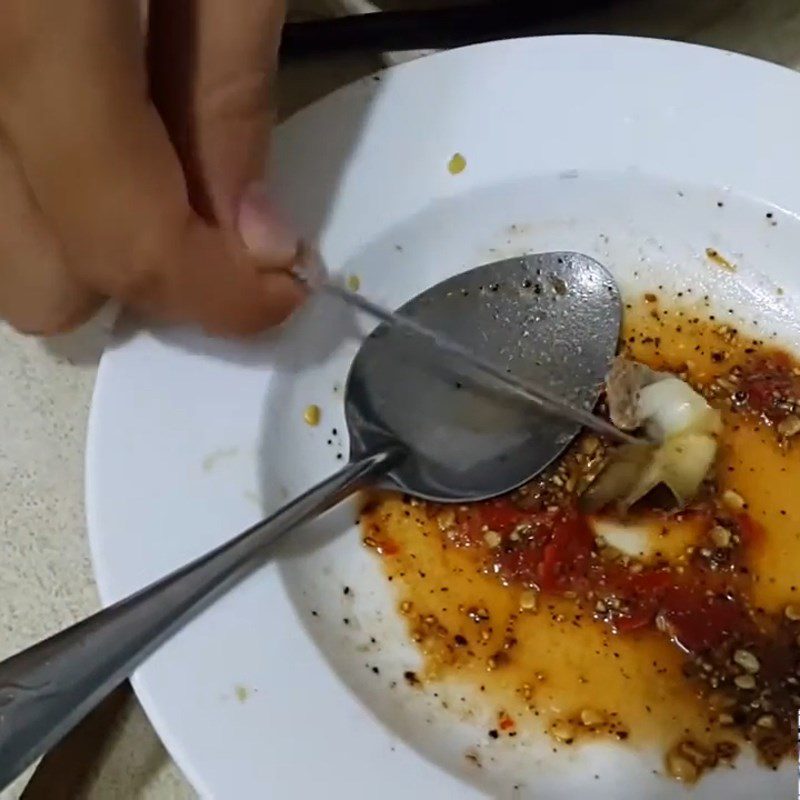
Add 1 chili, 1/2 tablespoon of salt, 1/2 teaspoon of monosodium glutamate, and 1/2 teaspoon of black pepper into a bowl and pound them finely.
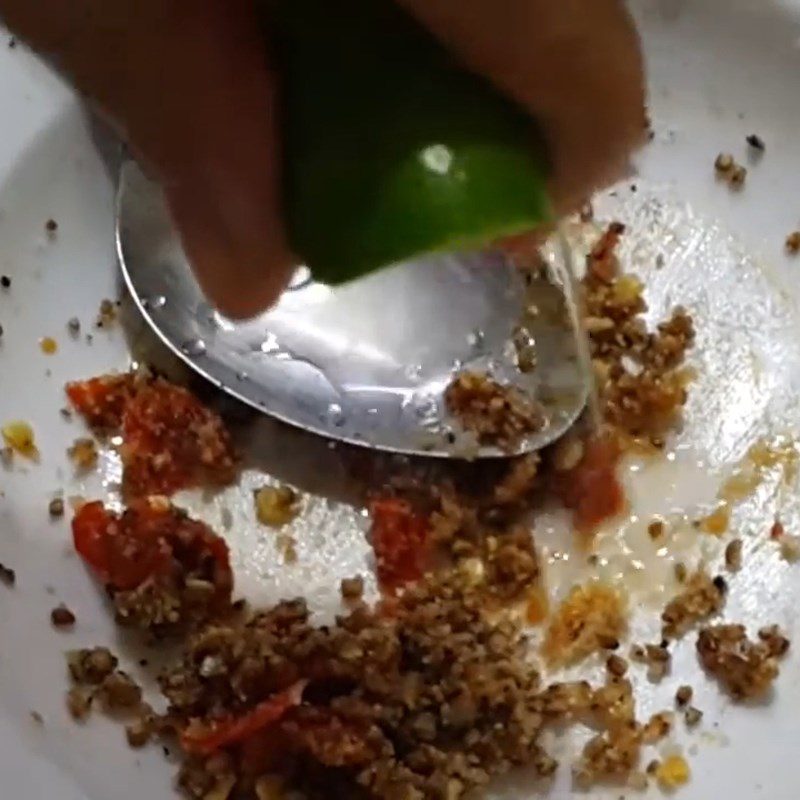
Squeeze in the juice of 1/2 lemon and mix well.
-
Grill the snails
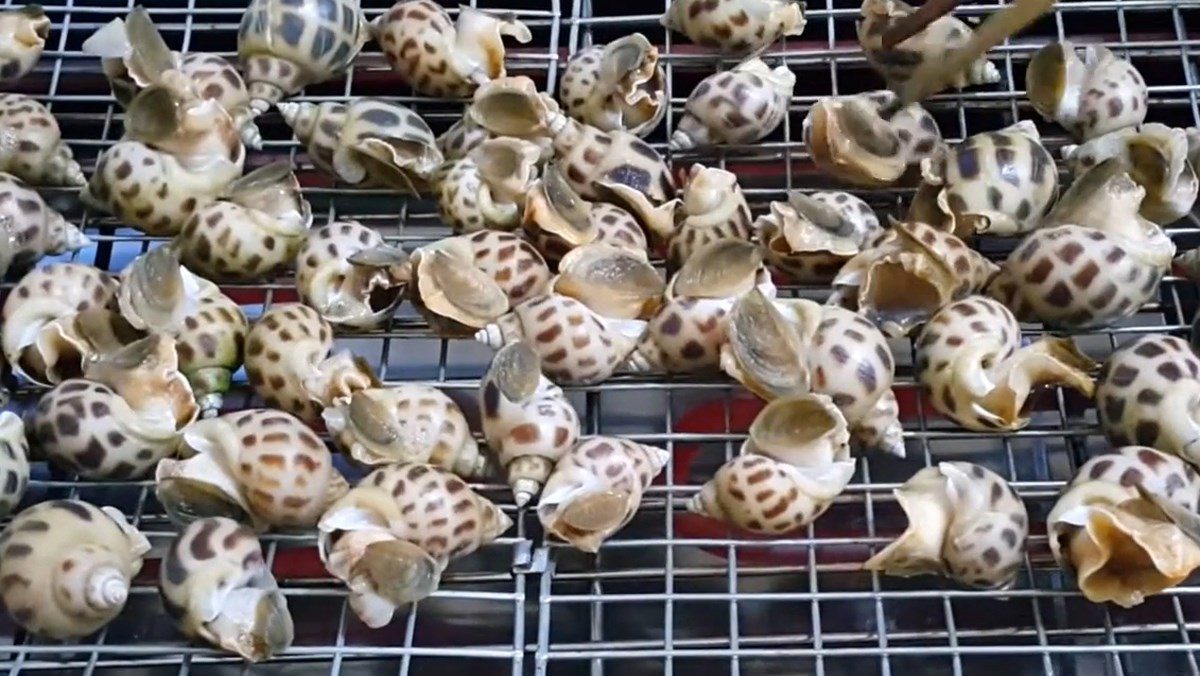
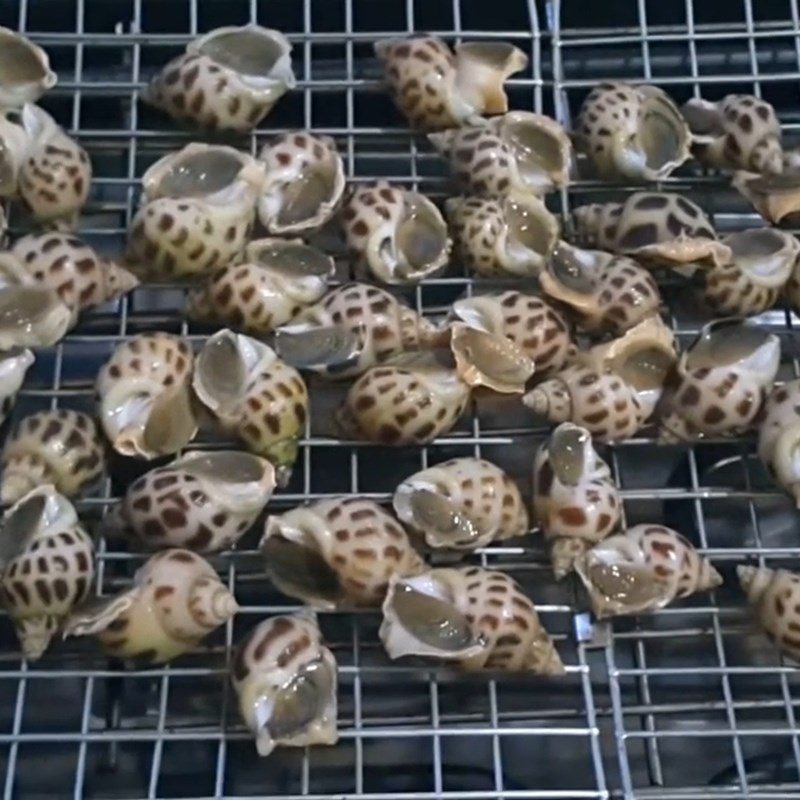
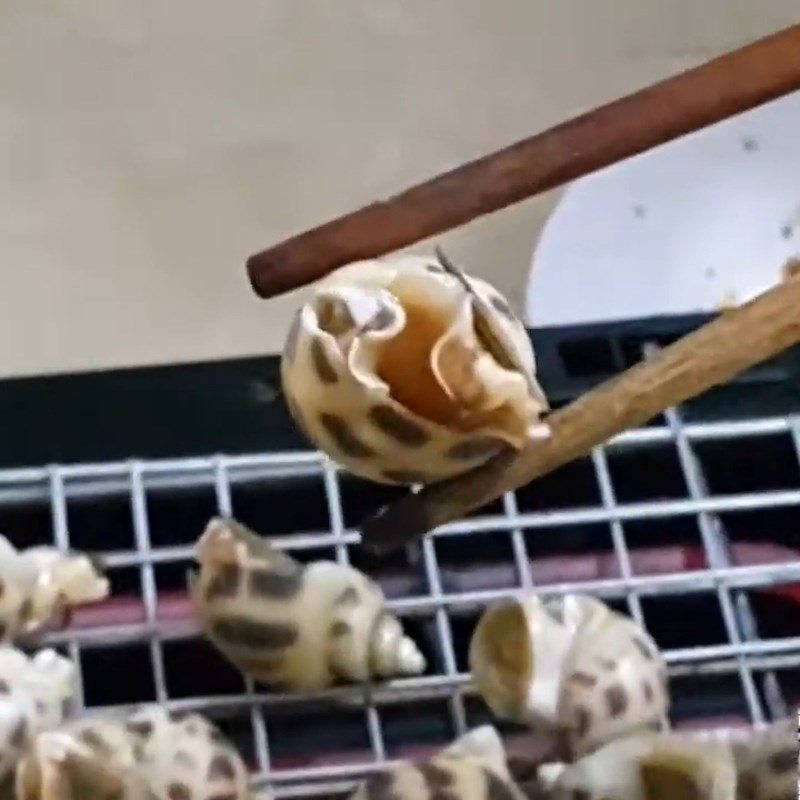
Arrange the sea snails on the grill, turn on the electric stove to grilling mode, and grill the snails for 15 minutes or until the liquid inside the sea snails boils and the surface of the snails firms up, then the snails are cooked.
-
Finished Product
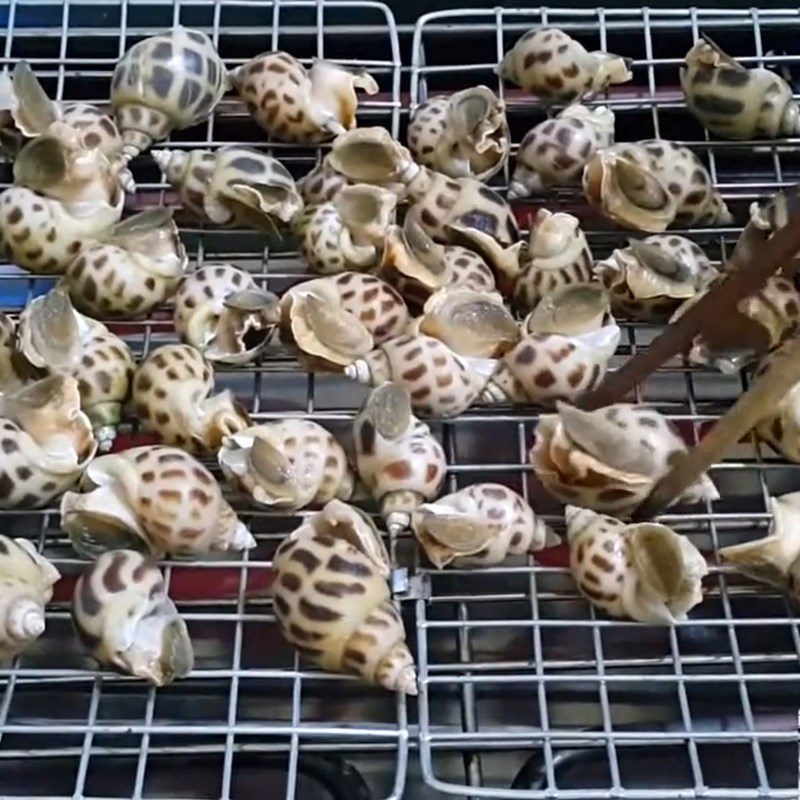
The grilled sea snail meat is delicious, naturally chewy and sweet, blended with the fragrant salt, pepper, and lime flavor, along with the spicy chili. You just have to raise a glass and enjoy!
How to Choose Fresh and Delicious Sea Snails
- You should choose snails that are still alive, with their bodies tightly attached to the shell, and the snail meat still has a certain level of moisture. When touched, they will retract into the shell.
- Check the snails near the outer edge of the shell; if you touch them, they should reflexively close up.
- Do not buy snails that have soft, mushy bodies and shells that are deeply retracted, as they are likely dead.
How to Prepare Clean, Non-Fishy Snails
Method 1: To let the snails expel all dirt, you should soak the fragrant snails in water mixed with a diluted lemon and salt solution for about 1 – 2 hours.
Method 2: Put the snails into a basin of water with a little sliced chili; the spiciness of the chili can help the snails release all the dirt and sand. This can be the simplest and most effective method. Do not use vinegar to clean the snails, as the smell of vinegar is quite strong and may affect the taste of the dish.
Finally, the article above has provided 2 simple and delicious recipes for grilled snails. Tastetutorial.com hopes that the information above will help you succeed in your kitchen!


