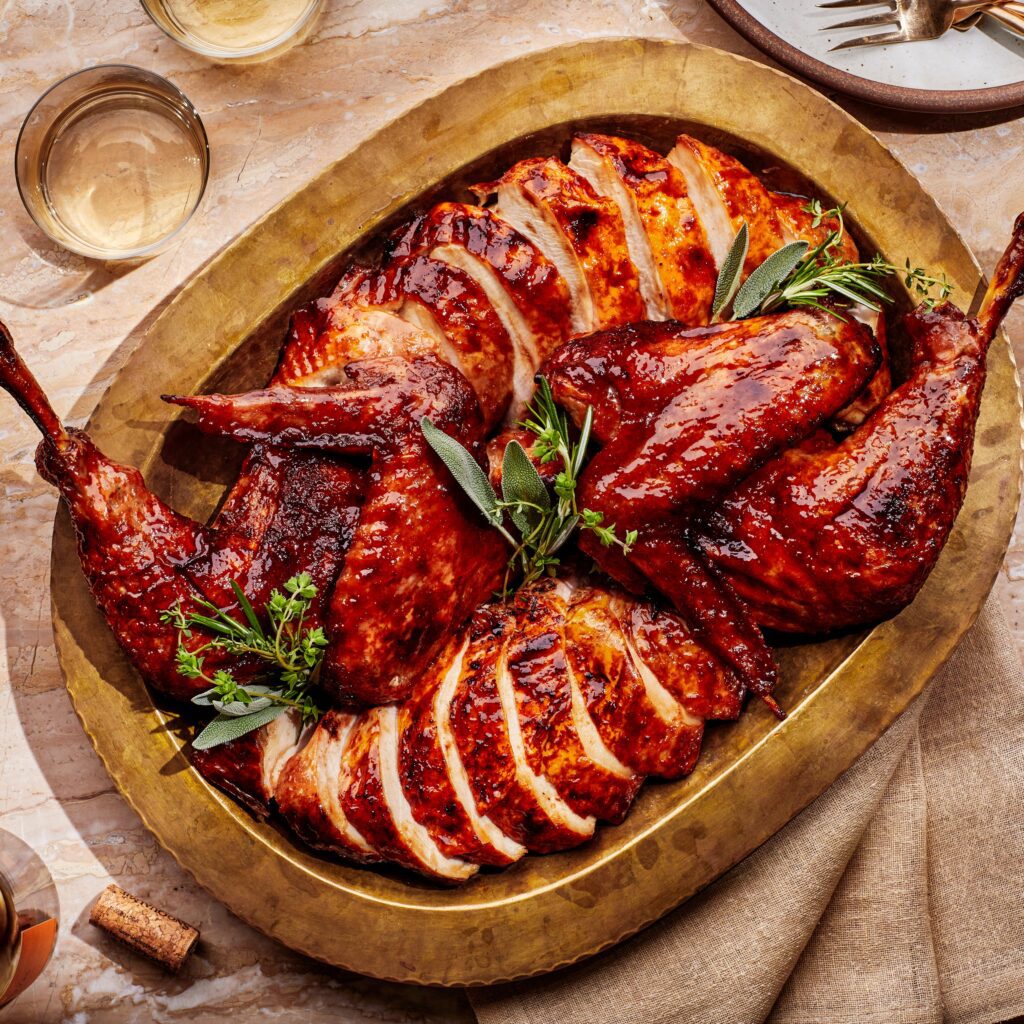
Roasting a whole turkey is a beloved tradition during Christmas dinner. This step-by-step guide provides tips for selecting the right turkey, including considering size and whether it should be fresh or frozen. It also advises on preparing the turkey by thawing, cleaning, and patting it dry. A flavorful seasoning blend is recommended to enhance the taste of the turkey. Preparing the roasting pan involves positioning a rack and adding liquid for moistness. The turkey should be roasted in a preheated oven, basted regularly, and cooked until the internal temperature reaches 165°F. Afterward, it should rest before carving and serving. Following these steps will result in a delicious centerpiece for the festive table.
The Roasted Turkey: An Exquisite Centerpiece for Christmas Dinner
Introduction
Roasting a whole turkey is a culinary tradition that brings families and friends together around the dinner table during the festive season. The succulent meat and irresistible aroma make it an exquisite centerpiece for Christmas dinner. Whether you’re a seasoned chef or a beginner in the kitchen, this step-by-step guide will help you roast the perfect turkey to impress your loved ones.
Step 1: Choosing the Right Turkey
When it comes to selecting a turkey, there are a few factors to consider:
- Size: Determine the size of the turkey based on the number of guests.
- Fresh or Frozen: Decide whether you want a fresh turkey or a frozen one. If choosing frozen, allow enough time for thawing.
- Organic or Conventional: Consider purchasing an organic turkey if you prefer one raised without antibiotics or hormones.
Step 2: Preparing the Turkey
Follow these steps to prepare the turkey for roasting:
- Thawing: If using a frozen turkey, place it in the refrigerator a few days before cooking. Follow the recommended guidelines for thawing time based on the turkey’s weight.
- Cleaning: Remove the giblets and neck from the cavity. Rinse the turkey well under cold water, both inside and out.
- Patting Dry: Use paper towels to pat dry the turkey, ensuring no excess moisture remains.
Step 3: Seasoning the Turkey
Seasoning is crucial to enhance the flavor of the turkey. Try this simple yet flavorful seasoning blend:
- 1 tablespoon salt
- 1 tablespoon black pepper
- 1 tablespoon dried rosemary
- 1 tablespoon dried thyme
- 1 tablespoon paprika
- 1 teaspoon garlic powder
Rub the seasoning mixture all over the turkey, including under the skin and inside the cavity. Let the turkey sit for at least an hour to allow the flavors to penetrate the meat.
Step 4: Preparing the Roasting Pan
Follow these steps to prepare the roasting pan:
- Positioning the Rack: Place a roasting rack inside a sturdy roasting pan. This will elevate the turkey, allowing the heat to circulate evenly.
- Adding Liquid: Pour 2 cups of chicken or vegetable broth into the bottom of the pan. The liquid will keep the turkey moist and flavorful.
Step 5: Roasting the Turkey
Roasting the turkey requires time and patience. Follow these instructions for a perfectly roasted turkey:
- Preheating the Oven: Preheat the oven to 325°F (163°C) and make sure the rack is in the center position.
- Positioning the Turkey: Place the seasoned turkey on the roasting rack, breast-side up.
- Basting: Baste the turkey with melted butter or olive oil every 30 minutes to promote a golden-brown, crispy skin.
- Using a Meat Thermometer: Insert a meat thermometer into the thickest part of the thigh. The turkey is done when the thermometer reads 165°F (74°C).
- Resting: Once the turkey reaches the desired temperature, remove it from the oven and let it rest for 20-30 minutes before carving. This allows the juices to redistribute, resulting in moist and tender meat.
Step 6: Carving and Serving
Carving a turkey can be intimidating, but with the right technique, it becomes a breeze:
- Removing the Legs: Hold the turkey steady and cut through the skin between the leg and the body. Pull the leg away from the body until the joint pops, then cut through it.
- Removing the Wings: Similar to the legs, cut through the skin between the wing and the body. Pull the wing away until the joint pops, then cut through it.
- Slicing the Breast: Position the knife parallel to the breastbone and slice the meat away in smooth, even strokes. Repeat on the other side.
- Serving: Arrange the carved turkey on a platter and garnish it with fresh herbs for an enticing presentation. Serve alongside your favorite holiday sides and enjoy!
Conclusion
Roasting a turkey is a rewarding culinary experience that adds warmth and tradition to your Christmas dinner. By following this step-by-step guide, you’ll create a mouthwatering centerpiece that will delight your guests and create lasting memories. So, go ahead, embrace the holiday spirit, and enjoy the satisfaction of serving the perfect roasted turkey!
