-
Preparation
2 hours
-
Cooking
2 hours
-
Difficulty
Medium
If you are a chicken lover who also enjoys desserts, then this dessert is exactly what you are looking for. Let’s join Tastetutorial.com into the kitchen to make this delicious grilled chicken thigh cake right away!
Ingredients for Grilled Chicken Thigh Cake For 8 pieces
Flour 120 g Syrup 80 ml Chicken egg 1 piece Cooking oil 15 ml Pandan leaves 1 bunch (small) Peeled mung beans 80 g Sugar 50 g Salted eggs 4 pieces Peanut butter 10 g
How to Choose Good Salted Eggs
- You should choose eggs that are not too large, with no cracks on the surface and no mold. When shaken gently, you should feel a little water inside the egg, which indicates that they are standard salted eggs and not too old.
- Do not choose eggs that, when cracked open, have a strange odor, cloudy whites, and shrunken yolks with unusual colors.
- Salted Eggs can be purchased at supermarkets and reputable markets like Tastetutorial.com,…
- Additionally, to ensure safety and hygiene, you can also make salted eggs yourself at home.
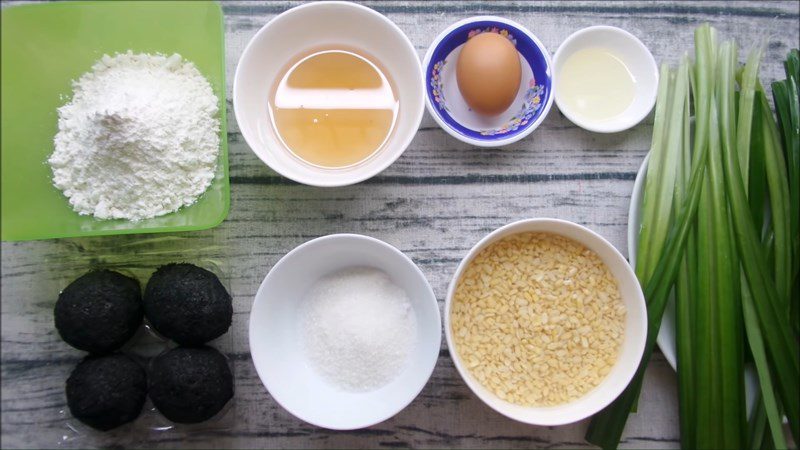
Tools Needed
Box oven, hand blender, aluminum foil, baking tray, plastic wrap,…
How to make Grilled Chicken Leg Cake
-
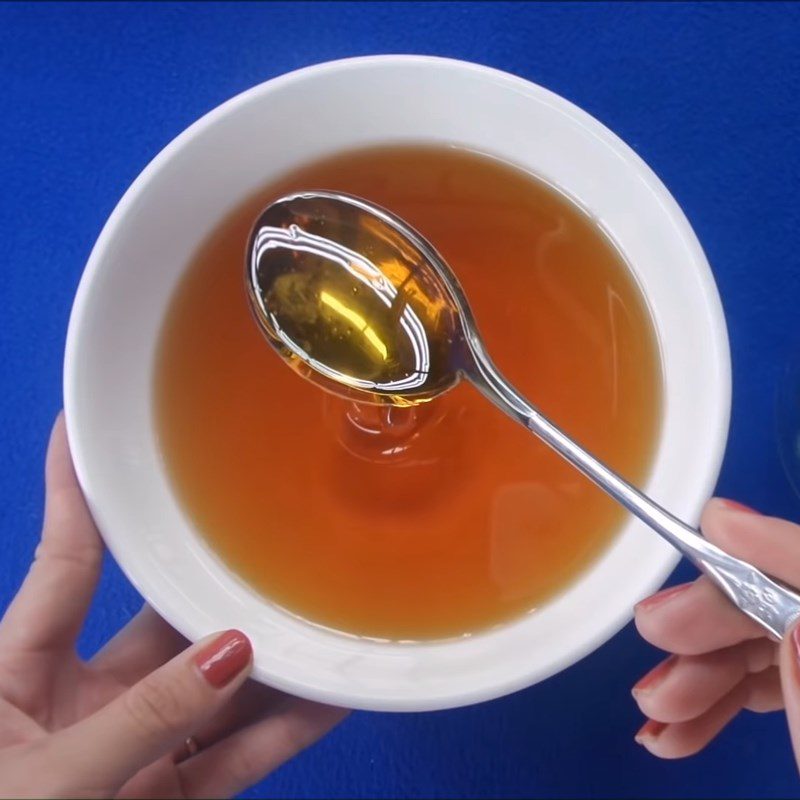
Cook the sugar syrup
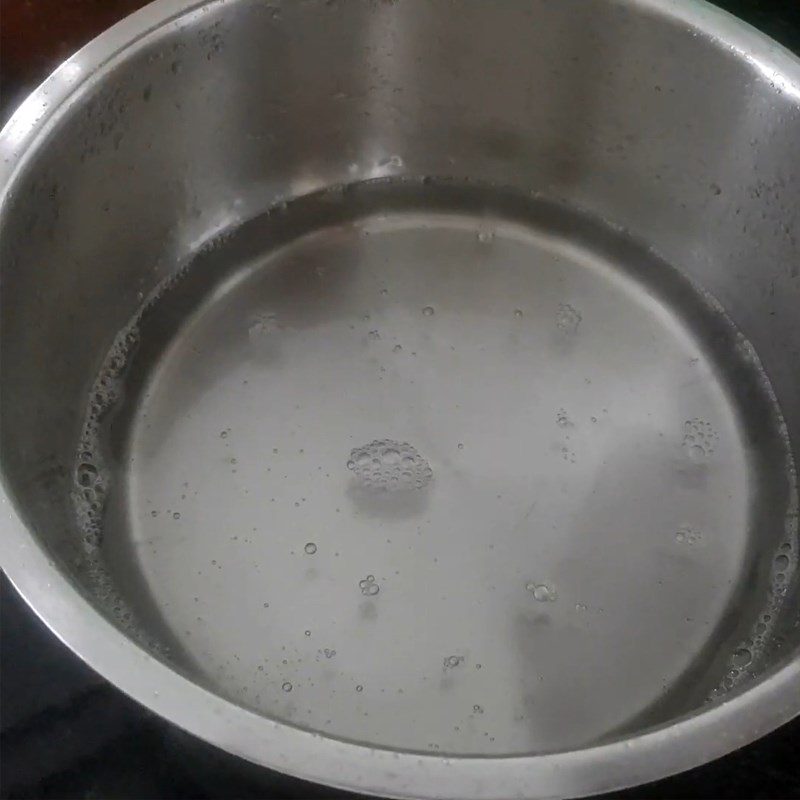
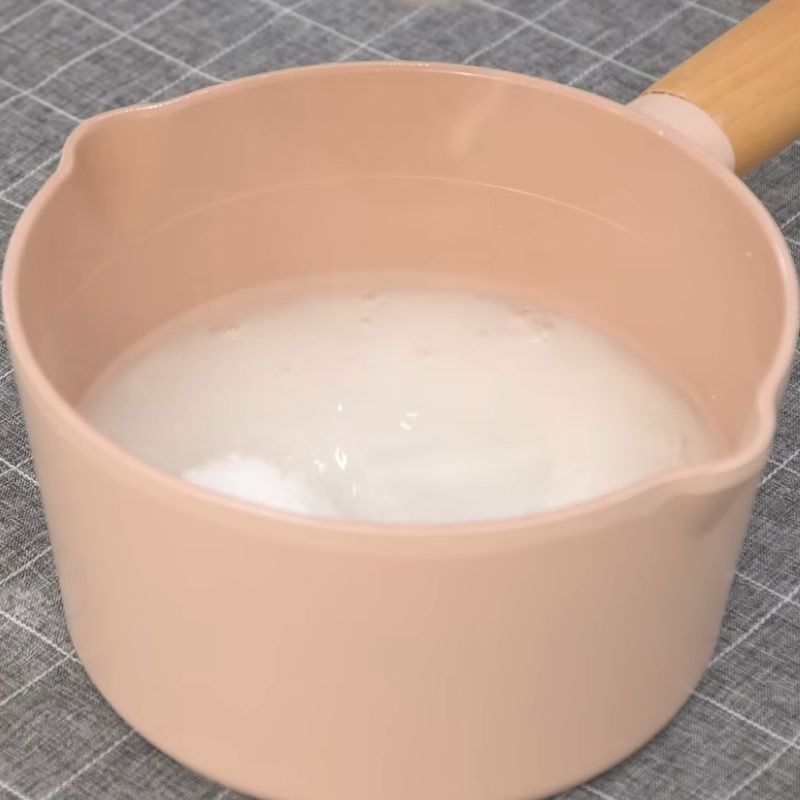
Add 100g of white sugar and 100ml of water into a pot, then place it on the stove.
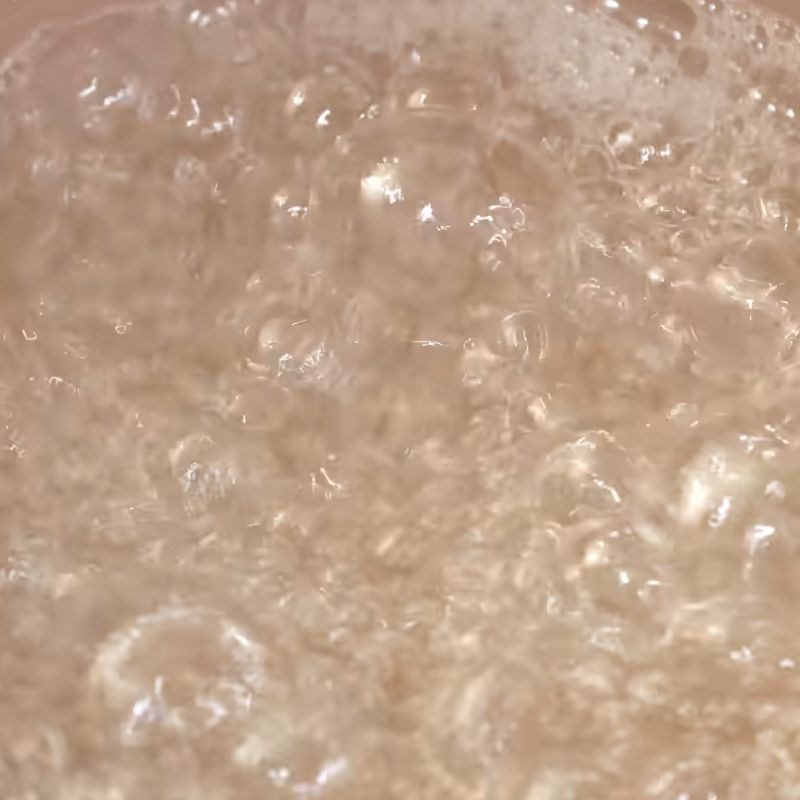
Boil the mixture over high heat until the sugar is completely dissolved and turns a brown color. Quickly add the remaining 200ml of water into the pot.
Continue to add the remaining 400g of sugar into the pot and simmer on low heat for 15 minutes. Then, add 1 tablespoon of lemon juice and continue to simmer for another 15 minutes.
After cooking, pour it into a large bowl and let it sit overnight. The next morning, check if the syrup is slightly thick; it should be able to flow but not too runny or hard and clumpy to be successful.
Then put it into a glass jar, seal it tightly, and store it for 3 days before using it to make the cake.
Note:- While boiling the sugar, do not stir too much as it may cause the sugar to foam or crystallize.
- When the sugar starts to turn yellow, pay attention to add water immediately when the sugar is evenly yellow; just a little distraction can cause the sugar to burn and turn black!
- You can store the syrup after cooking at room temperature, in a cool place, avoiding direct sunlight, and it can be used for up to 9 days.
- You can also use golden sugar to cook the syrup; you just need to boil it without caramelizing the sugar, which saves you more time.
See details: Tips for cooking syrup without crystallizing
-
Blending pandan leaf extract
After buying the pandan leaves, wash them with clean water, especially at the base, as it often has a lot of dirt.
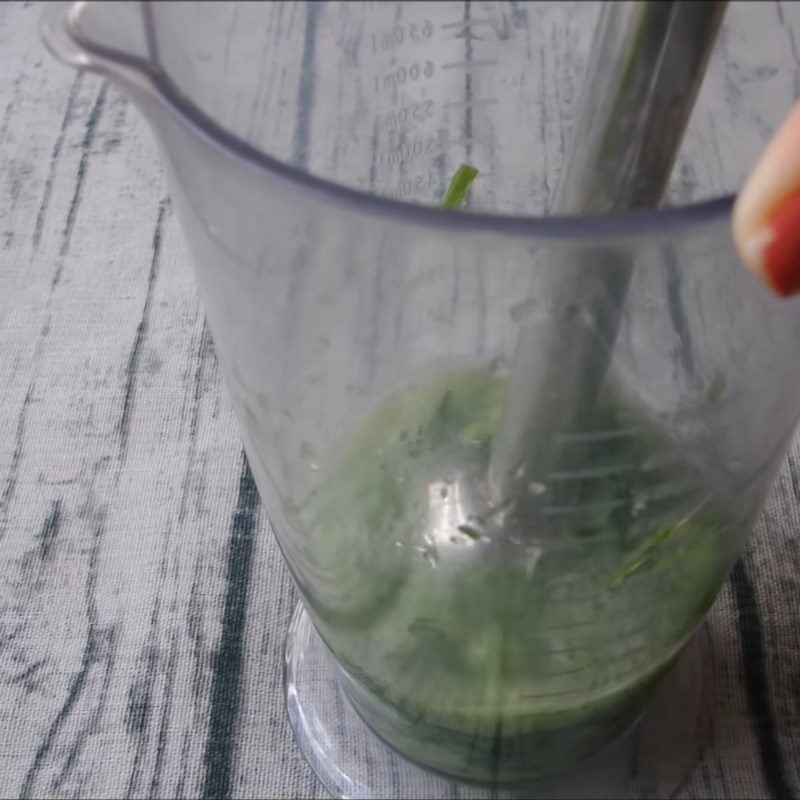
After washing, chop the pandan leaves and put them into a mortar with 100ml of water, then use a handheld blender. Blend the pandan leaf mixture until it is smooth.
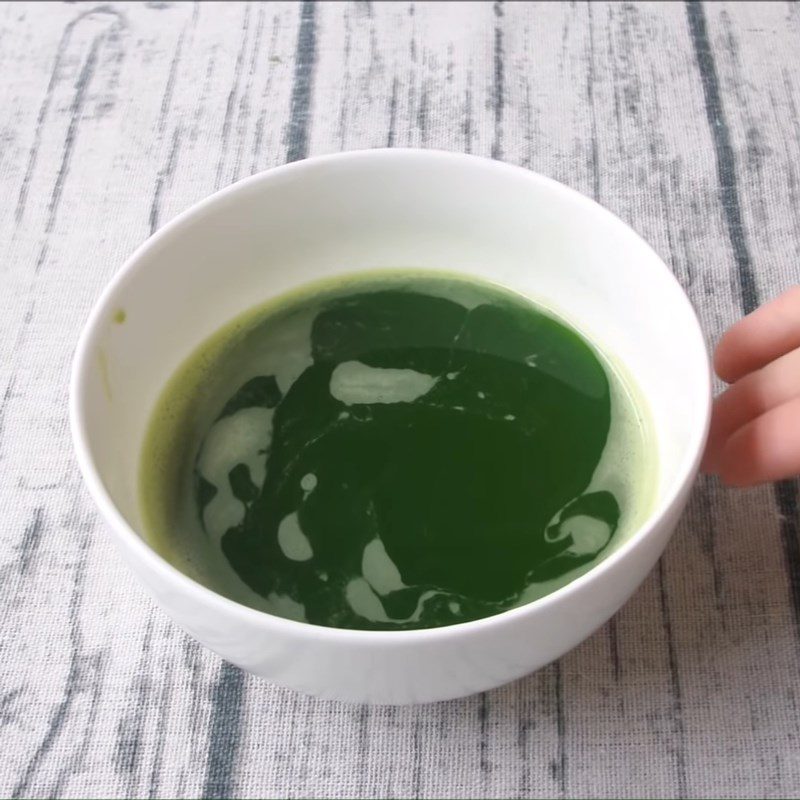
Once the pandan leaves are smooth, strain them through a sieve to extract the liquid or use a clean cloth to squeeze, which will help minimize the leftover pandan leaf residue.
Tip: The finer you chop the pandan leaves, the quicker it will blend, yielding more color.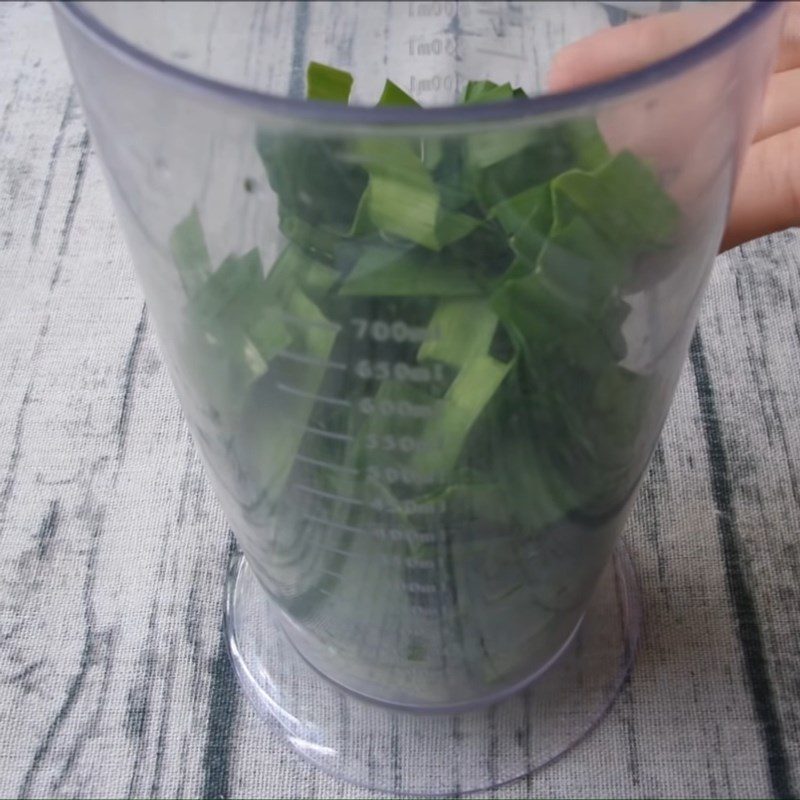
-
Cook the mung beans
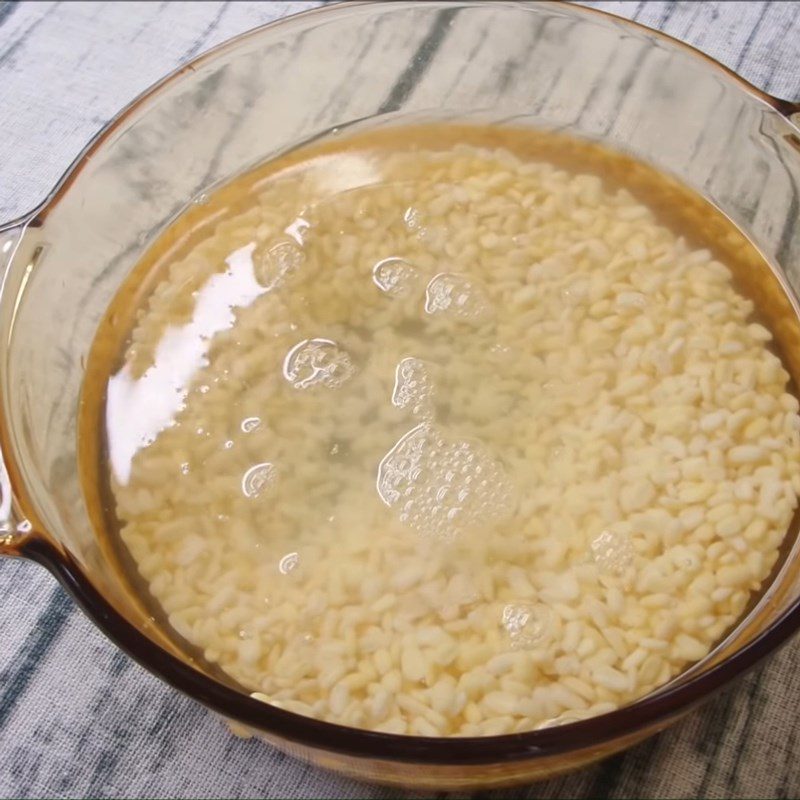
After purchasing the peeled mung beans, rinse them with water until clean, then soak the mung beans for 2 – 3 hours until they swell and soften so that they will cook faster.
After soaking, drain the mung beans.
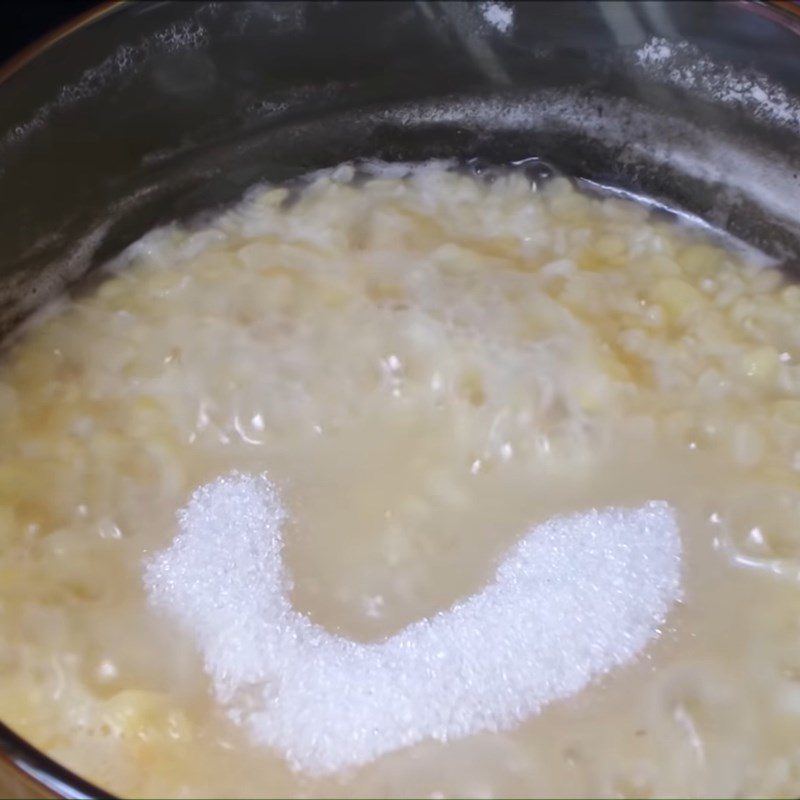
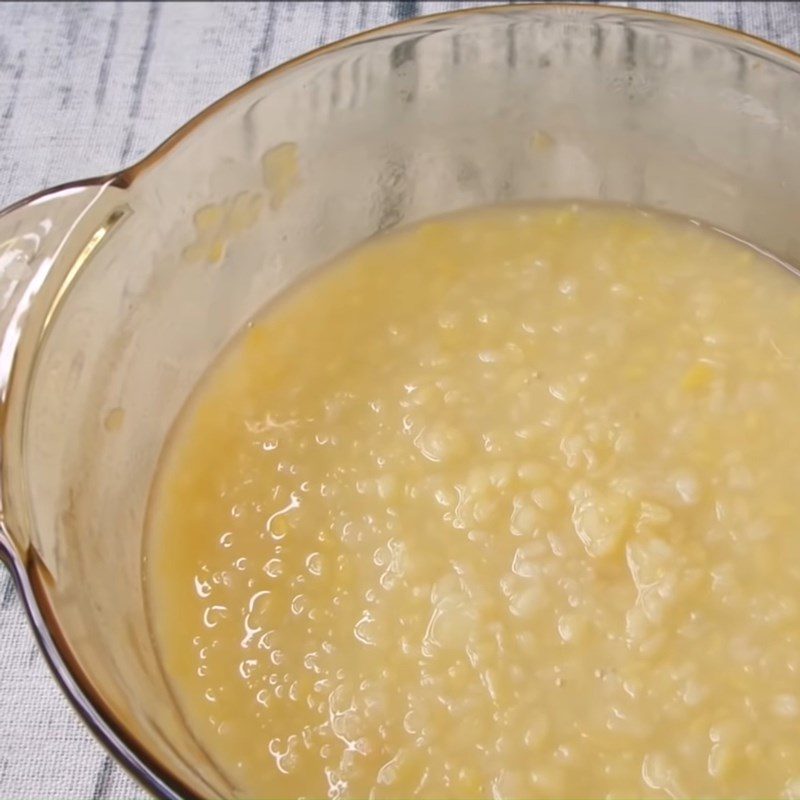
Add the mung beans to a pot with 300ml of water, then place it on the stove and cook for 30 minutes or until the mung beans are soft.
When the mung beans are soft, add 50g of sugar and a little salt to the pot, then stir well and turn off the heat.
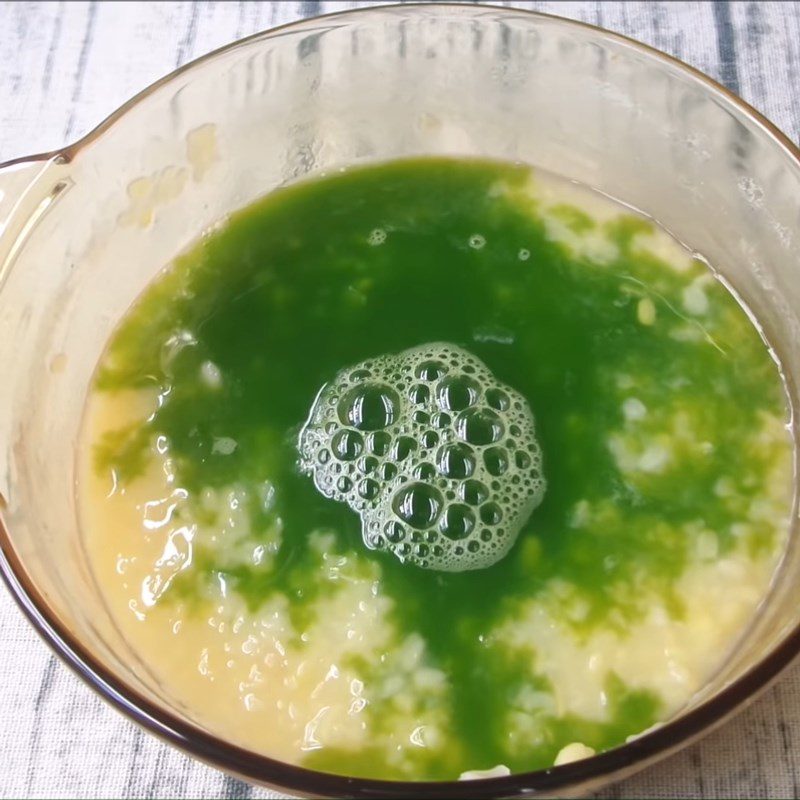
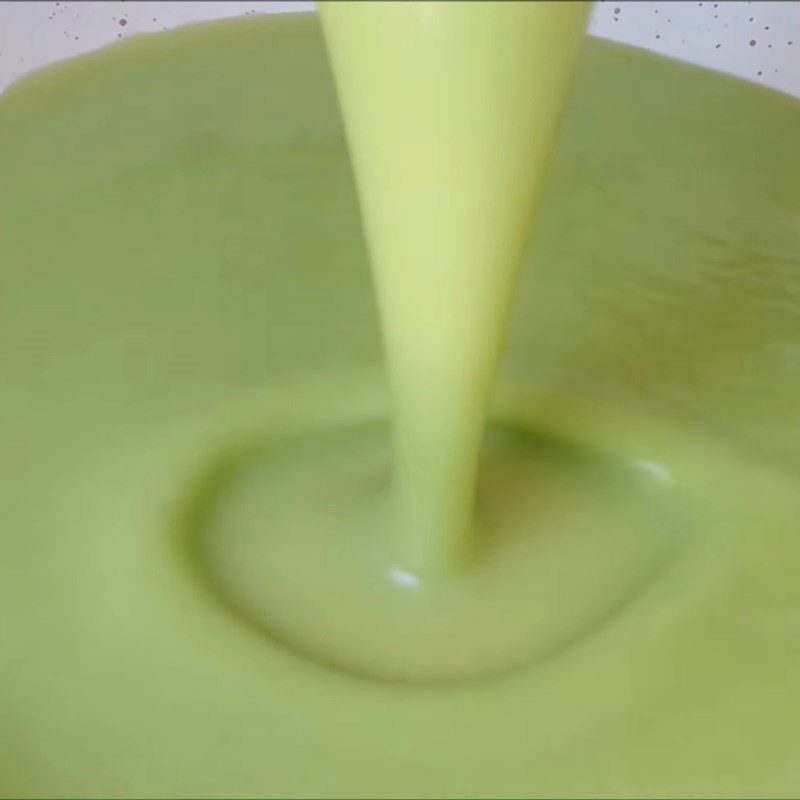
Let the mung beans cool, then add the pandan leaf water and use a hand blender to blend until the mung beans are smooth.
-
Cook the mung bean and pandan filling
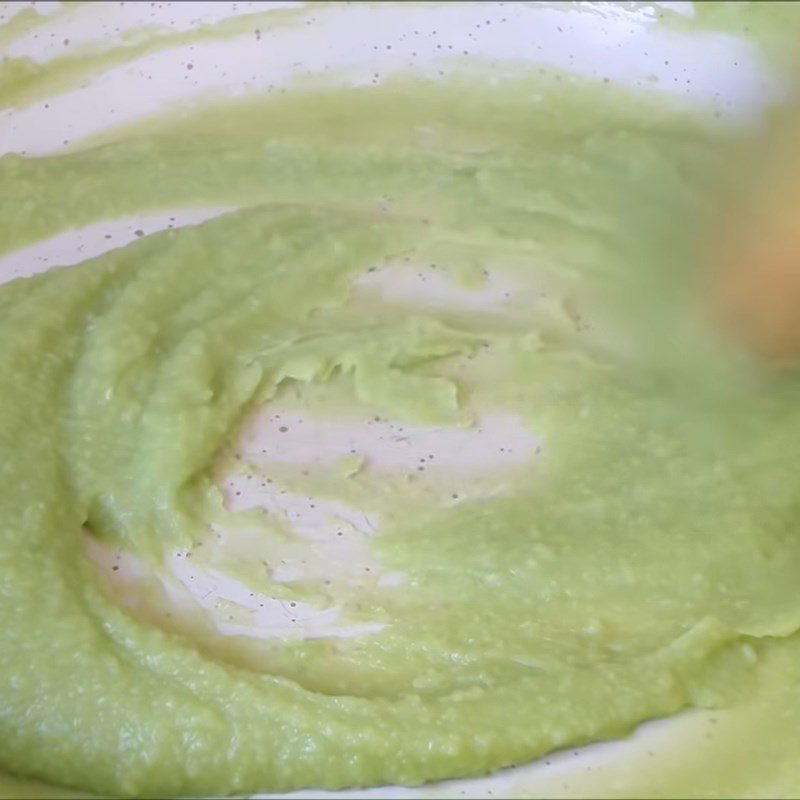
Add the blended mung bean and pandan mixture to a pan, place it on the stove and cook on low heat, stirring regularly, especially at the bottom to prevent the mung beans from burning.
When the mung bean mixture thickens, turn off the heat and let it cool.
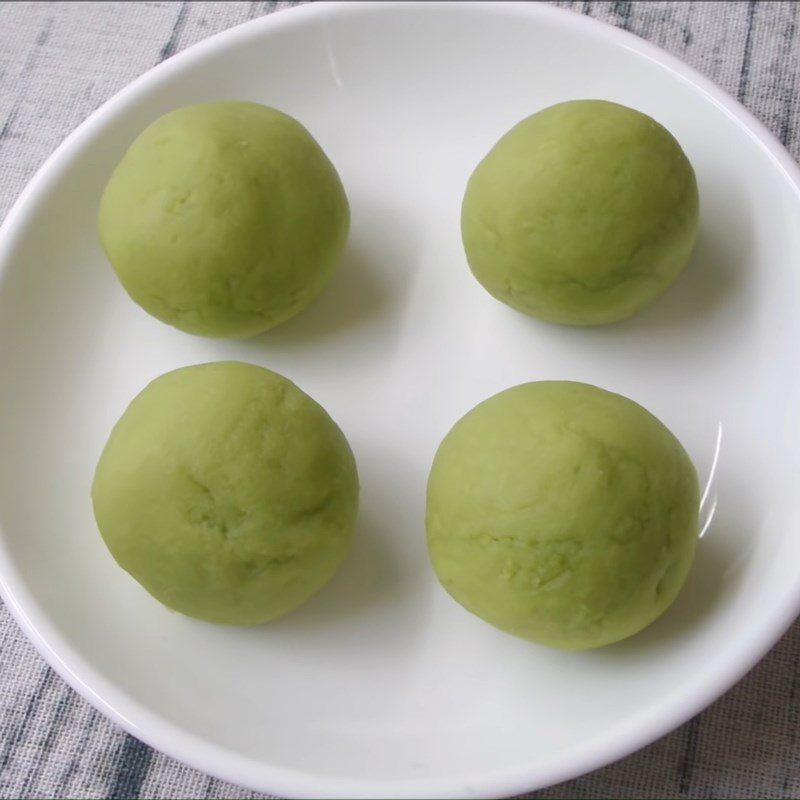
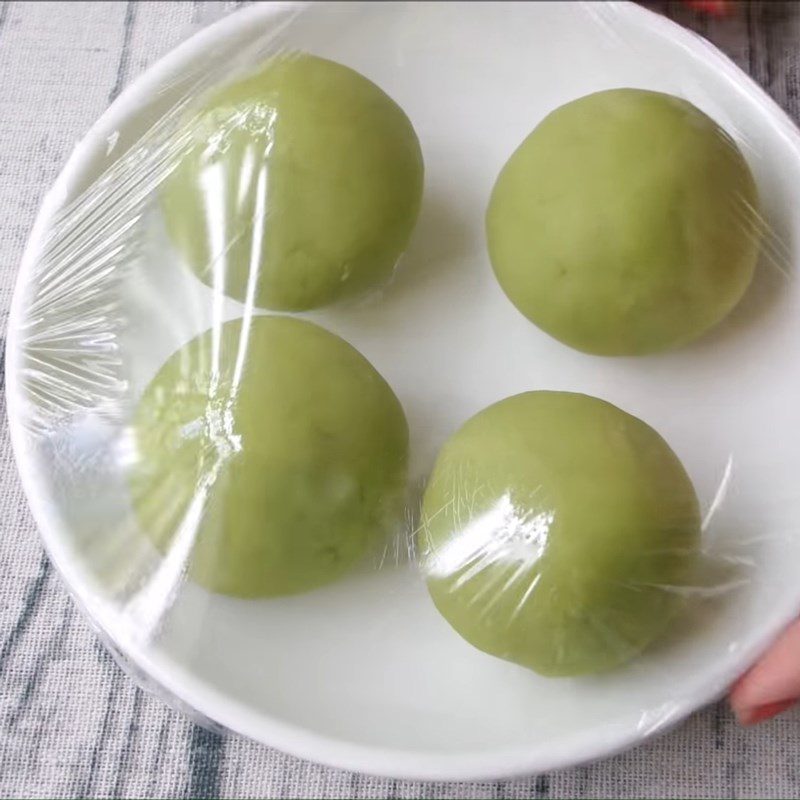
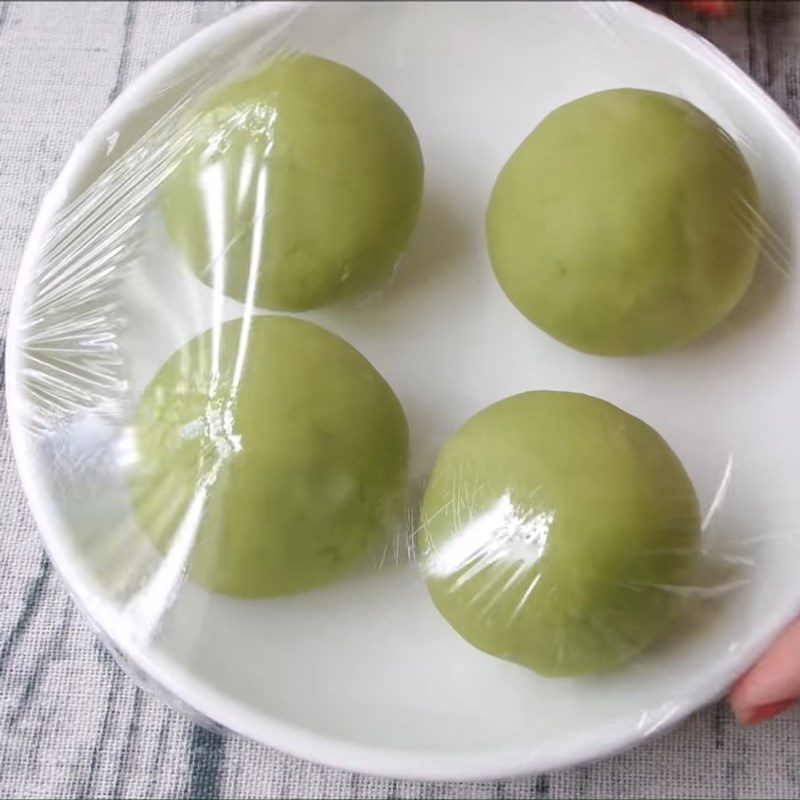
Divide the mixture into 4 portions and roll them into balls, using plastic wrap to cover them so that the filling does not dry out.
-
Wrap the filling
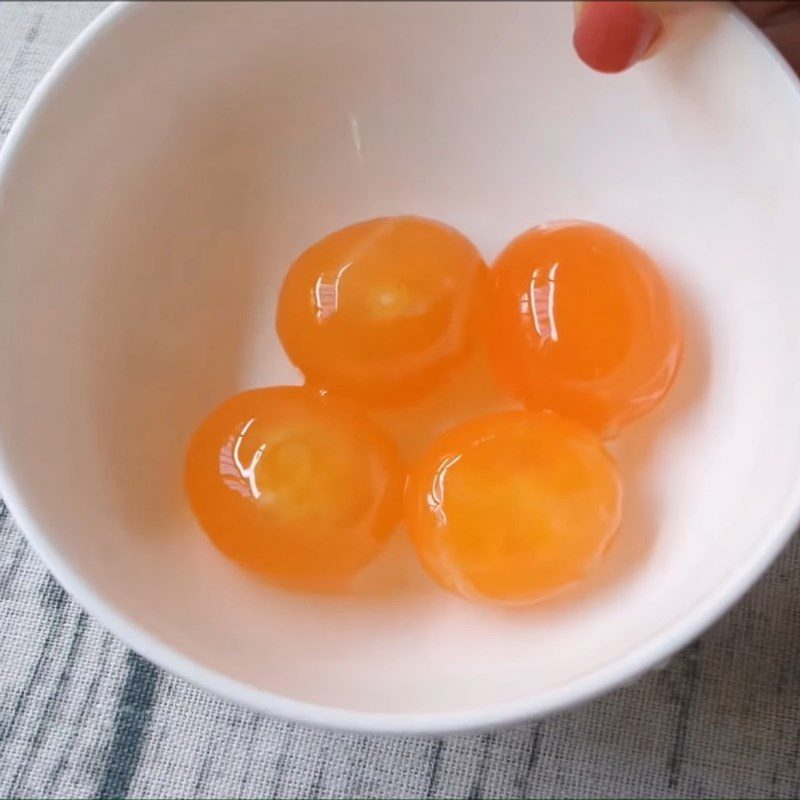
After bringing the salted egg home, wash the outer ash thoroughly.
Then separate the egg, keeping the yolk and discarding the white, and wash the yolk with cold water.
Tip: After washing, soak the salted egg yolk in 20ml of cooking wine for about 5 minutes, then take it out to drain to help reduce the fishy smell of the salted egg and remove the egg white.See details: How to deodorize salted egg yolk
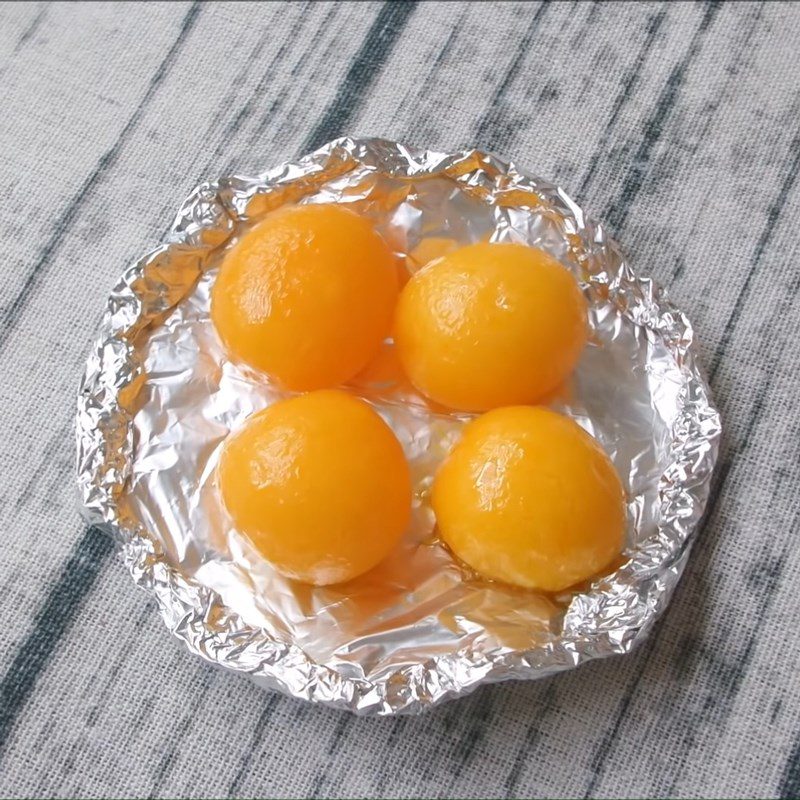
Take a piece of aluminum foil, roll it into a round shape like a plate. Then put the prepared salted egg yolk in it, bake at 150 degrees Celsius for 10 minutes until cooked, then let it cool.
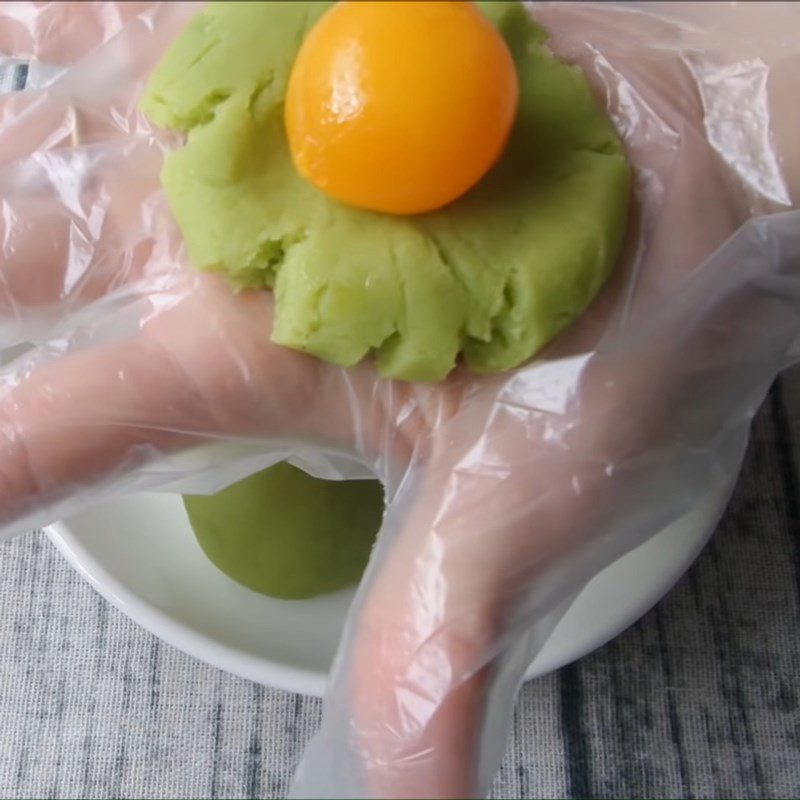
Tip: If you don’t have an oven at home, you can put the yolk in a steamer and steam it for 10 minutes.You take the prepared mung bean filling, press it flat into a round shape that fits the egg yolk, about 7cm. Next, place the salted egg yolk in the center and wrap it up into a ball.
Do the same with the remaining filling and egg, then use plastic wrap to cover it to prevent the filling from drying out.
-
Mix the cake dough
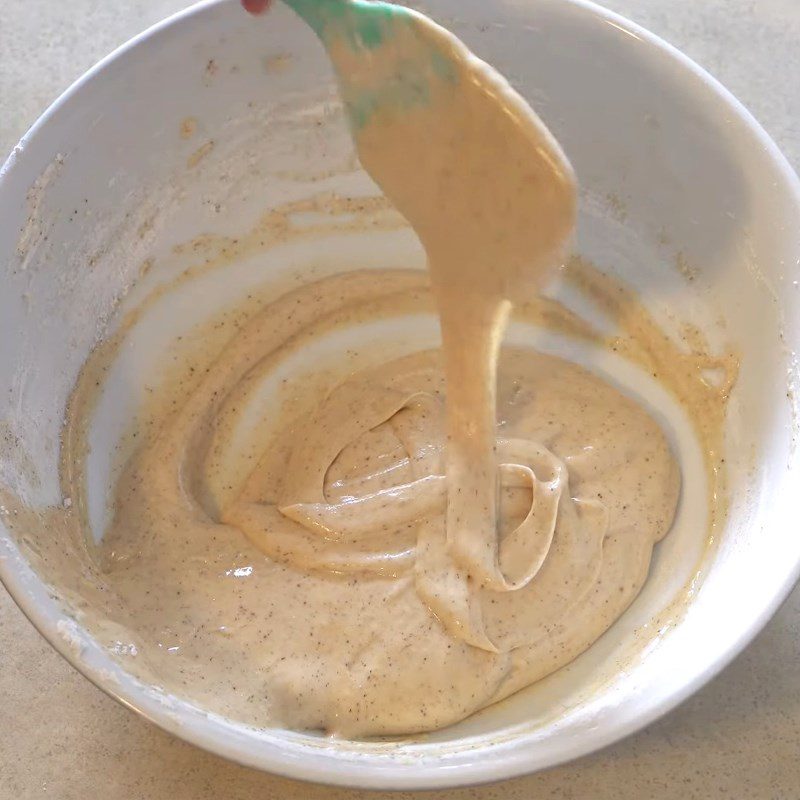
Add 80ml of syrup, 1 egg yolk, and 15ml of cooking oil into a bowl and stir well. Continue to add 10g of peanut butter and mix thoroughly.
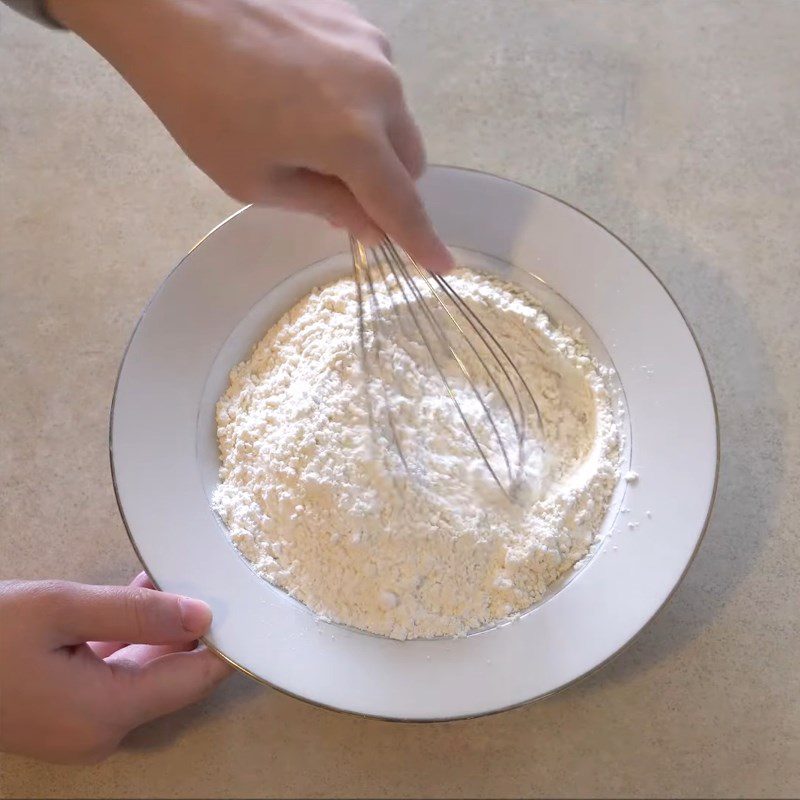
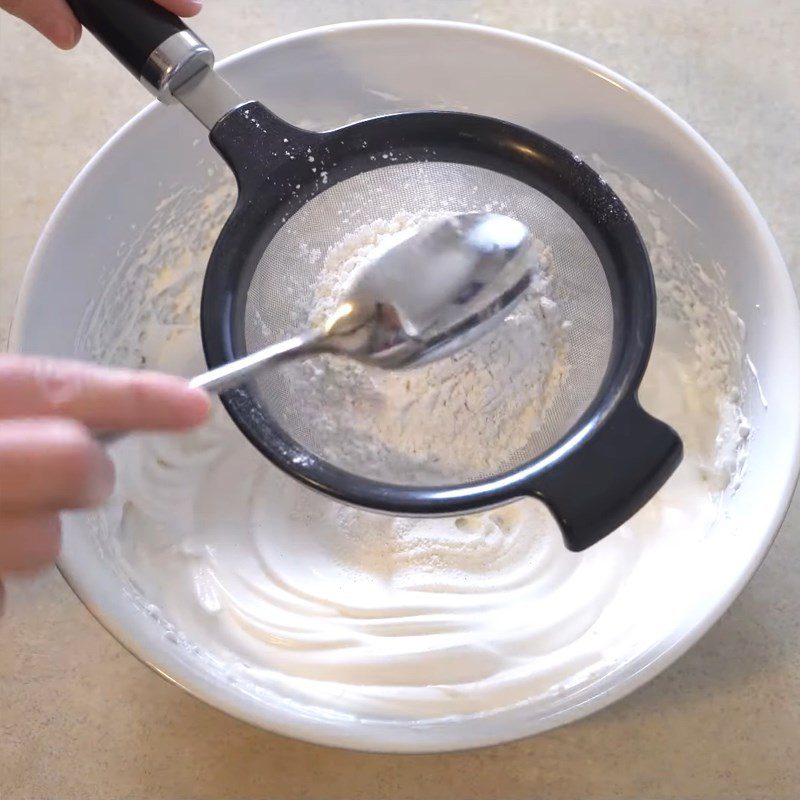
Then add 120g of flour into the mixture and mix well. After that, knead the dough with your hands until it is very smooth for 15 minutes. Use plastic wrap to cover it and let the dough rest for 30 minutes.
Tip: The longer you knead the dough, the better your cake will turn out.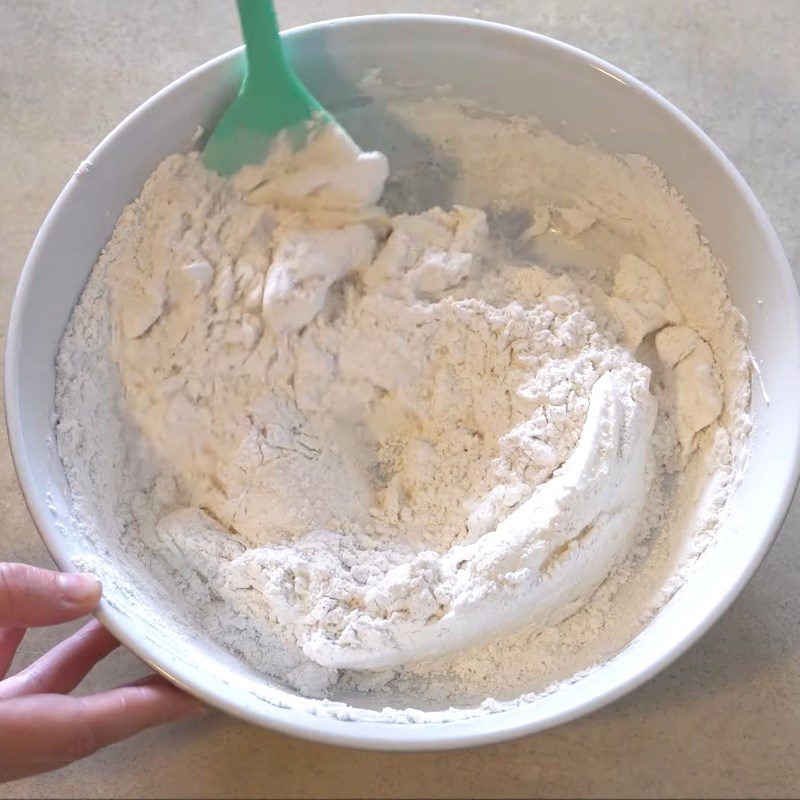
-
Shaping the chicken drumstick
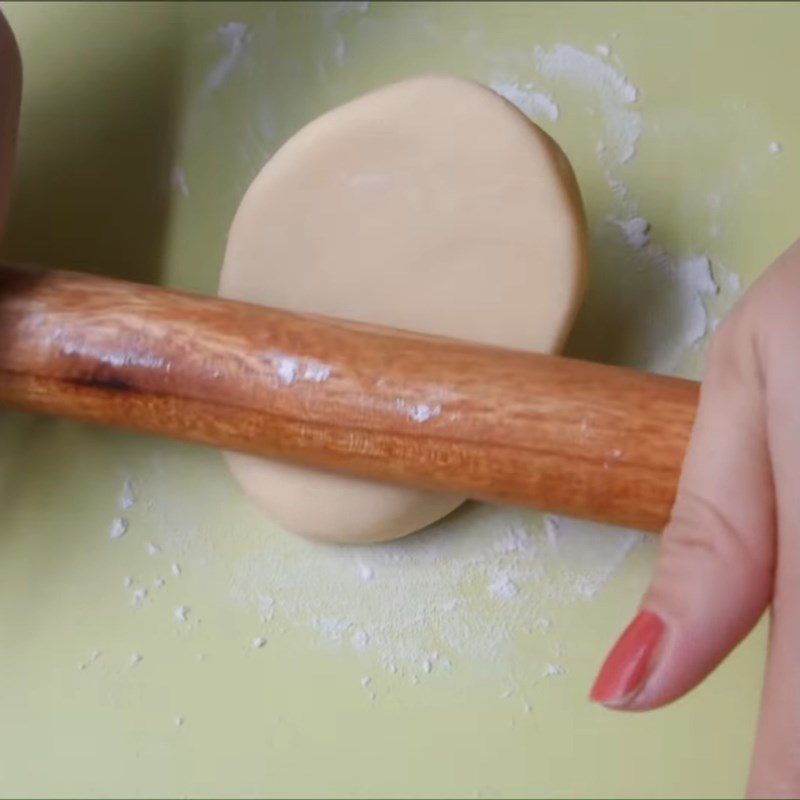
You spread a little flour on the surface of the cutting board (or the mat for kneading the cake), take the dough out and divide it into 4 parts.
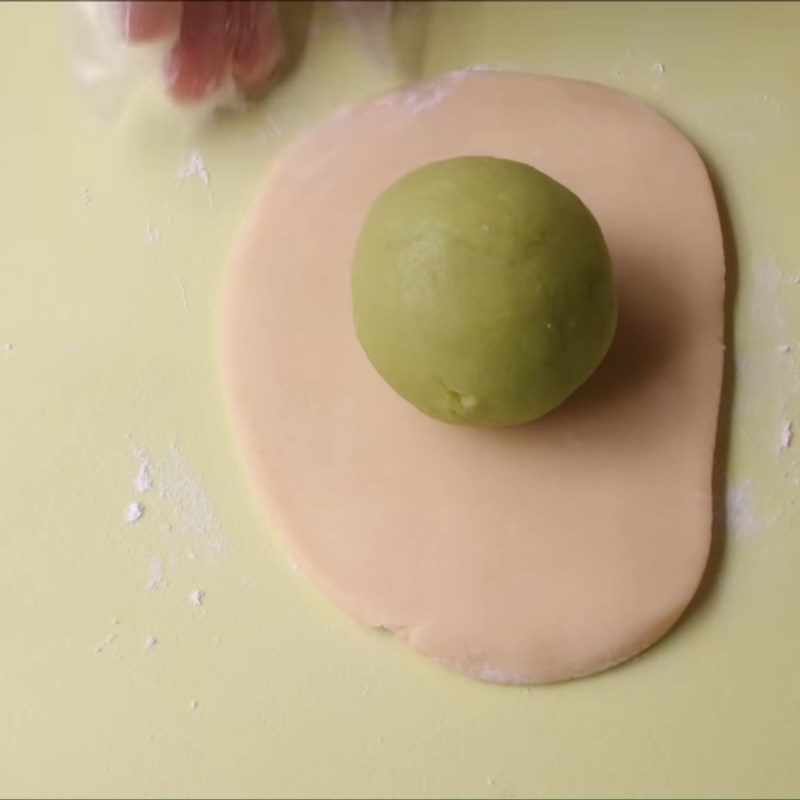
You roll each portion of dough into a ball, then roll it out thinly in an oval shape, about 10cm wide to fully wrap the filling.
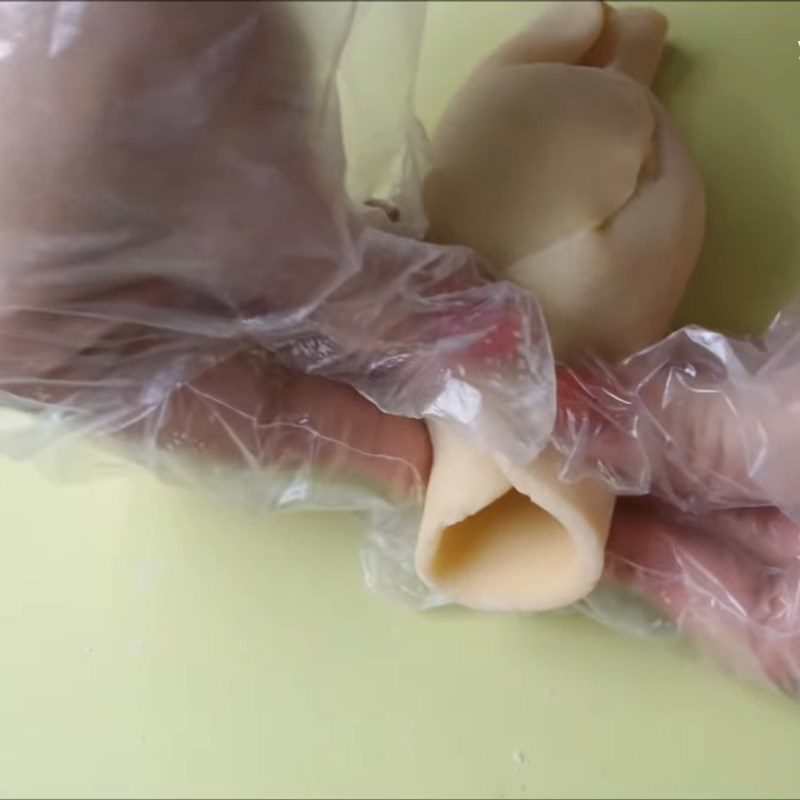
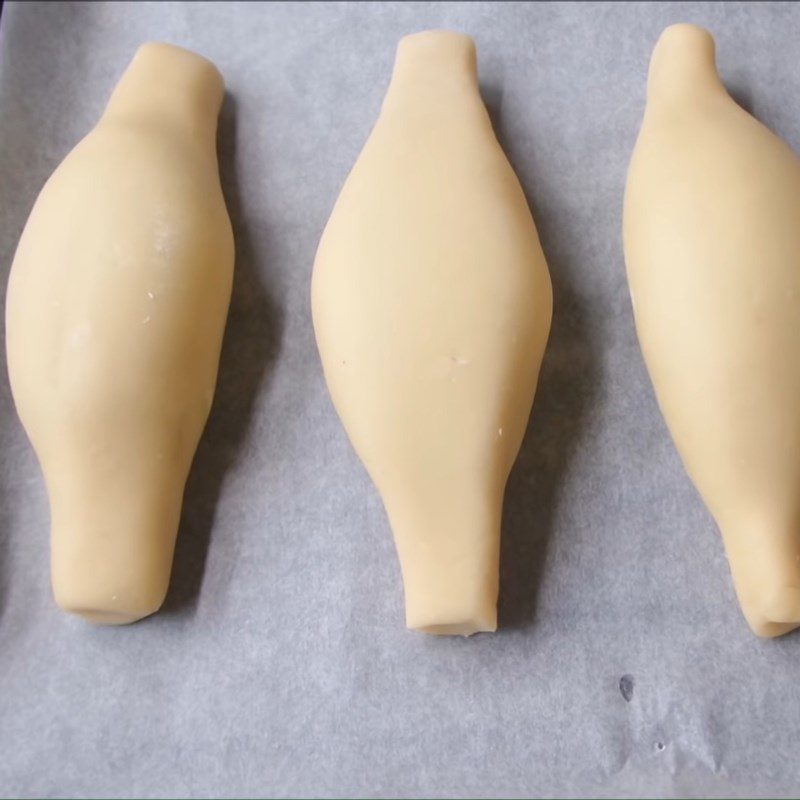
Then you place the filling in the center and wrap it up, rolling it evenly so that the two ends are pointed like chicken legs and the middle is round like the meat of the chicken drumstick.
To make the finished product look more appealing, you press the two pointed ends slightly inward to resemble the chicken drumstick bone.
You do the same with the remaining ingredients.
-
Baking Chicken Drumstick Cake
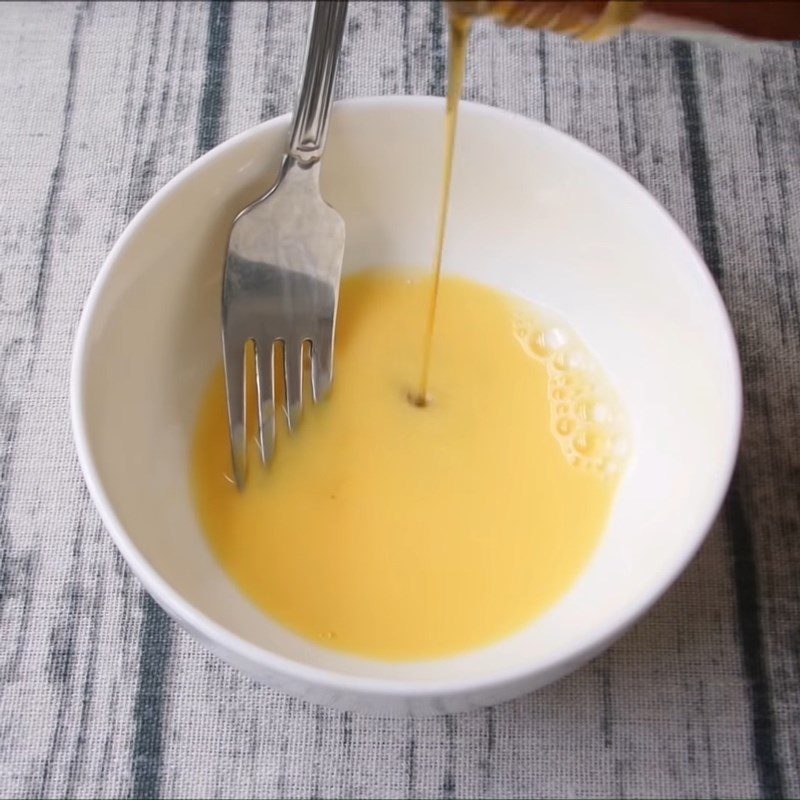
Put 1 egg yolk and 20ml of water in a bowl, mix well with 2 teaspoons of honey.
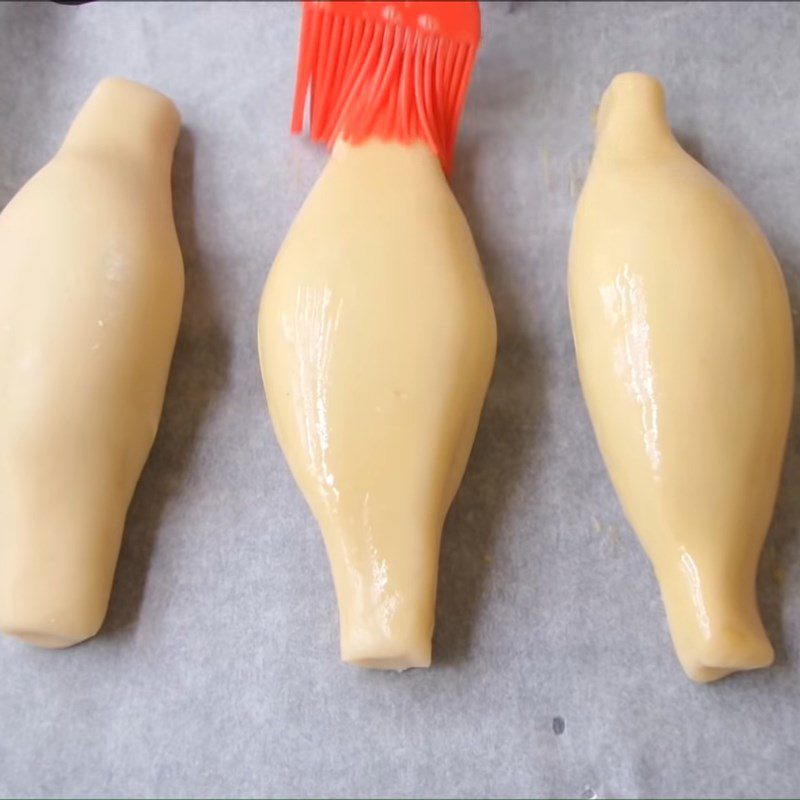
Use the mixed solution to coat a thin layer on the cake.
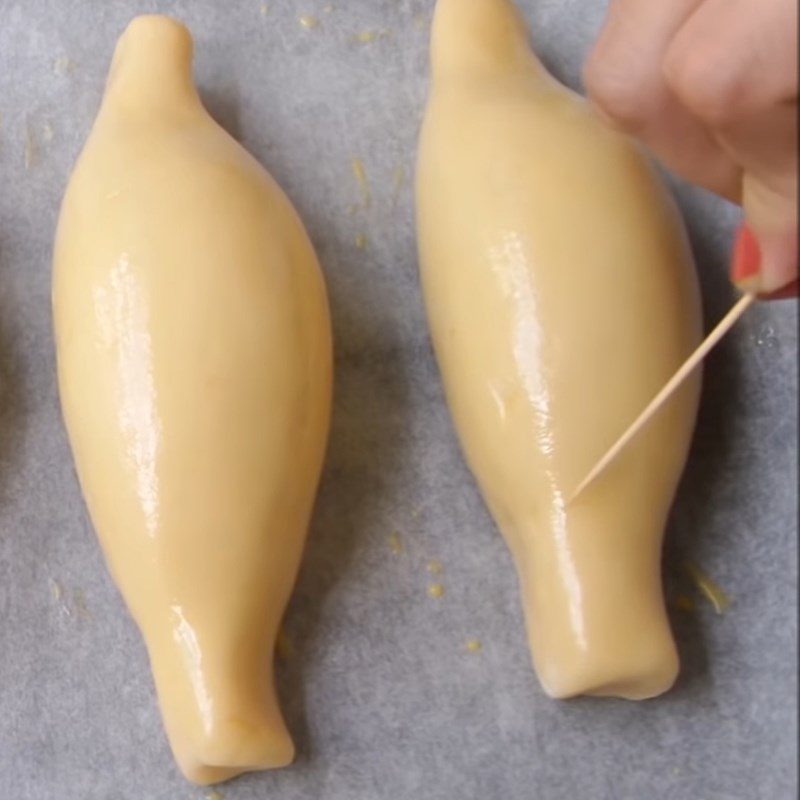
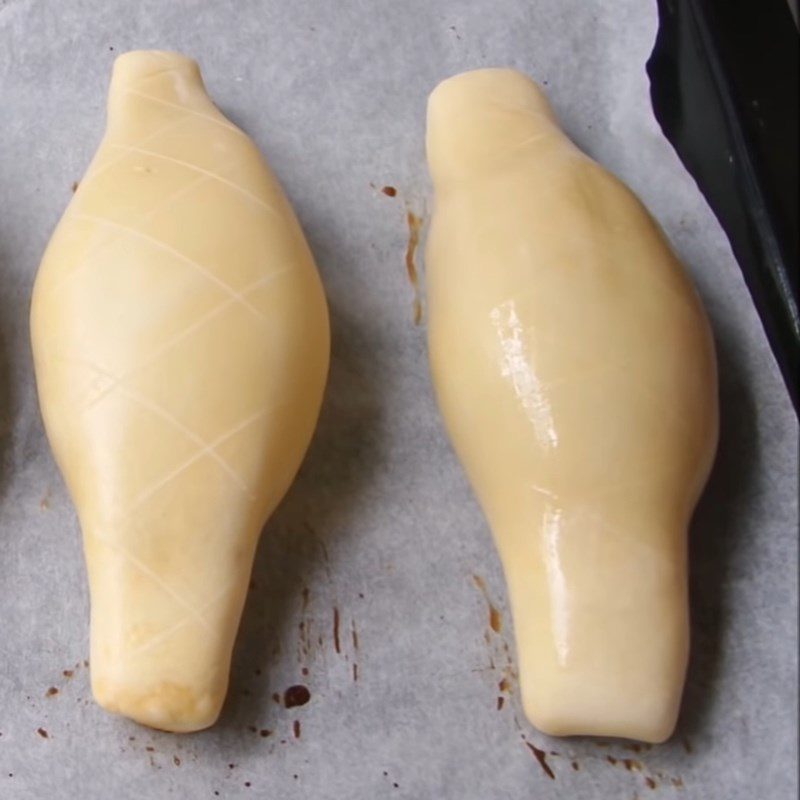
Use a sharp toothpick to make crisscross patterns on the surface of the dough to make the cake look more attractive.
Preheat the oven for 10 minutes at 170 degrees Celsius. Then put the cake in the oven and bake at 170 degrees Celsius for 5 minutes.
After 5 minutes, take the cake out and brush a thin layer of water on the surface or use a spray bottle to mist a little water over the cake to keep it moist and prevent it from drying out.
Let the cake cool for 5 minutes, then continue to brush a layer of the egg mixture and put it back in the oven to bake at 170 degrees Celsius for another 5 minutes.
Continue repeating the process of spraying water, cooling, brushing with egg, and baking until it has been done 4 times.
-
Final Product
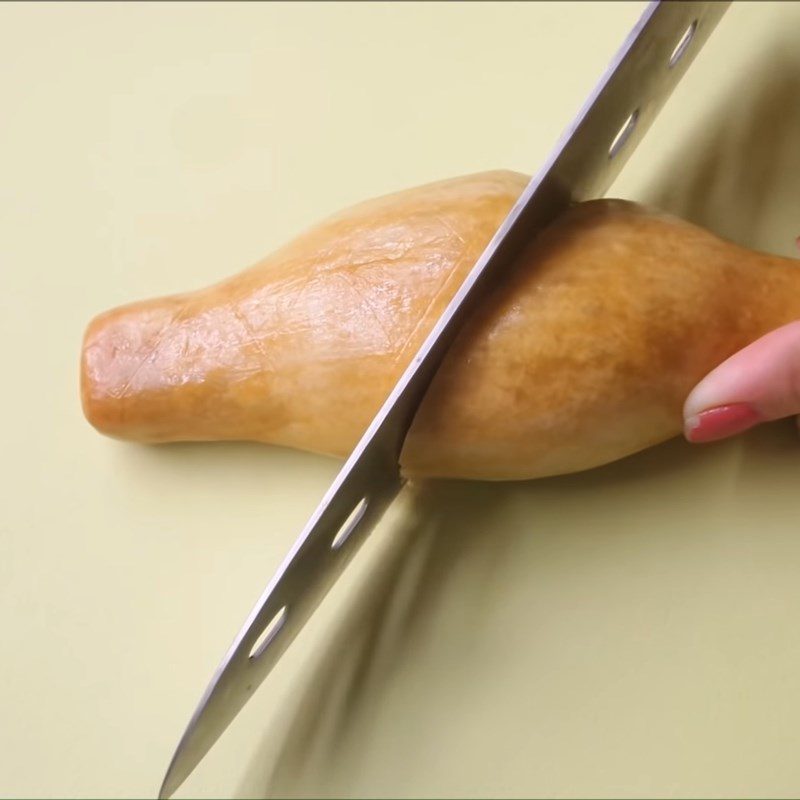
After the cake cools, you cut the cake diagonally to create 8 golden, crispy chicken drumsticks, fragrant with honey and butter. Taking a bite of the cake, the crispy sweetness of the crust, the richness of the mung bean, along with the fragrance of pandan leaves and the savory taste of salted egg, is truly amazing, isn’t it!
How to store cakes
The cake has ingredients and a preparation method similar to Mid-Autumn cake, and you can store it in a cool, dry place for up to 7 days.
Only put the cake in a box or bag when it is completely cool, and it is advisable to store it with a desiccant pack to prevent the cake from spoiling quickly.
If you want to store baked cakes for a longer time, you can place them in the freezer of the refrigerator, which can extend up to 1 month. When ready to eat, simply place it in the microwave or oven; however, the cake’s flavor will no longer be as good.
Do not use the cake if there are signs of mold to ensure your health!
See more:
Tastetutorial.com wishes you success in making this grilled chicken leg cake which is delicious and visually appealing!
*Source of reference for recipe and images from the YouTube channel: Delicious food


