-
Preparation
20 minutes
-
Processing
30 minutes
-
Difficulty
Easy
Surely everyone has tasted baked goods fried in syrup – a simple, humble gift from the countryside that holds many memories for each of us. With the recipe shared from Tastetutorial.com, you will be able to make this dish at home without too much effort. Let’s cook and check out the detailed guide right away!
Ingredients for Fried Syrup Cakes with Green Bean and Coconut Filling For 20 small cakes
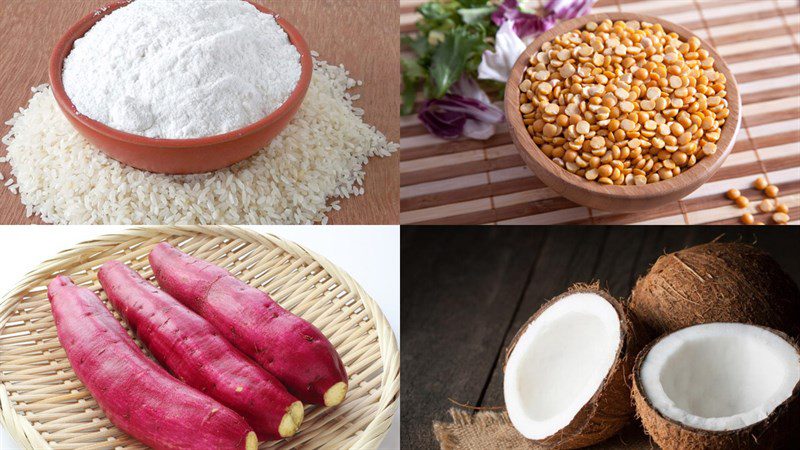
Glutinous rice flour 100 gr Regular rice flour 15 gr Yellow sweet potato 35 gr (boiled) Green beans 70 gr Palm sugar 40 gr (or brown sugar) Sugar 50 gr Coconut oil 30 gr (or cooking oil) Shredded coconut 40 gr (optional) Fresh ginger 5 slices (sliced) Water 150 ml
Ingredient Images
How to make Fried Cake with mung bean and coconut filling
-
Mix the cake dough
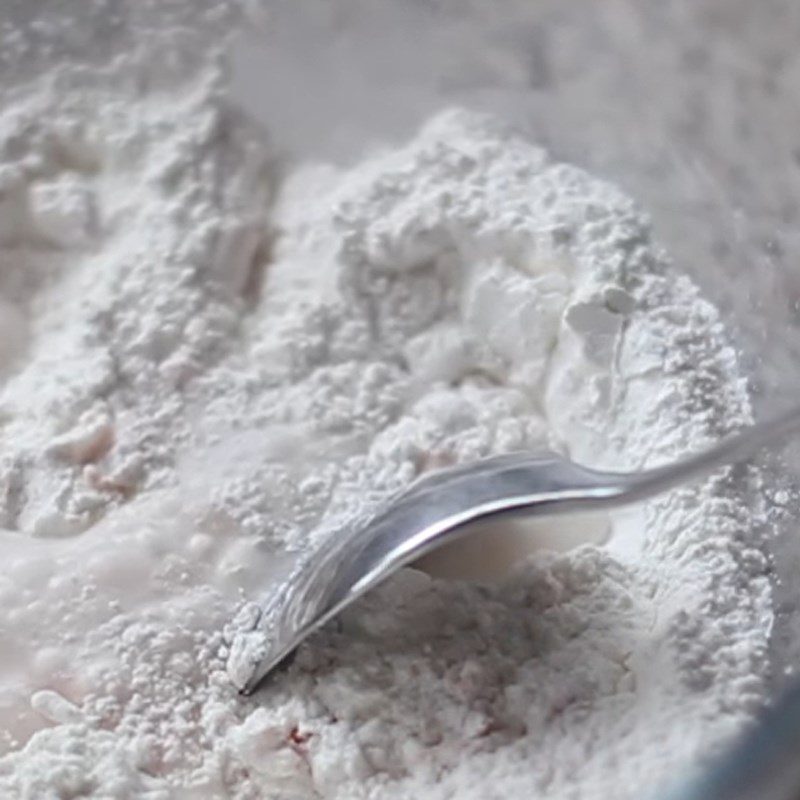
Put 100g of glutinous rice flour, 15g of regular rice flour, 35g of finely mashed yellow sweet potato, and 25g of sugar into a bowl and mix well.
Then, add 50ml of warm water at about 40 – 50 degrees Celsius and continue to mix well.
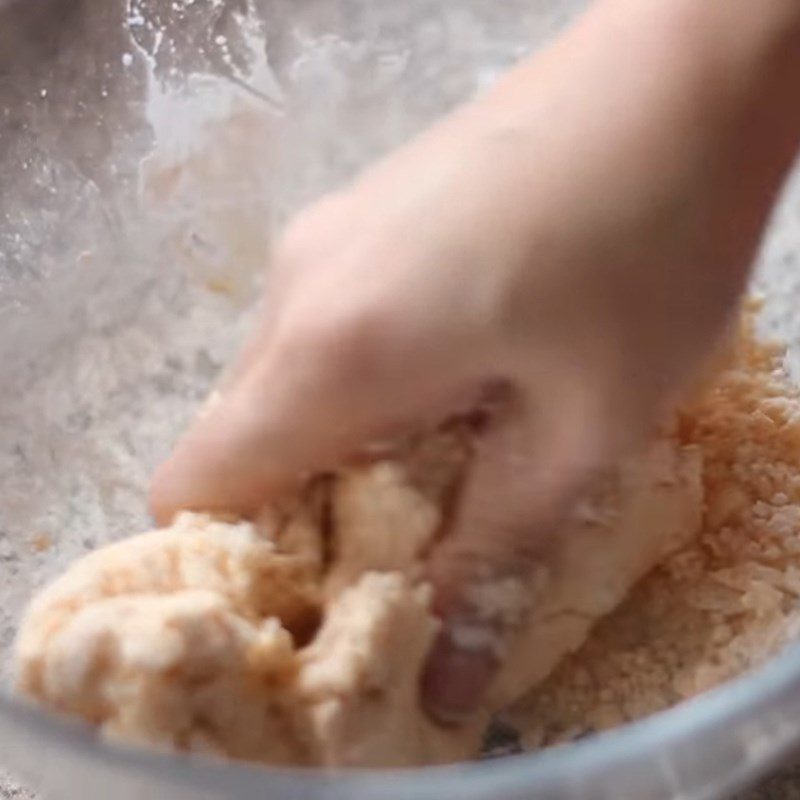
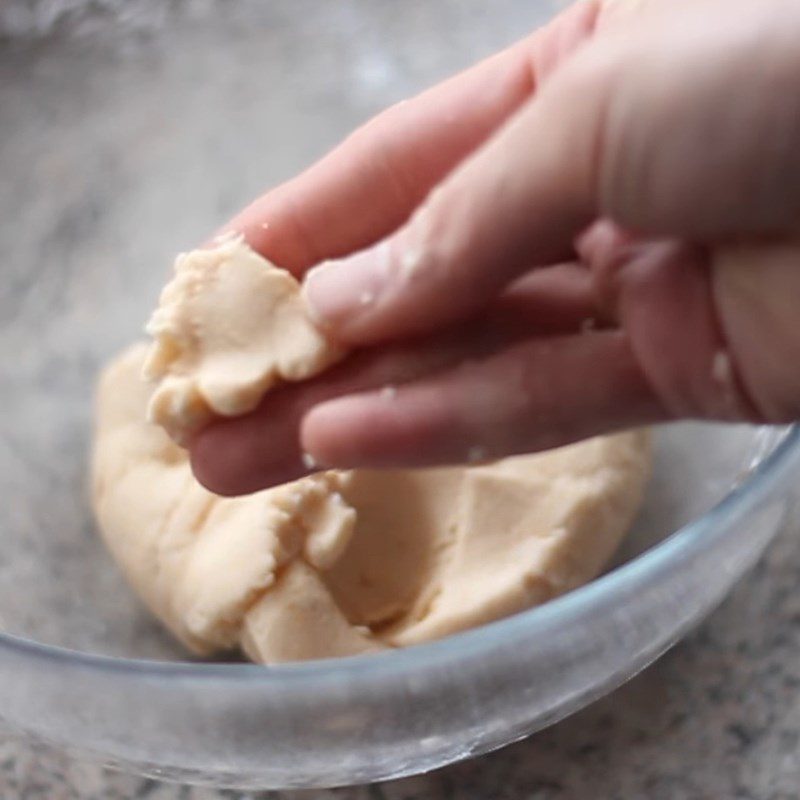
Next, use your hands to knead the dough until it forms a smooth, soft, and pliable mass, not dry or too wet.
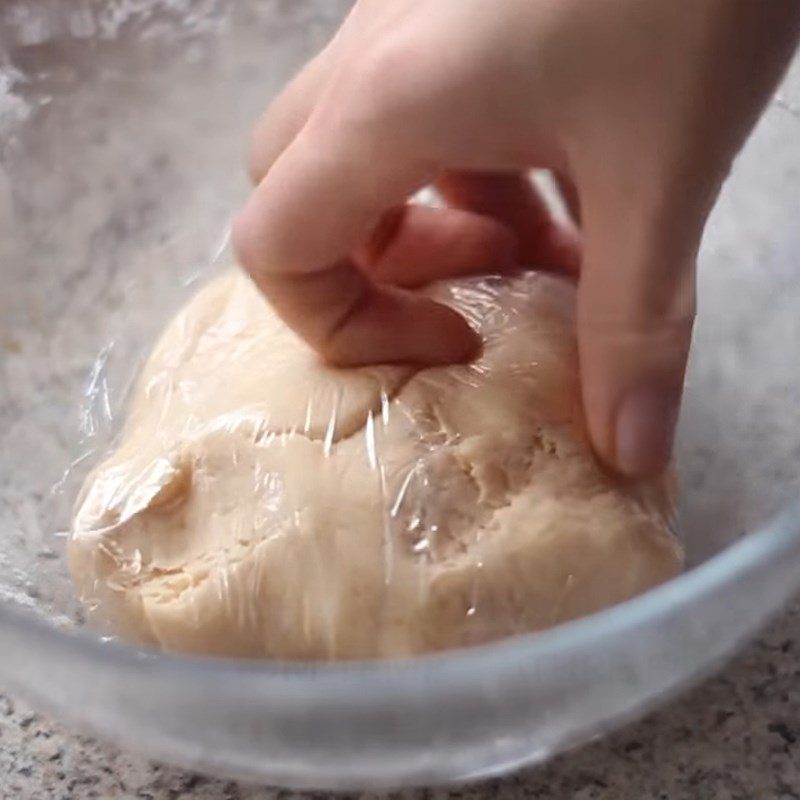
Finally, wrap the dough tightly with plastic wrap and let it rest at room temperature for 30 – 60 minutes.
Tip:- If the dough is dry, you can gradually add water and continue kneading!
- The amount of water needed may vary between 50 – 100ml, depending on the water absorption of the flour.
-
Cook green beans
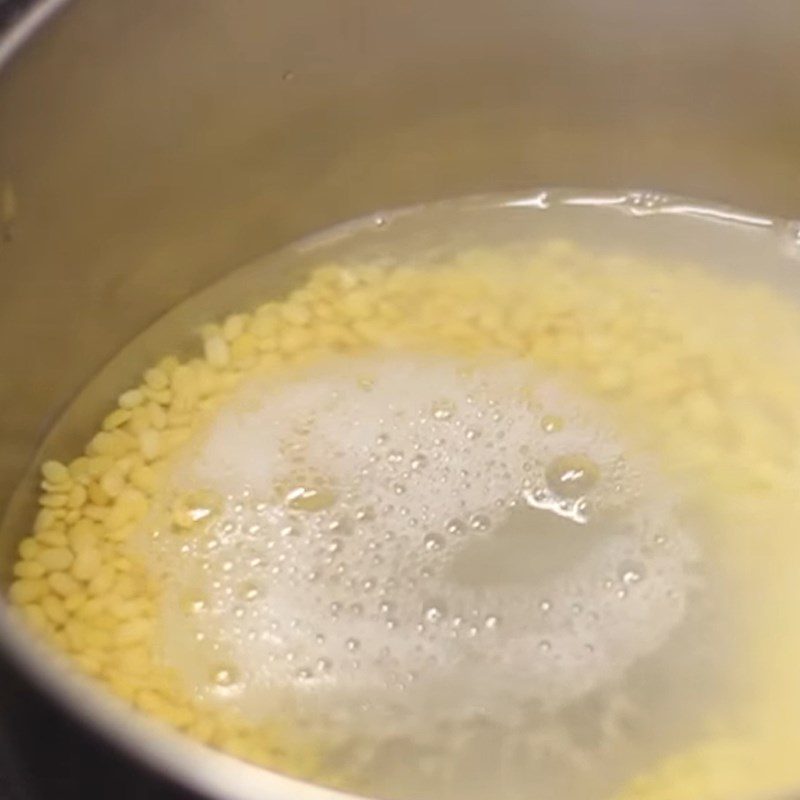
Wash 70g of peeled green beans thoroughly, then place them in a pot with enough water to cover the beans by about one finger width.
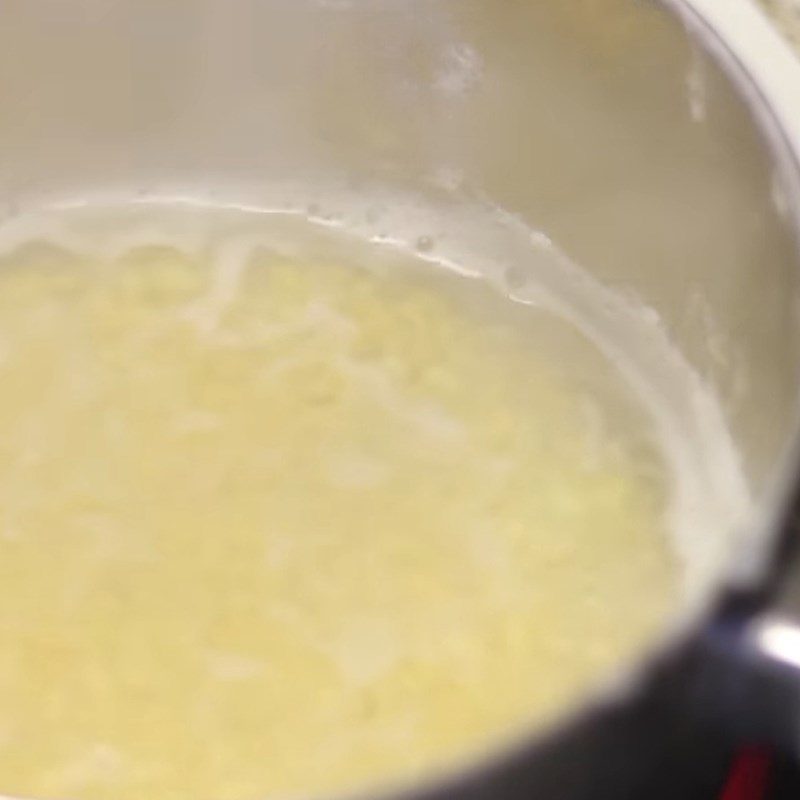
Next, bring the beans to a boil over medium heat until boiling. Then, skim off the dirty foam, reduce the heat to low, and continue cooking until the beans are soft and mushy.
-
Cook green bean and coconut filling
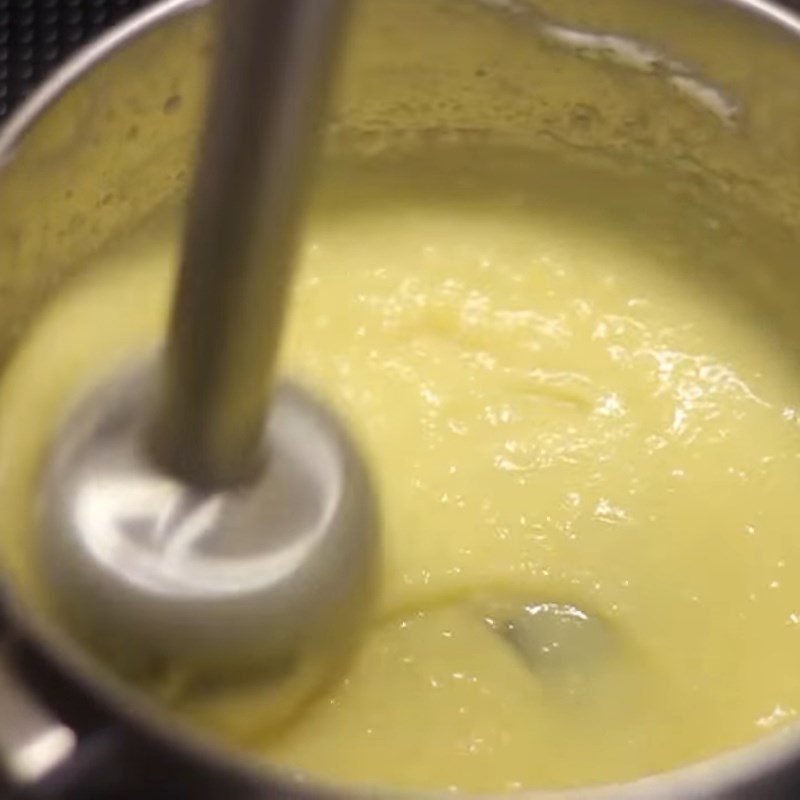
After the beans are soft and mushy, use a hand blender to puree them while they are still hot.
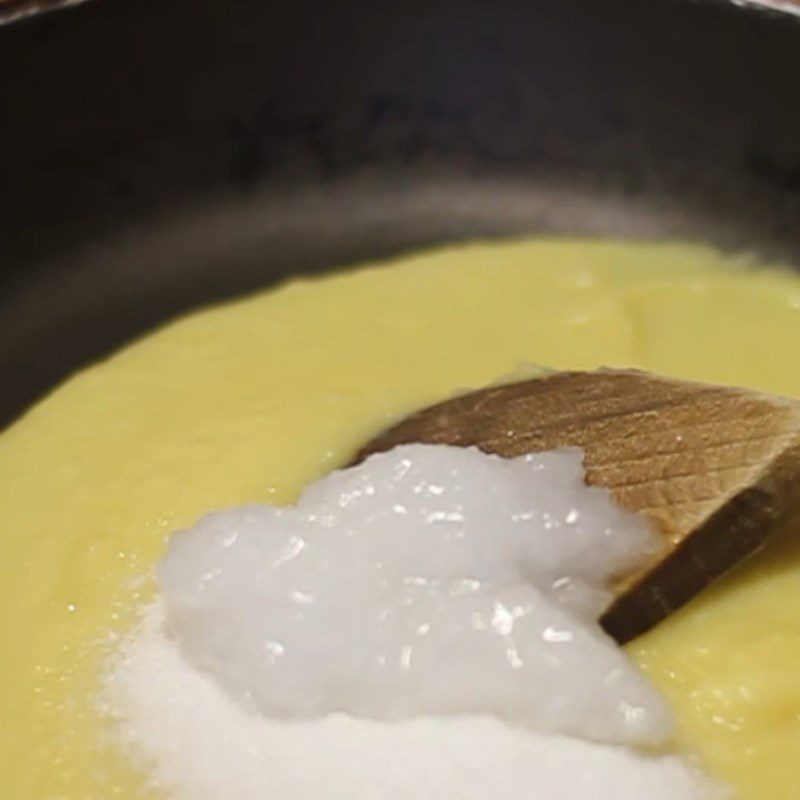
Next, pour the green beans into a non-stick pan, add 25g of sugar and 30g of coconut oil. Stir continuously over medium heat until the filling dries out.
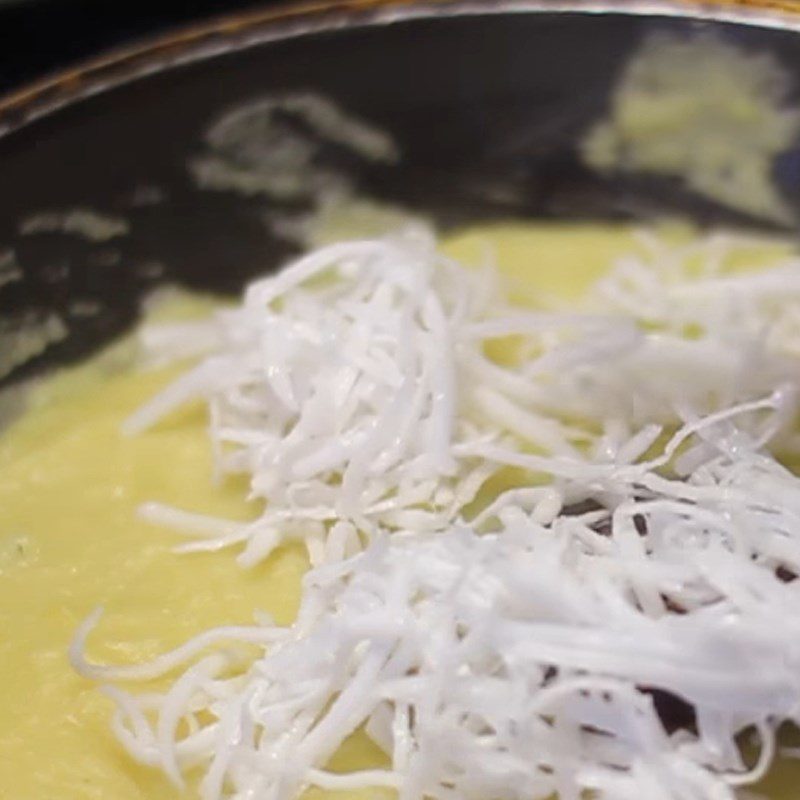
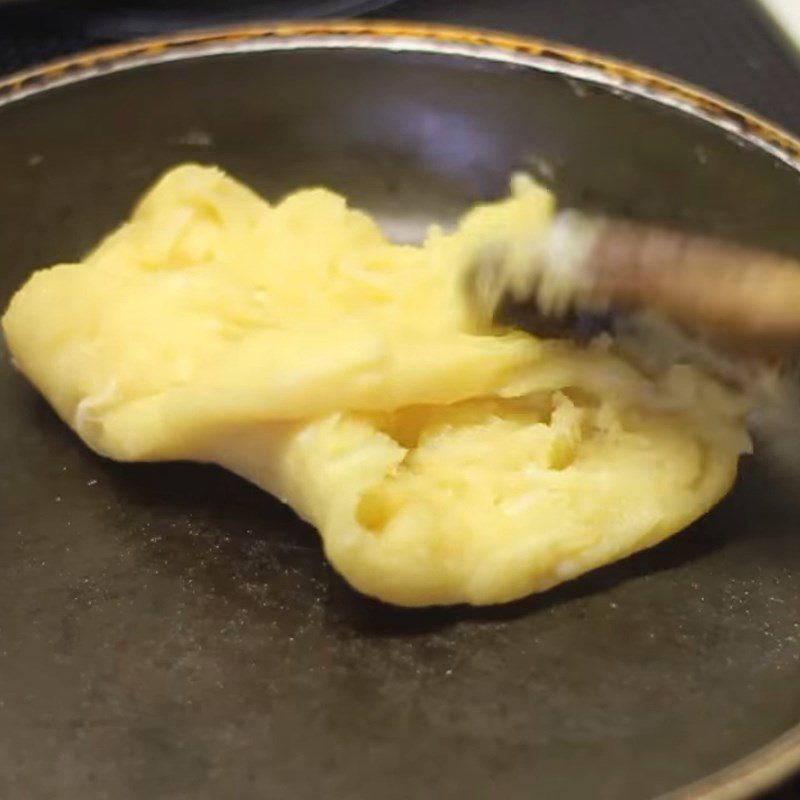
Then, reduce the heat to low, add 40g of shredded coconut and continue to stir until the filling is sticky, does not stick to your hands, and the pan is dry.
-
Forming the fried cake
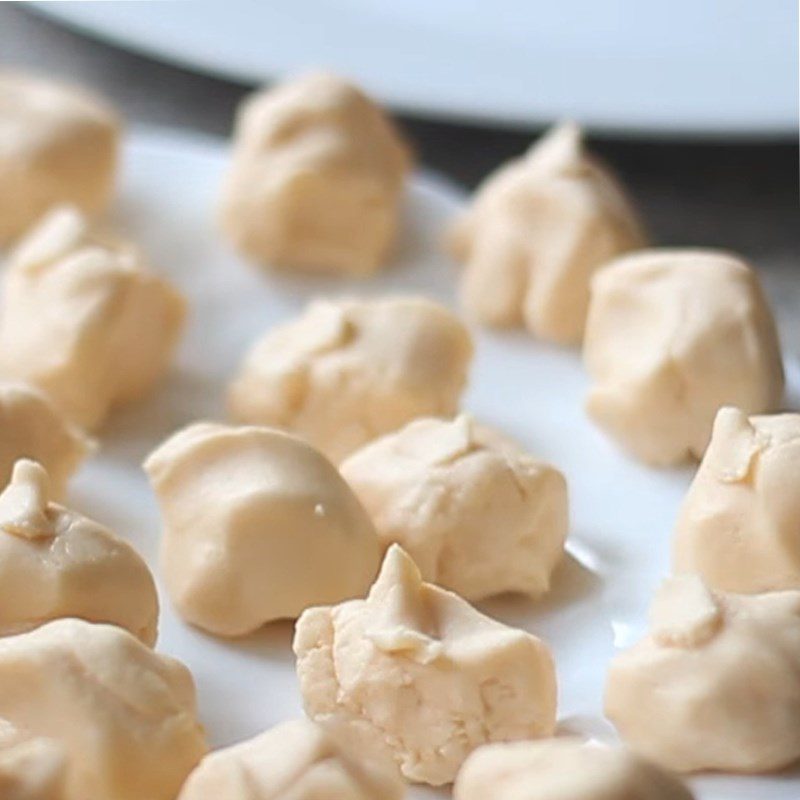
Divide the mung bean filling and dough into 20 parts and roll them into balls.
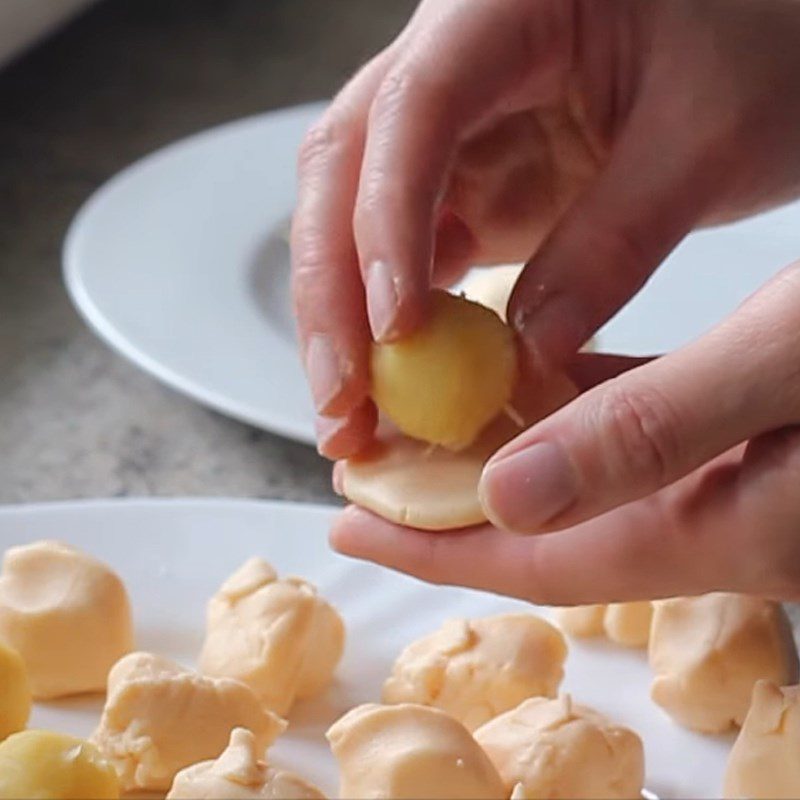
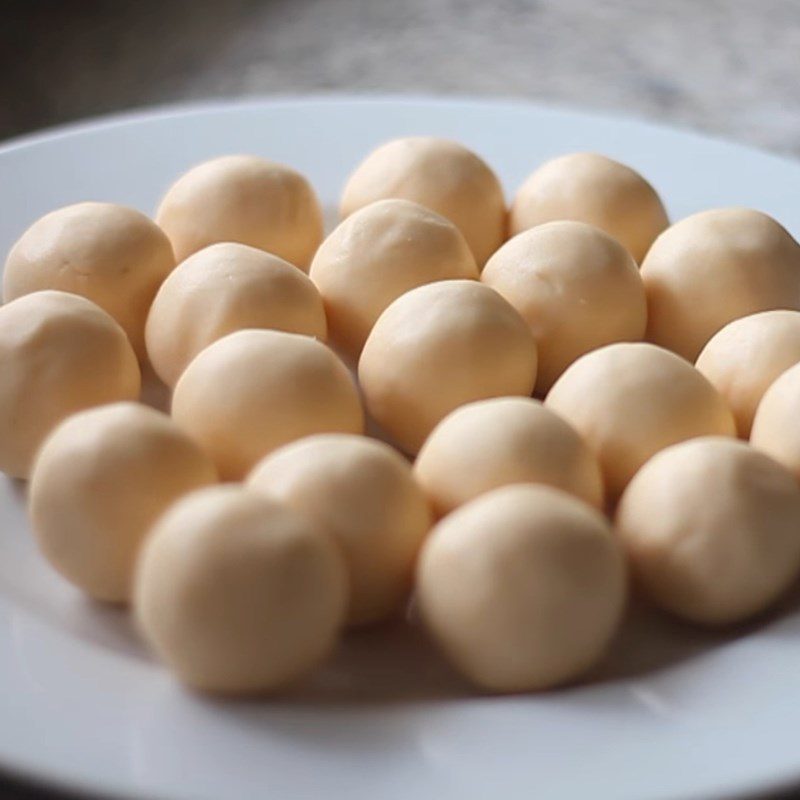
Next, flatten the dough, place the mung bean filling in the center, pinch the edges tightly, and then roll it into a ball.
Note: Flatten the dough tightly against the filling; if there is air between the dough and filling, it may cause the cake to burst when frying.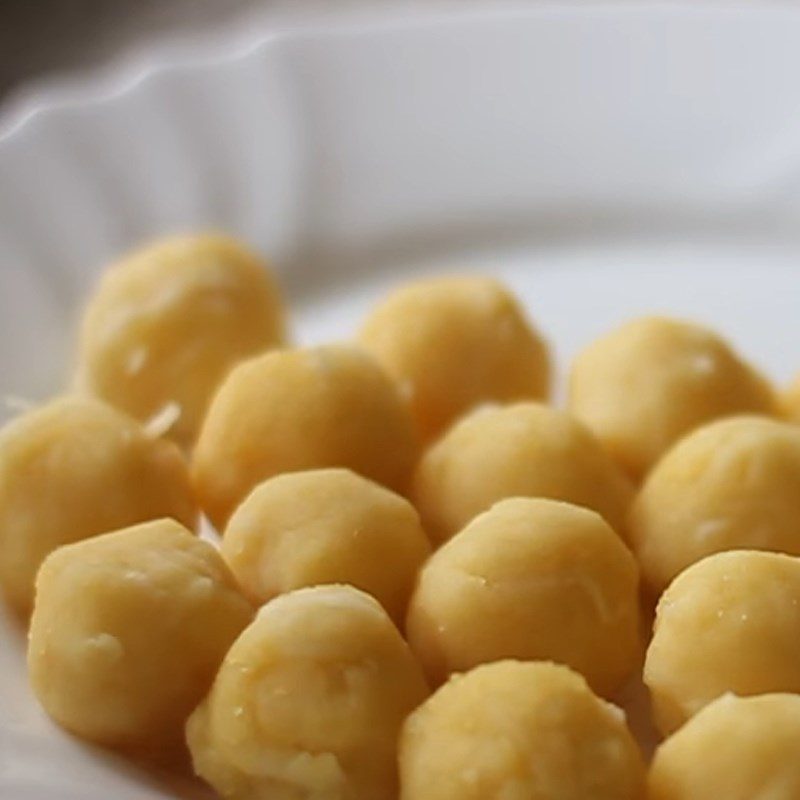
-
Frying the fried cake
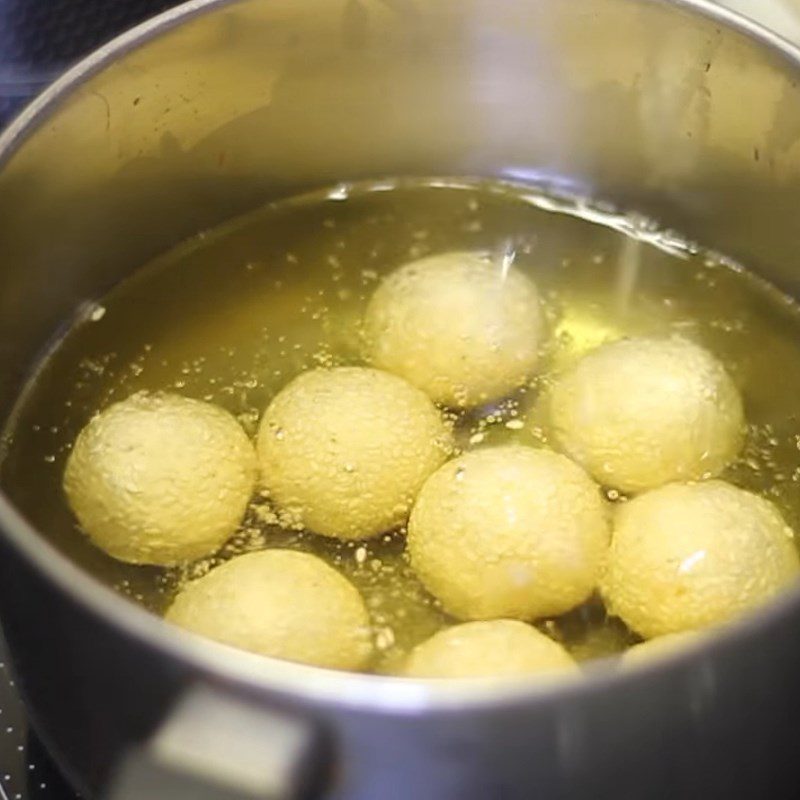
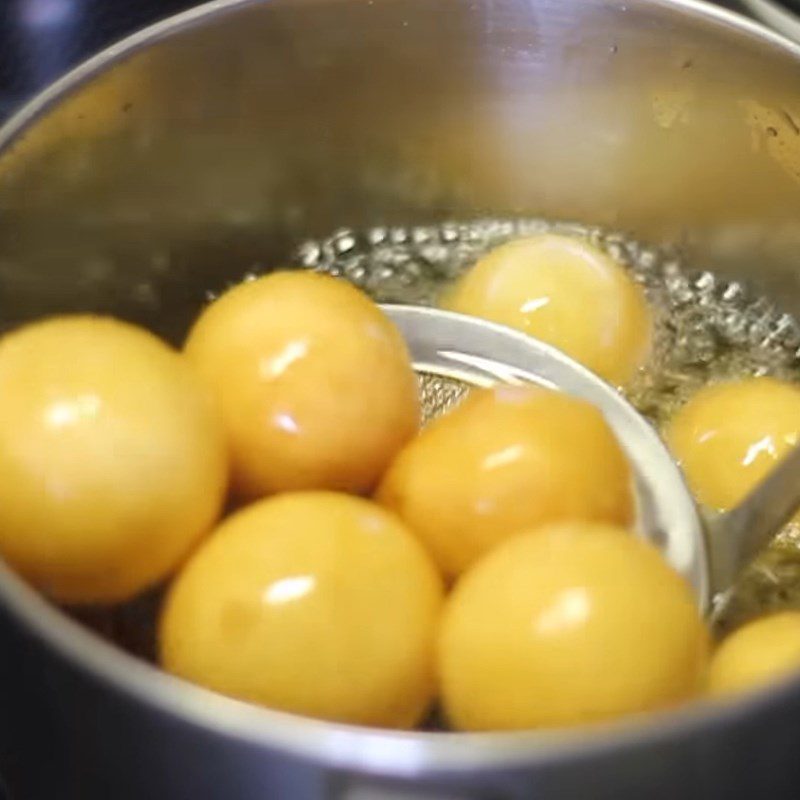
Heat a pan of oil on the stove; when the oil is gently bubbling, add the cakes and fry over medium heat until the crust is golden brown.
Note:
- Do not fry too many cakes at once as they will stick together.
- The oil must be deep and at least 0.5cm higher than the cakes.
- When the cakes float, you need to continuously turn them to ensure they are evenly coated in oil. If part of the cake is not submerged in oil, it may burst due to prolonged exposure to air.
-
Coating the cake
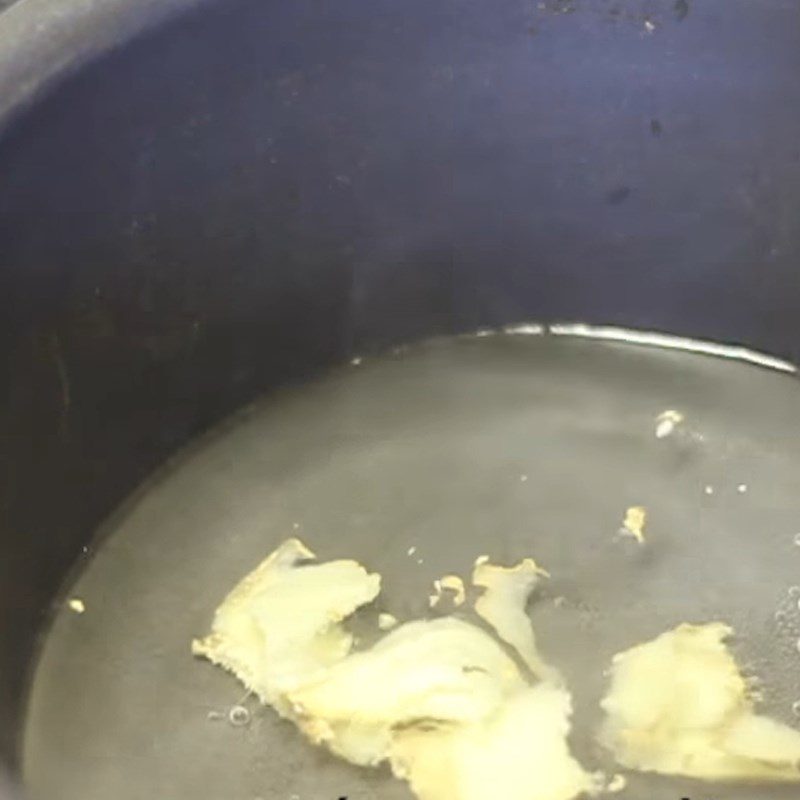
Place a pot on the stove, add 100ml of water and 5 slices of fresh ginger. Heat the mixture over medium heat until the water reduces to about 1/3, then remove the ginger.
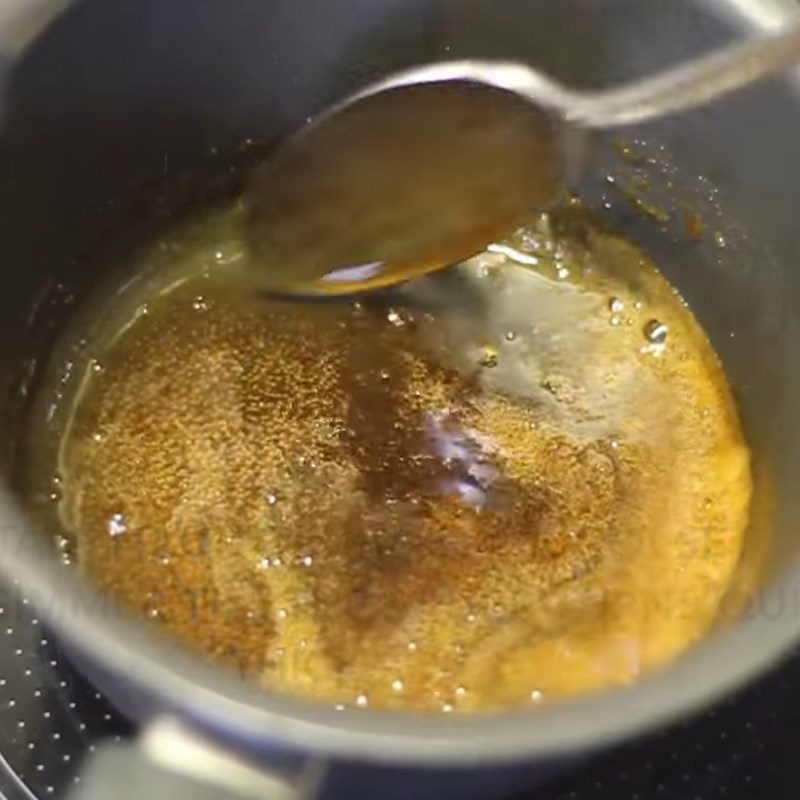
Next, add 40g of palm sugar and stir until the mixture dissolves and becomes slightly thick.
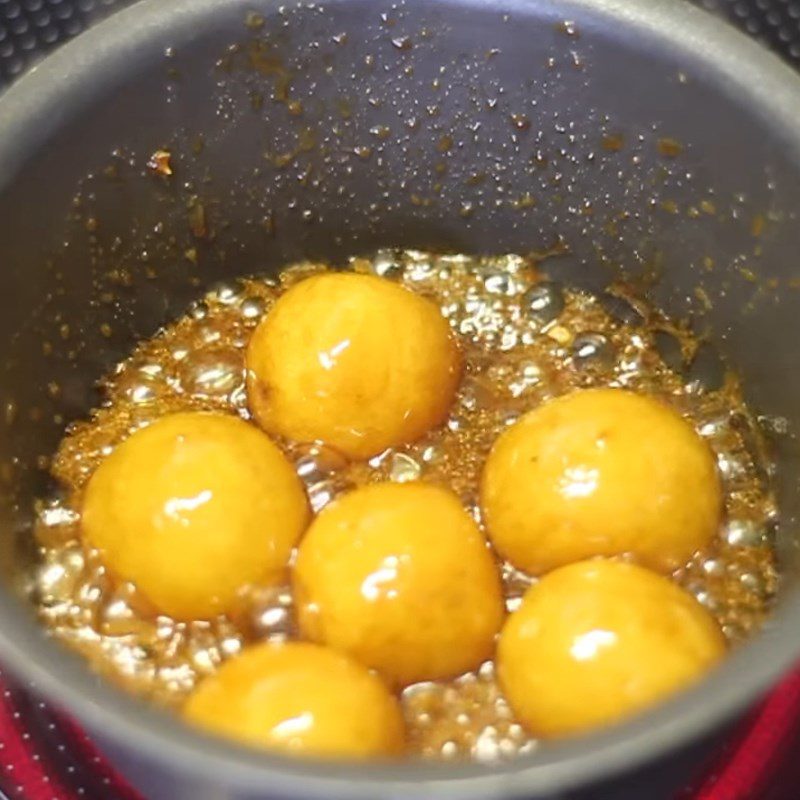
Then, reduce the heat to the lowest setting, add the orange cakes, and stir until the sugar coats the cakes completely.
-
Final product
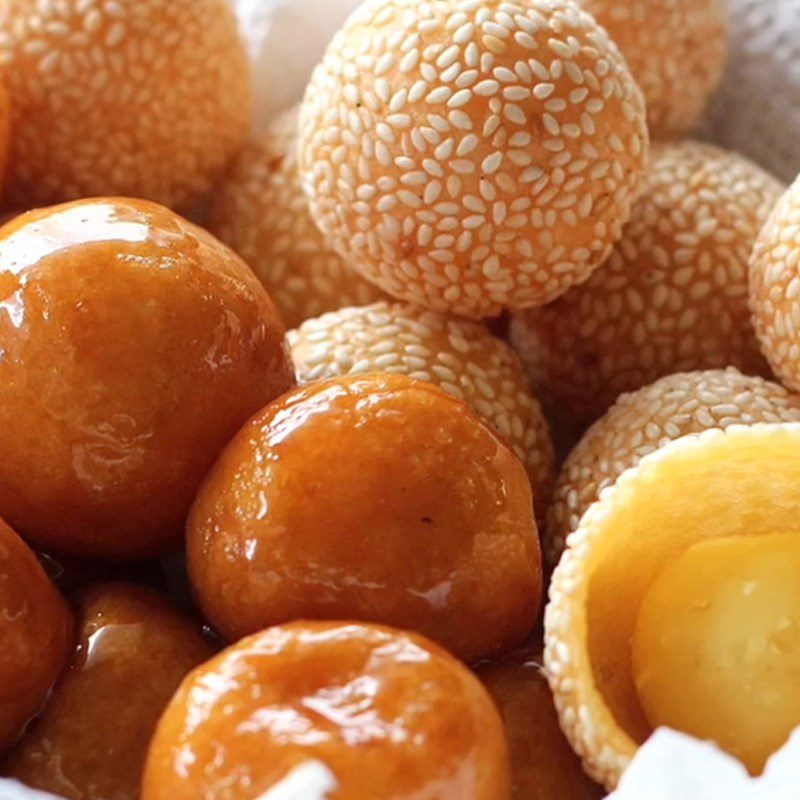
The sweet cakes have a layer of sugar on the outside that is very sweet, lightly fragrant with ginger, crispy when bitten, blending with the sweet and nutty green bean filling, and creamy young coconut, extremely delicious.
How to store cakes
- Store the cake at room temperature for 1 day and 2 days in the refrigerator’s cool compartment.
- Do not store the cake too long in the refrigerator as it will cause the cake crust to become hard, chewy, and no longer tasty.
The dish deep-fried sticky green bean cakes is fragrant, fatty, and crispy with a really simple recipe, isn’t it? Let’s cook together with Tastetutorial.com to treat the family!
*Source of the recipe and images from the Youtube channel Savoury Days Kitchen


