Mooncake is a cake that many people love to eat during the Mid-Autumn Festival. However, it is not good for people with diabetes. Don’t worry, because Tastetutorial.com will show you 3 ways to make mooncakes for diabetics that are both delicious and safe for health. Let’s cook and invite the whole family to enjoy!
1. Mooncake for diabetics with lotus seed filling
-
Preparation
30 minutes
-
Cooking
1 hour 30 minutes
-
Difficulty
Medium
Ingredients for Mooncake for diabetics with lotus seed filling For 8 cakes
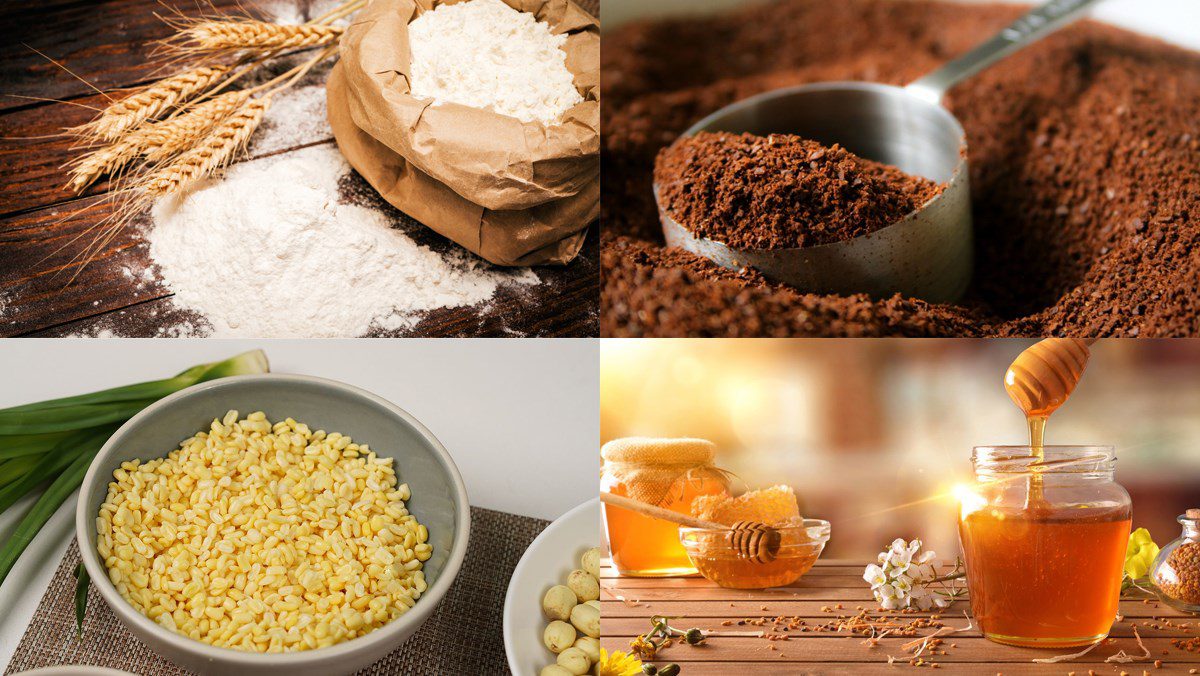
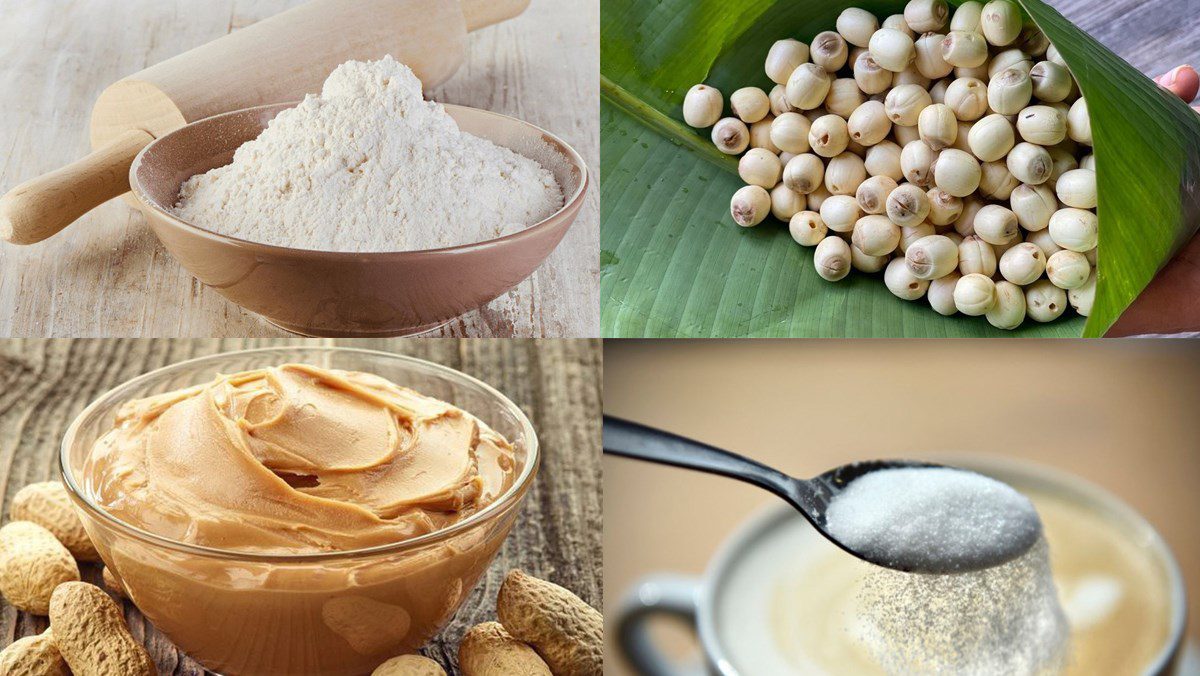
Almond flour 120 gr Wheat flour 30 gr Cornstarch 10 gr Soft cake flour 10 gr Peanut butter 20 gr Lotus seeds 400 gr Almonds 50 gr (roasted) Lemon 1/2 fruit Diet sugar 400 gr Unsweetened milk 1 teaspoon Egg yolks 2 pieces Gac oil 1 teaspoon Cooking oil 40 ml Salt a little
How to choose delicious lotus seeds
- You should choose mature lotus seeds that are round in shape, with off-white or deep yellow color. Mature lotus seeds will be tastier when cooked than immature ones.
- Avoid choosing lotus seeds that are dark, with wrinkled green skins. Additionally, do not choose lotus seeds that are wet as they will be prone to darkening and wilting quickly.
Required tools
Oven, blender, pot, non-stick pan, Mid-Autumn cake mold 100gr,…
How to make Mooncake for diabetics with lotus seed filling
-
Cook the syrup
Place a pot on the stove, add 120ml of water and 200gr of sugar substitute, then bring to a boil (do not stir).
When the mixture boils, squeeze the juice from 1/2 lemon into it, then turn off the heat and let it cool.
-
Cook and Blend Lotus Seeds
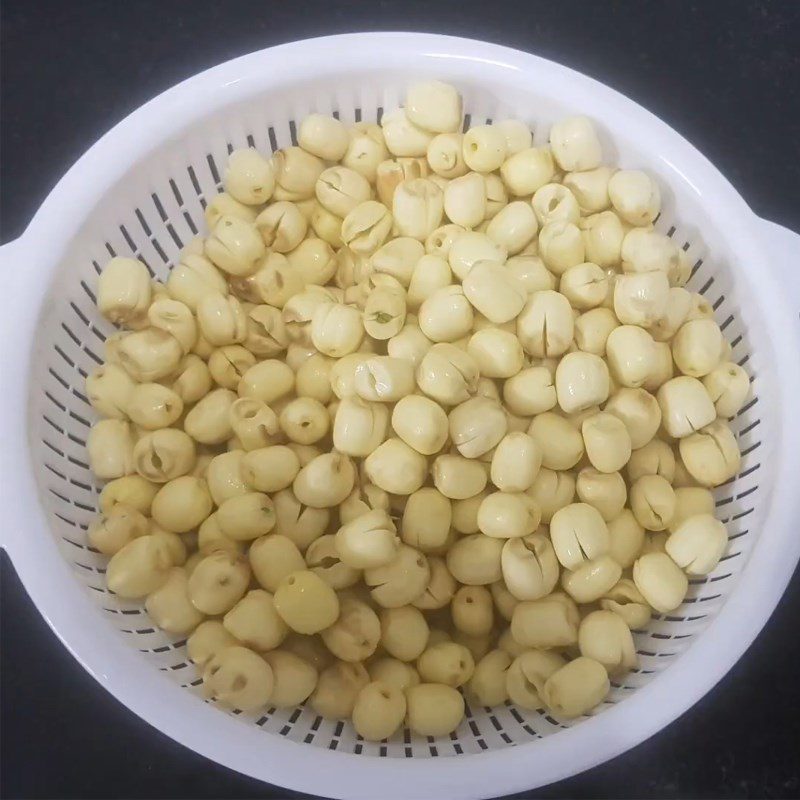
Wash the lotus seeds thoroughly, then separate the seeds to remove the lotus seed core.
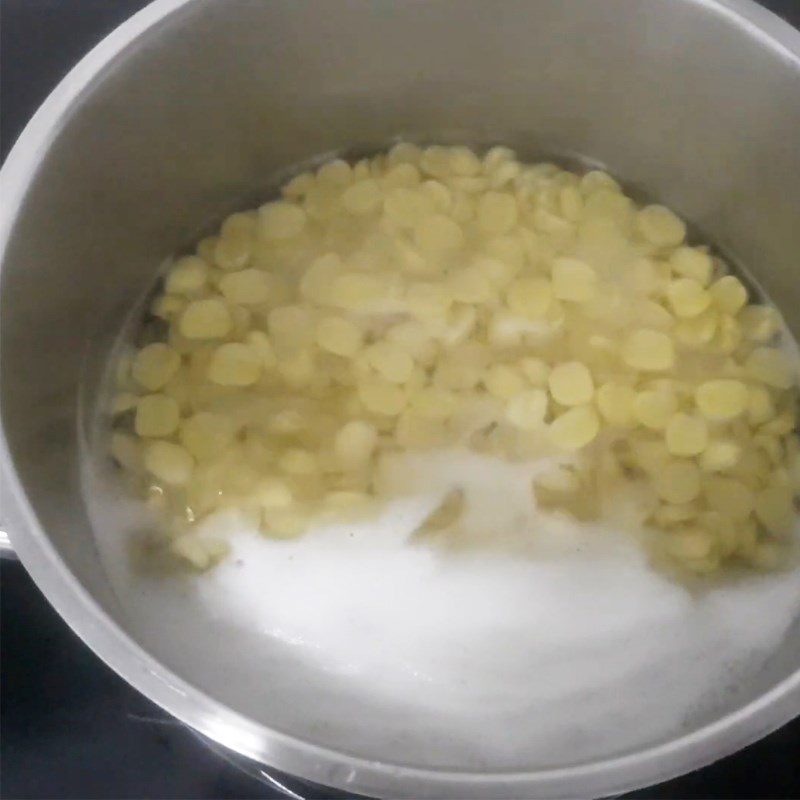
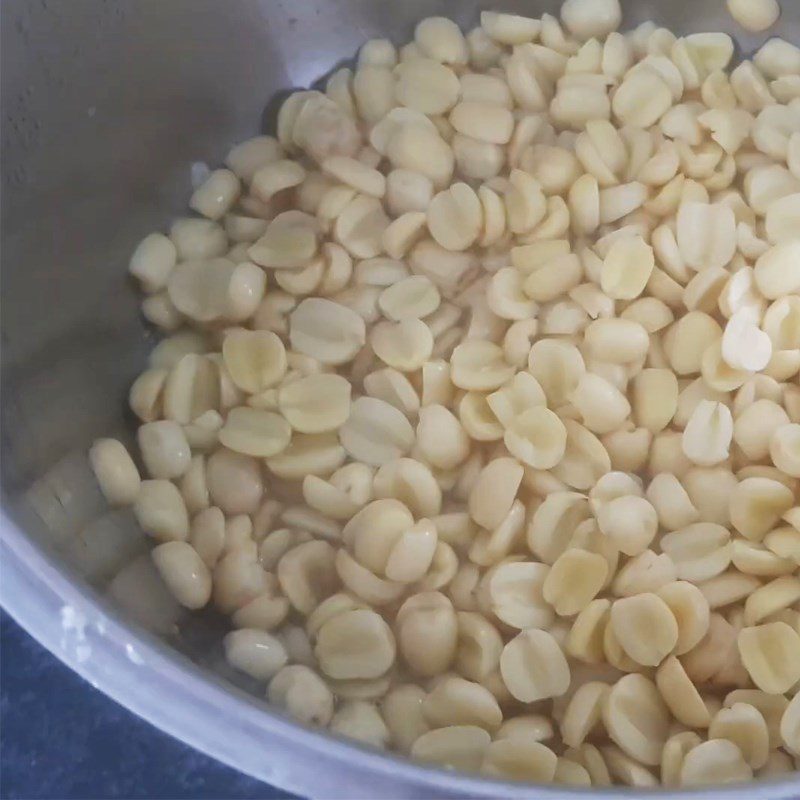
Next, place a pot on the stove, add the prepared lotus seeds, 1.5 liters of water, and cook on medium-low heat until the lotus seeds are soft.
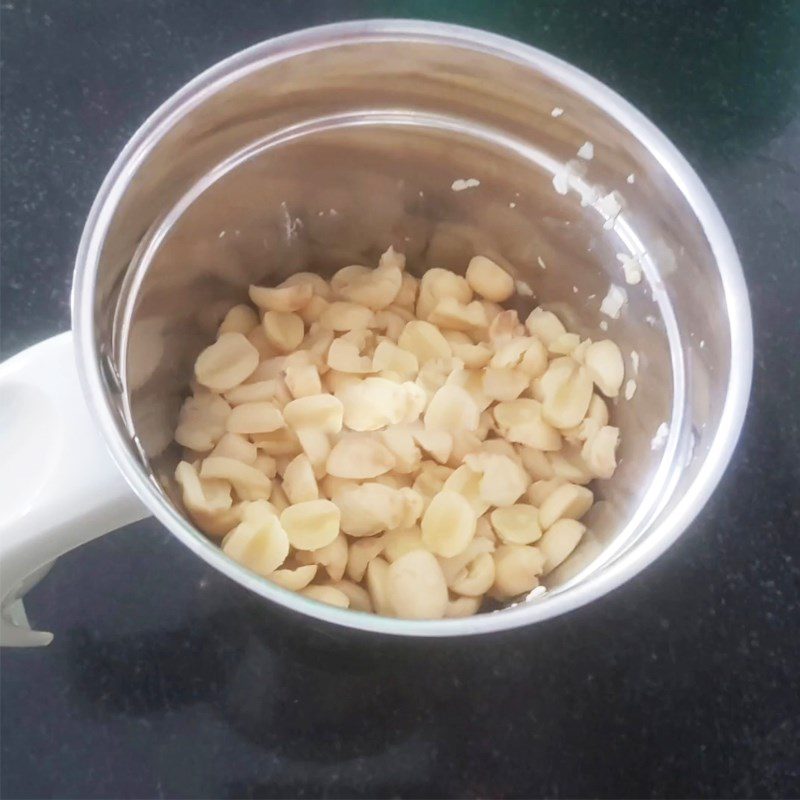
When the lotus seeds are soft, put them in a blender and blend until smooth.
-
Sauté the Lotus Seed Filling
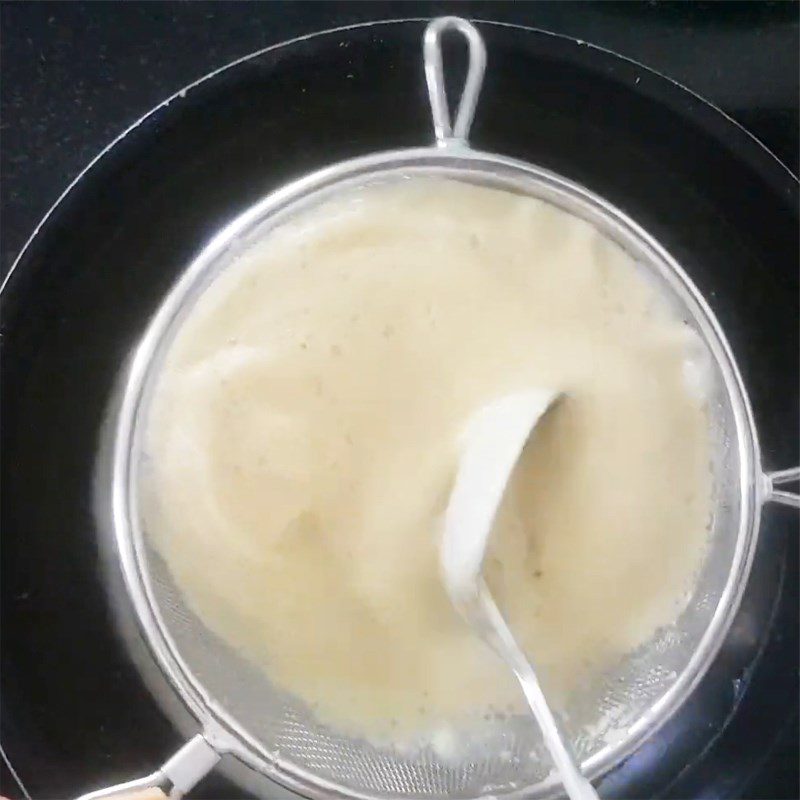
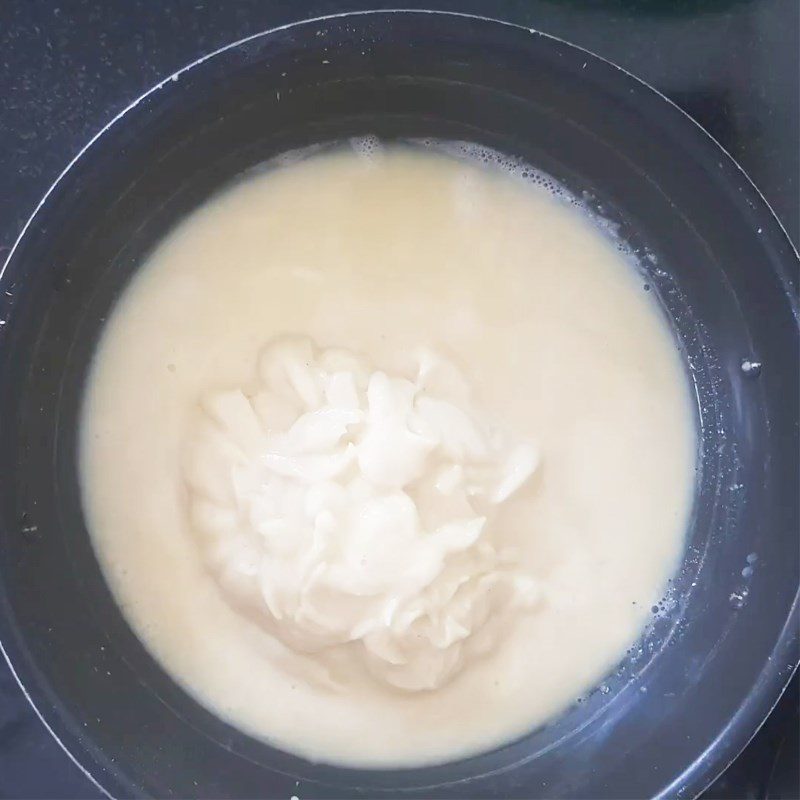
Filter the blended lotus seeds into a pan along with a little salt, and stir evenly over low heat until the mixture thickens slightly.
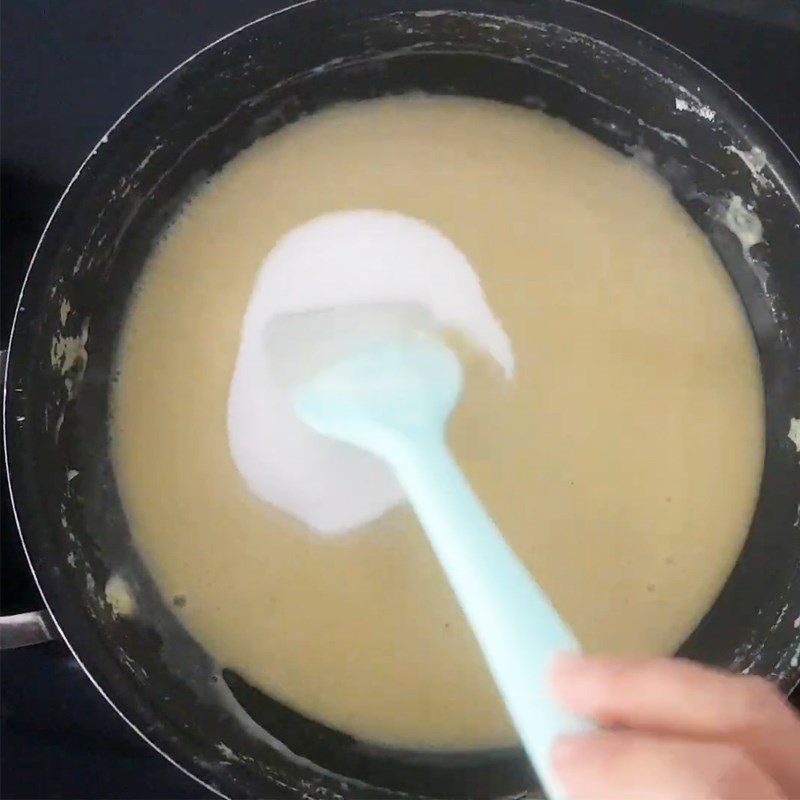
At this point, gradually add 200g of sugar substitute and continue to stir until the sugar dissolves.
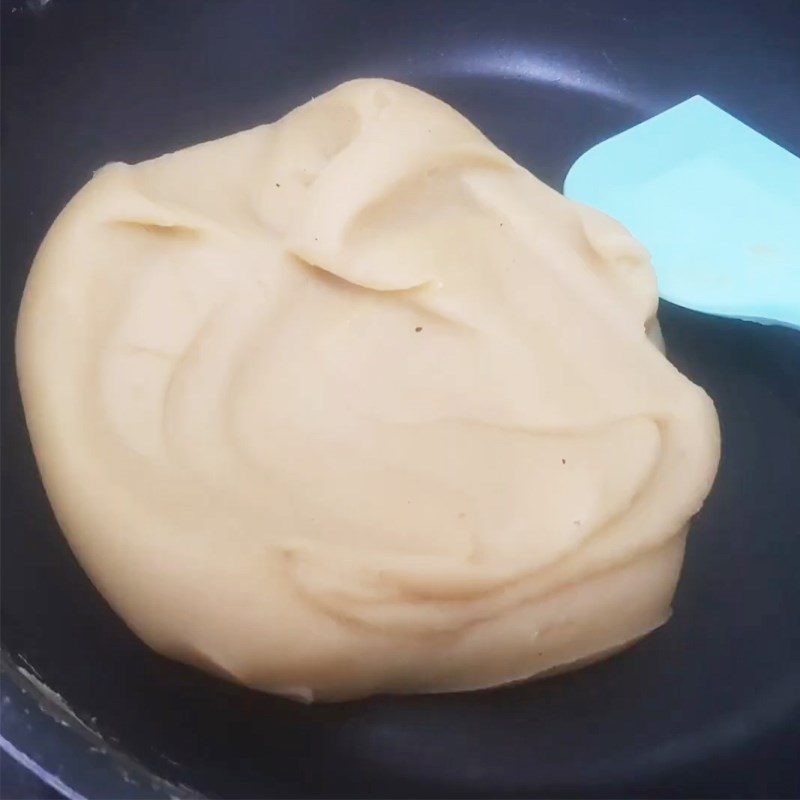
Dissolve 10g of cornstarch, 10g of cake flour, then add to the filling mixture. Sauté until the filling is smooth and dry, forming a homogeneous mass that does not stick to the pan and feels non-sticky to the touch.
-
Making the filling
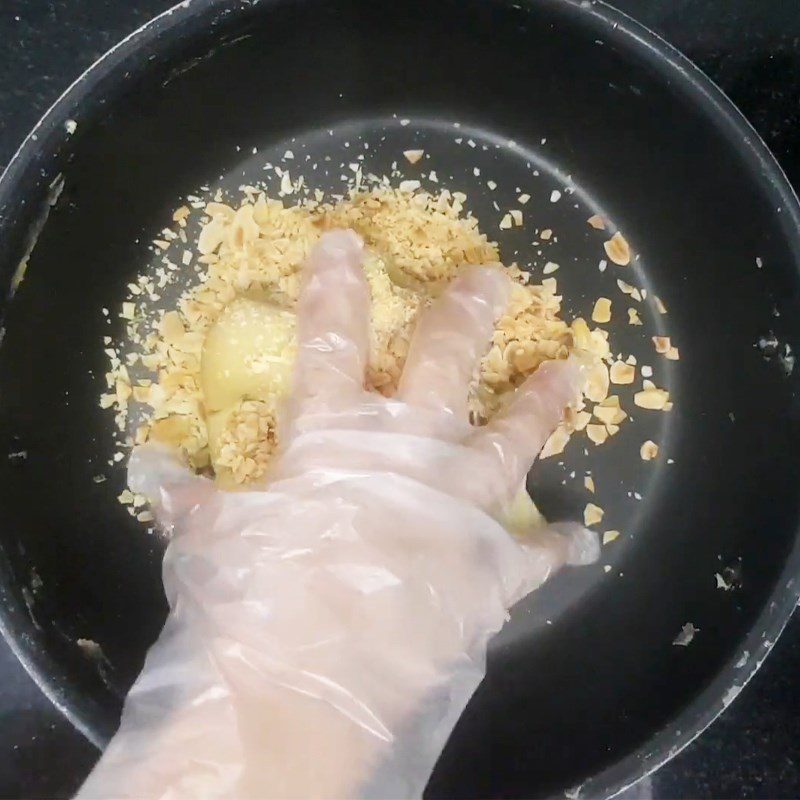
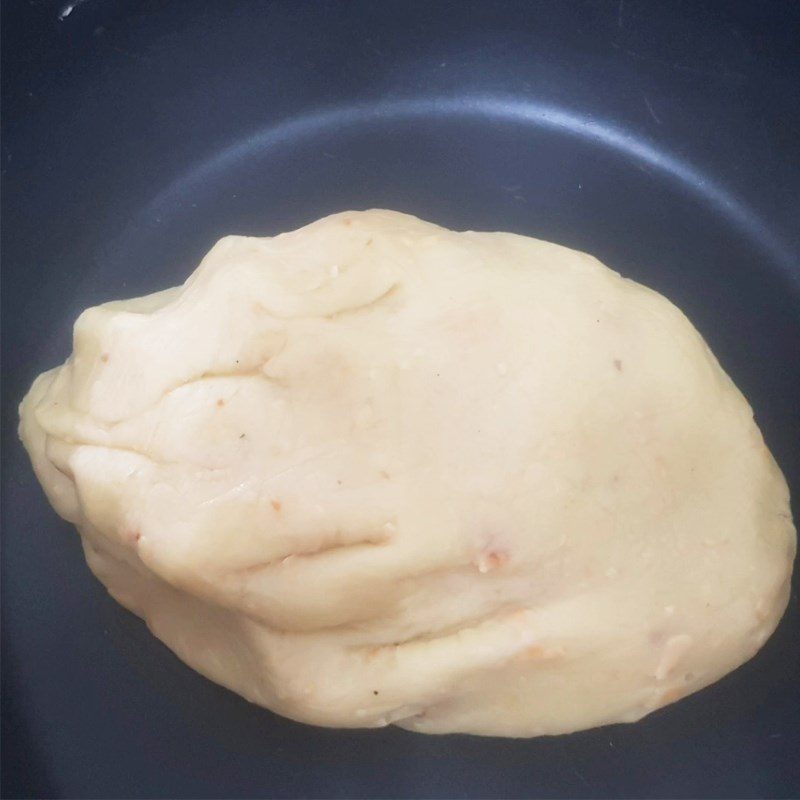
Remove the filling from the pan, add 50g of chopped almonds, and mix well by hand.
-
Mixing the dough for the cake skin
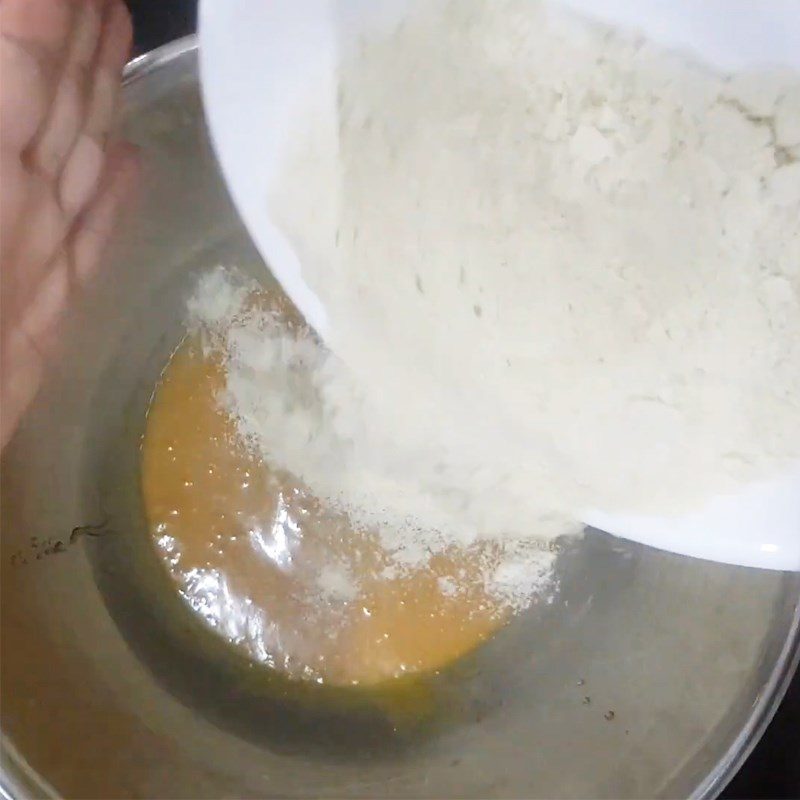
In a large bowl, add 1 egg yolk, 110g of sugar syrup, 20ml of cooking oil, and 20g of peanut butter, then stir well to combine.
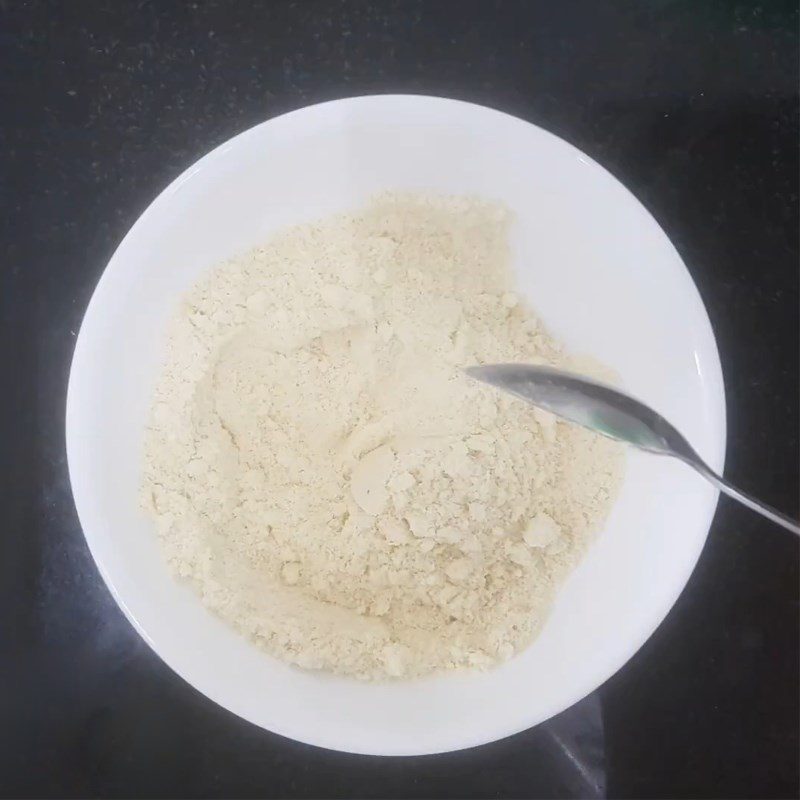
In another bowl, sift 120g of almond flour and 30g of wheat flour, then mix well.
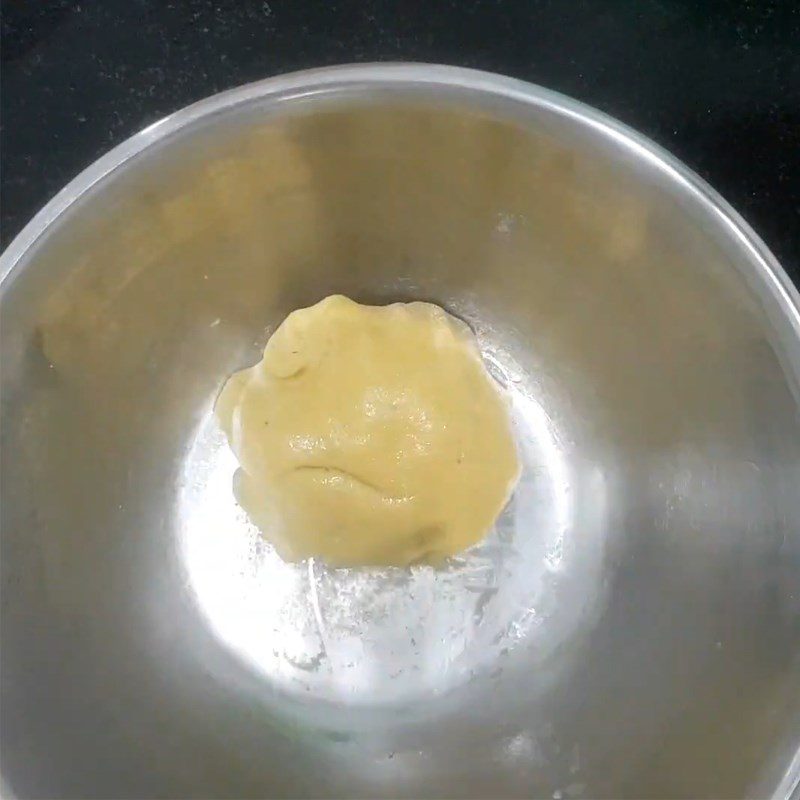
Next, gradually add the dry flour mixture into the sugar syrup bowl, mixing well until the ingredients bind together. Then, knead the dough by hand until it forms a smooth, non-sticky ball.
-
Shape the cake
Divide the dough and filling into several parts with a ratio of 35g dough : 70g filling, roll them into balls.
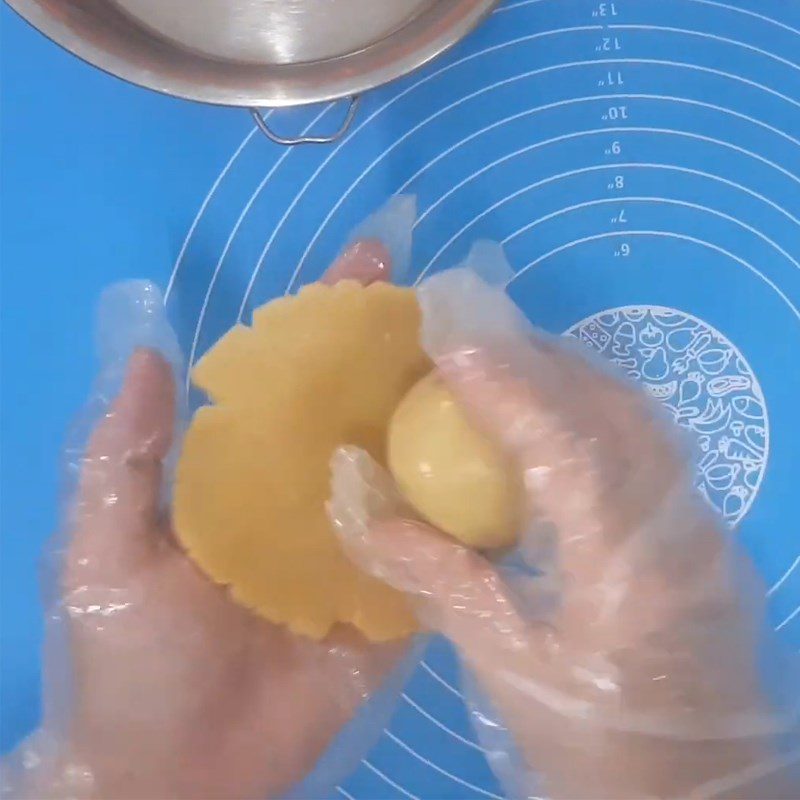
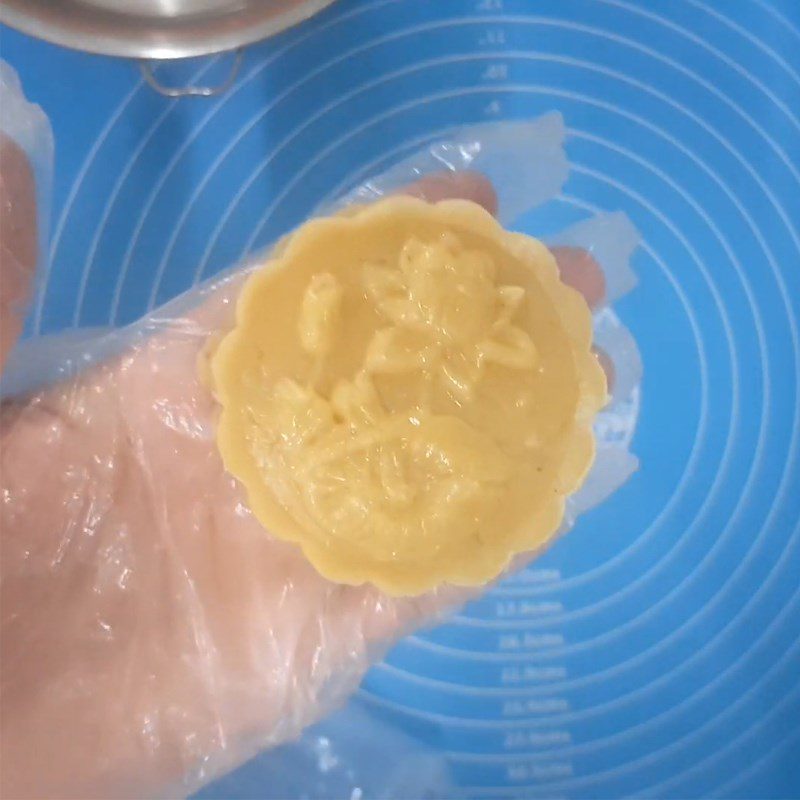
Use a rolling pin to flatten the dough, place the filling in the center, then fold the dough edges tightly around the filling and roll it into a ball.
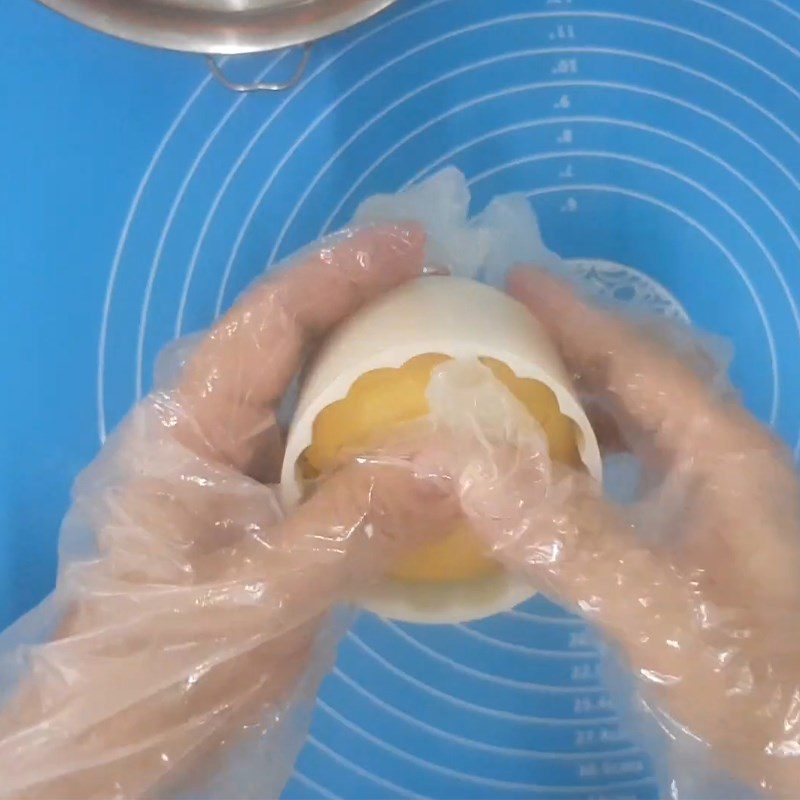
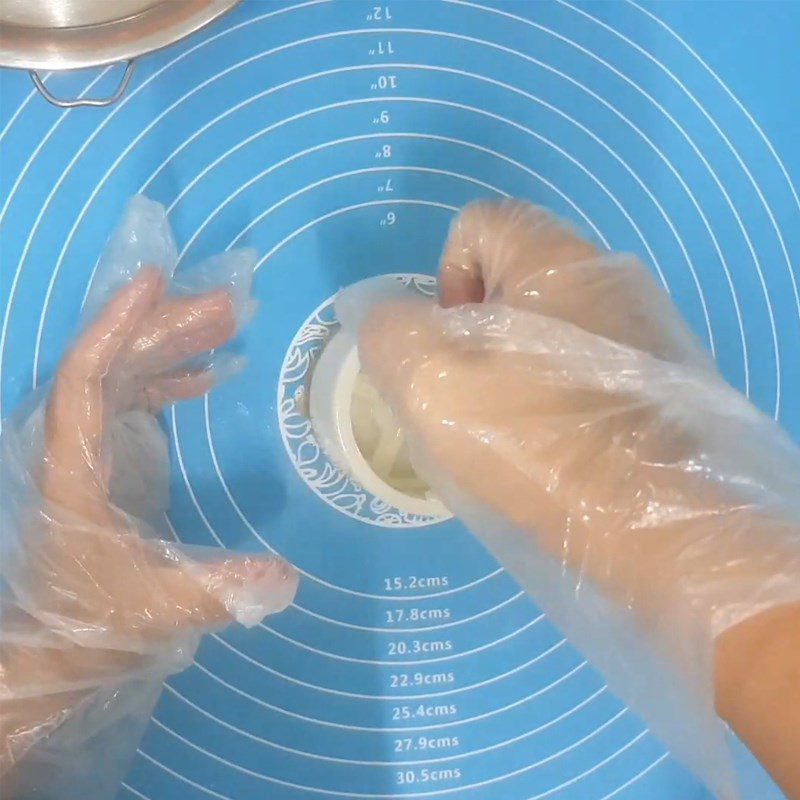
Tip: To prevent the dough from drying out, remember to cover it tightly while shaping!Brush a layer of cooking oil into the mold, place the cake in, and press to evenly distribute it in the mold. Then, press the spring firmly and hold for 10 seconds to create patterns.
-
Baking the cake
Preheat the oven to 170 degrees Celsius for 20 minutes.
First, bake the cake for the first time at 170 degrees Celsius for 20 minutes, then let it cool for 30 minutes.
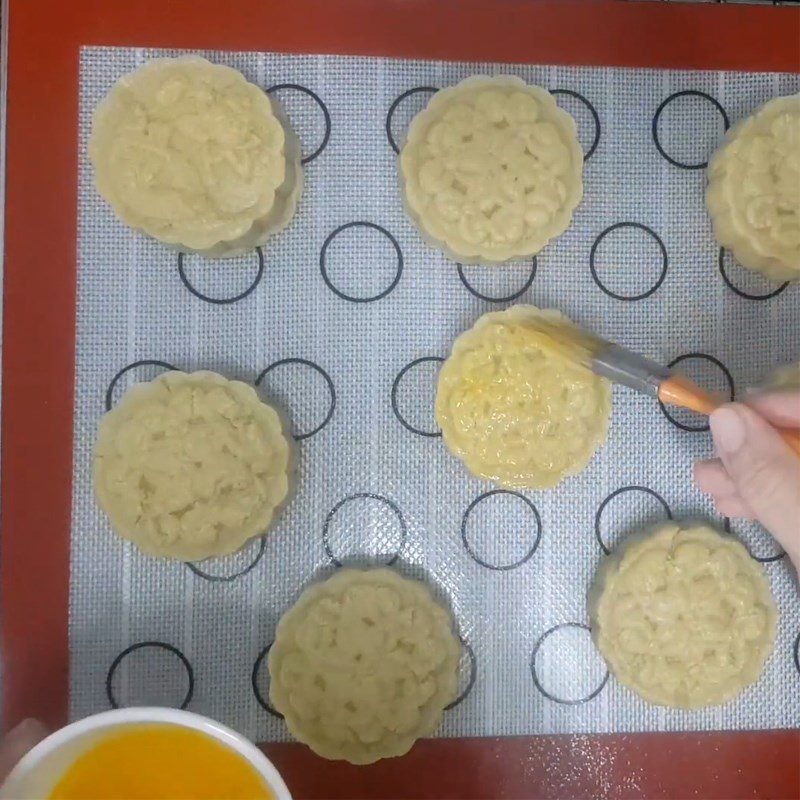
Mix together 1 egg yolk, 1 teaspoon of gac oil, and 1 teaspoon of unsweetened fresh milk. Next, spread this mixture on the surface of the cake.
Bake the cake for the second time at 170 degrees Celsius for 20 minutes, remove the cake and let it cool for 30 minutes. Continue to spread the egg mixture on the surface and sides of the cake, then bake the cake for the third time for 15 minutes at 170 degrees Celsius to finish.
Tip: If the cake base is not dry, you can switch to bottom heat and bake for another 5 – 7 minutes at 140 degrees Celsius.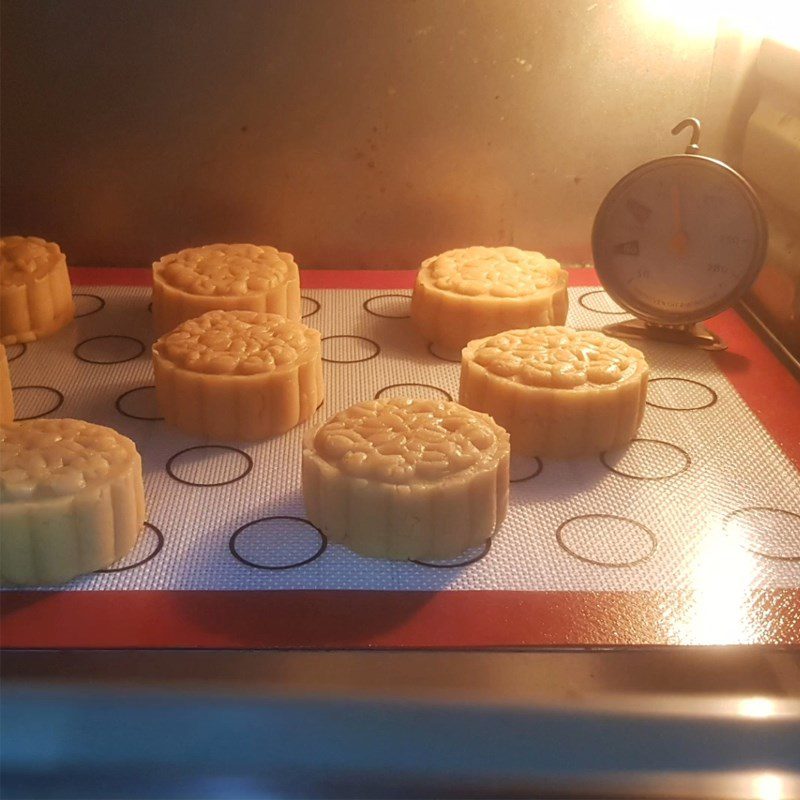

-
Final product
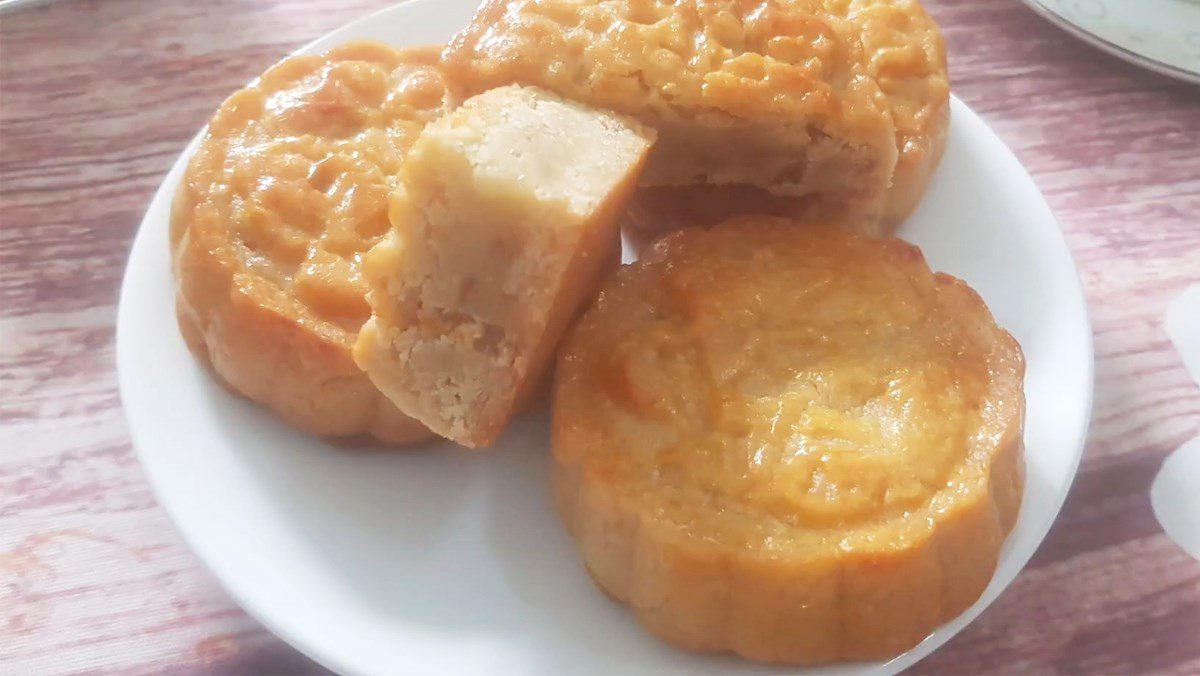
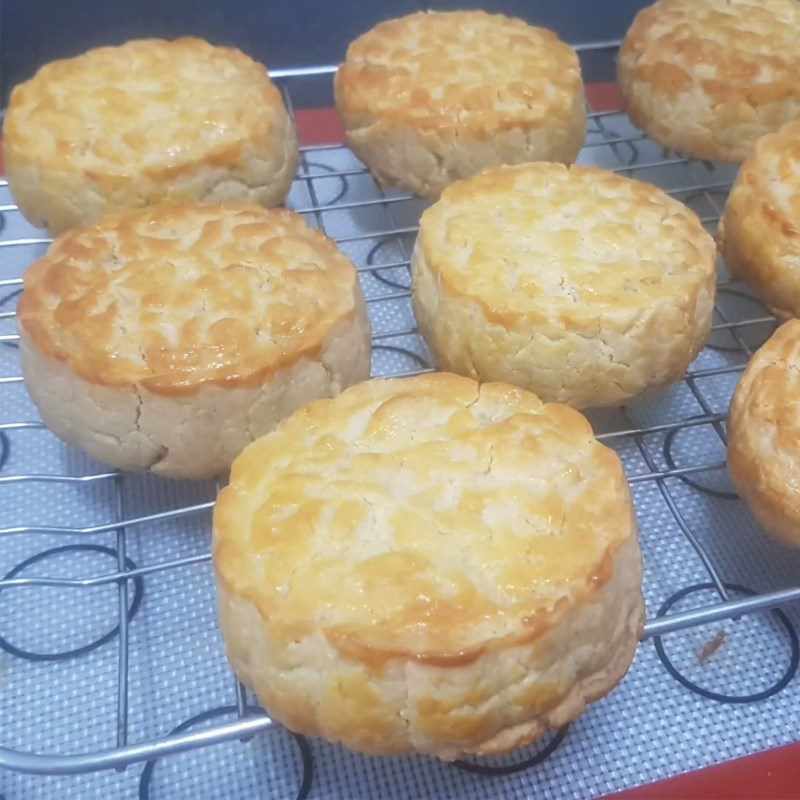
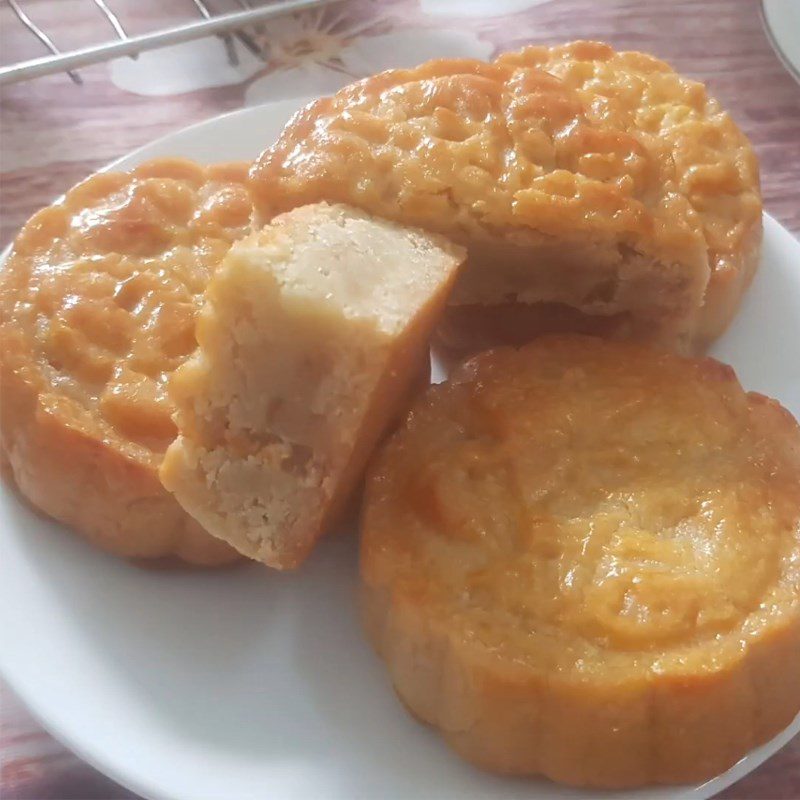
The Mooncake for diabetics with lotus seed filling has a soft and fragrant crust that blends perfectly with the mildly sweet and creamy lotus seed filling, making it irresistible!
2. Mooncake for diabetics with green bean and durian filling
-
Preparation
30 minutes
-
Cooking
1 hour 30 minutes
-
Difficulty
Medium
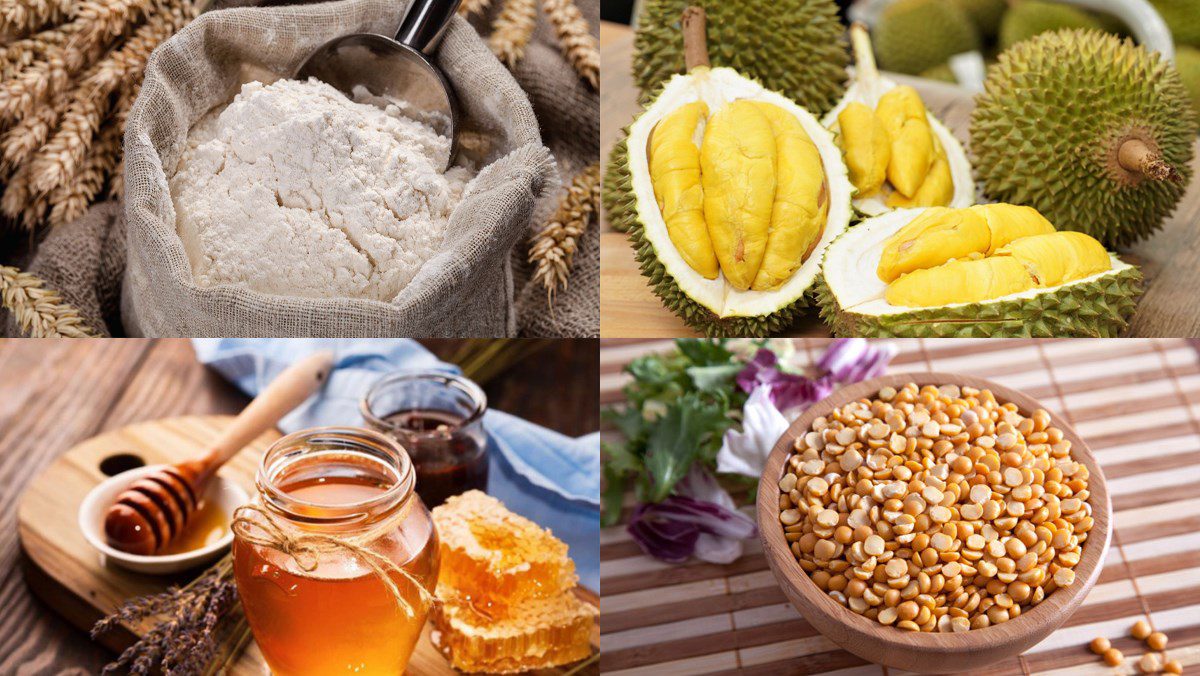
Ingredients for Mooncake for diabetics with green bean and durian filling For 33 pieces of 50g each
All-purpose flour 250 gr Glutinous rice flour 15 gr (roasted) Baking soda 1/3 teaspoon Shredded coconut 50 gr Green beans 150 gr Durian flesh 100 gr Sugar substitute 50 gr Sugar syrup substitute 80 ml Mai Que Lo wine 35 ml Egg yolk 1 piece Pure honey 205 ml Peanut oil 90 ml
How to choose delicious, quality durian
- Shape: Fruits that are slightly irregular in shape will be of better quality than large, round fruits.
- Stem: You should choose fruits with fresh stems that have a strong aroma. You can gently press with your finger to test; if the stem feels wet, it is still fresh.
- Durian spines: Choose fruits with spines that look fresh, green, firm, and spread out.
- Durian flesh: Naturally ripened durian is very easy to separate, with flesh that is golden yellow, soft, smooth, and rich. In contrast, durian soaked in chemicals is difficult to separate, with flesh often being grainy and light yellow in color.
- Aroma: Naturally ripened durian has a strong fragrance that can be detected from a distance. In contrast, chemically treated durian will not have a characteristic strong aroma and sometimes may have no scent at all.
Tools required
Oven, blender, pot, non-stick pan, strainer, 50g mooncake mold,…
How to Make Mooncake for Diabetics with Mung Bean and Durian Filling
-
Cook and Blend Mung Beans
First, rinse 150g of mung beans clean and soak them for 2 hours until soft.
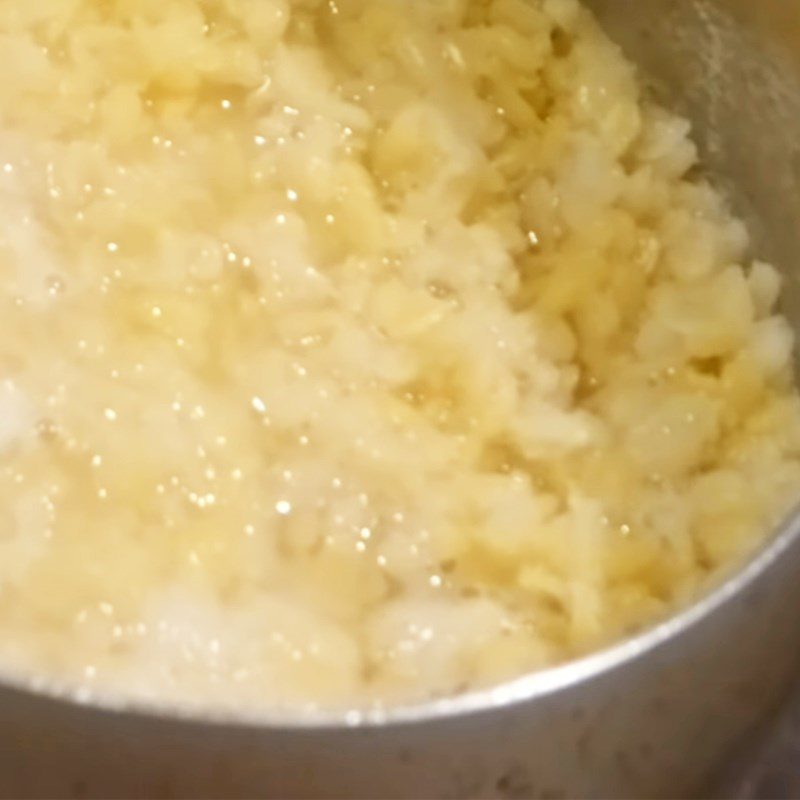
After 2 hours, place the mung beans in a pot with enough water to cover them. Cook the beans on low heat for about 45 minutes until they are soft.
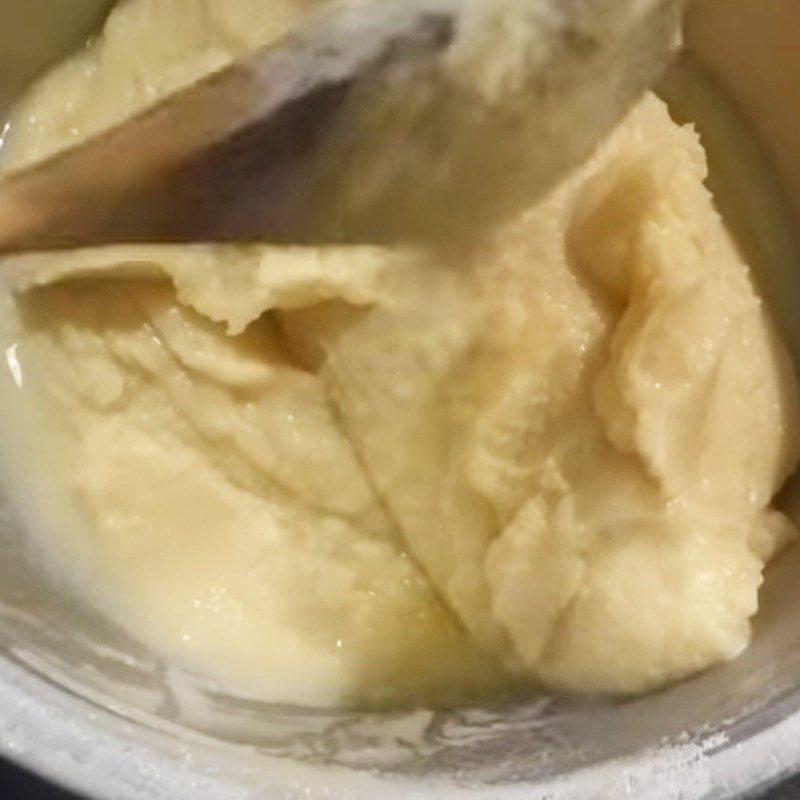
Next, blend the mung beans until smooth, then strain through a sieve into a bowl.
-
Cook the Durian Mung Bean Filling
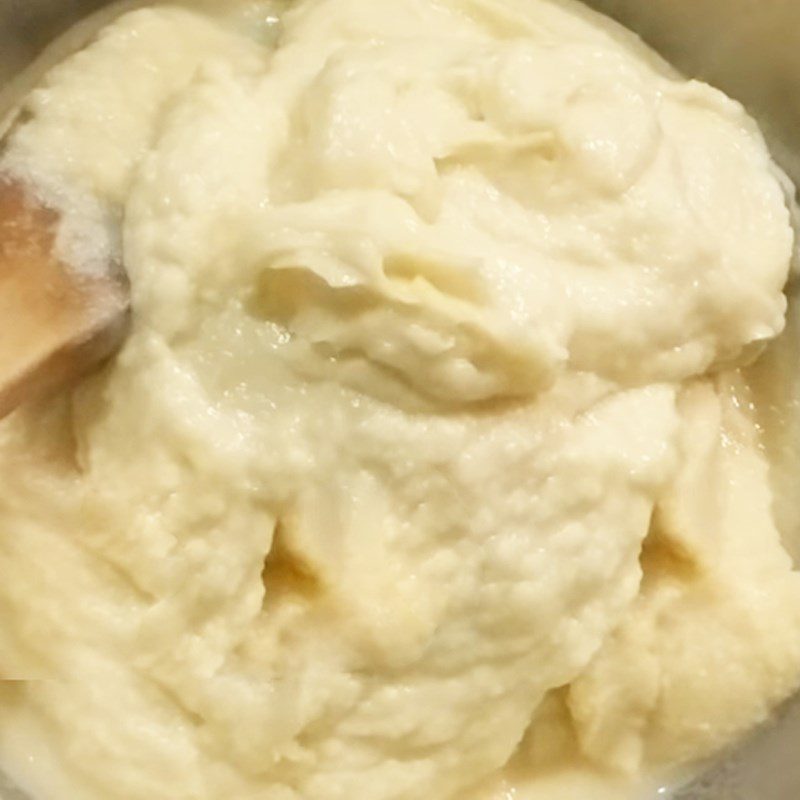
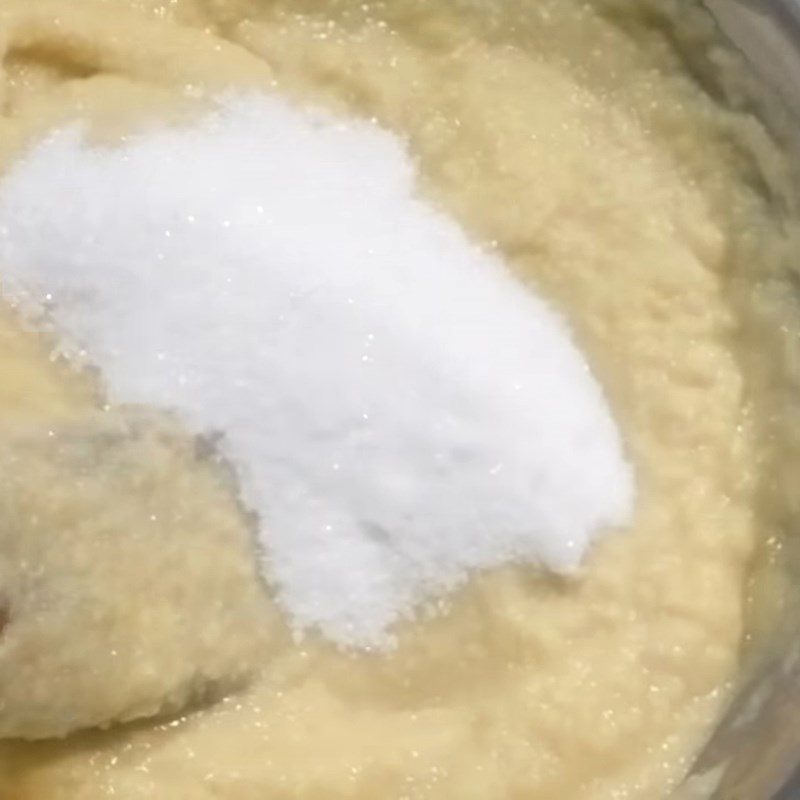
Similarly, blend 100g of durian flesh, add it to the bowl of mung beans along with 50g of diet sugar and mix well.
Dissolve 15g of roasted glutinous rice flour in 45ml of peanut oil, then pour this mixture into the mung bean and durian mixture. Mix well until the ingredients are combined.Next, add 80ml of diet syrup and mix well once more.
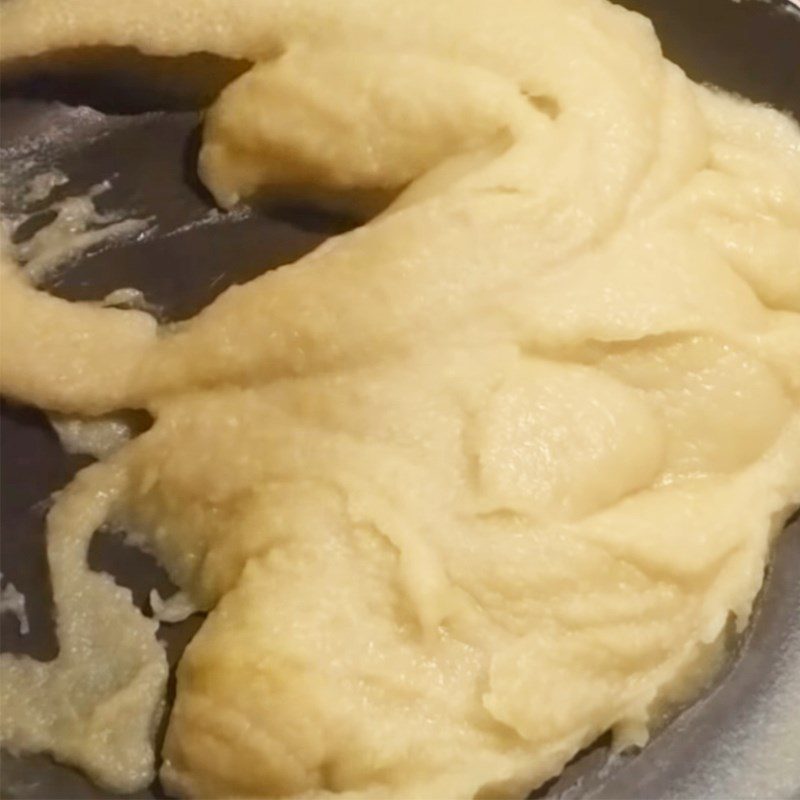
Pour the mixture into a pan and stir constantly on low heat for about an hour until the filling becomes sticky and forms a homogeneous, smooth mass that no longer sticks to the pan and does not stick to your hands when touched.
Finally, add 50g of grated coconut to the pan and mix well once to combine the filling.
-
Mix the dough for the cake skin
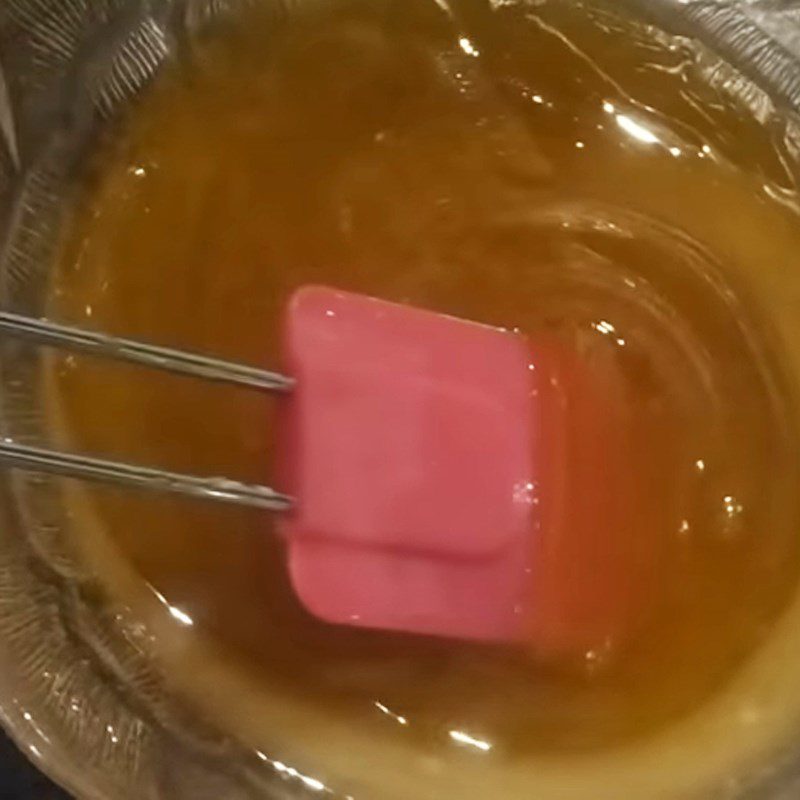
In a new bowl, add 1 egg yolk, 45ml peanut oil, 15ml Mai Que Lo wine, 1/3 teaspoon baking soda, and 185ml pure honey, then stir well.
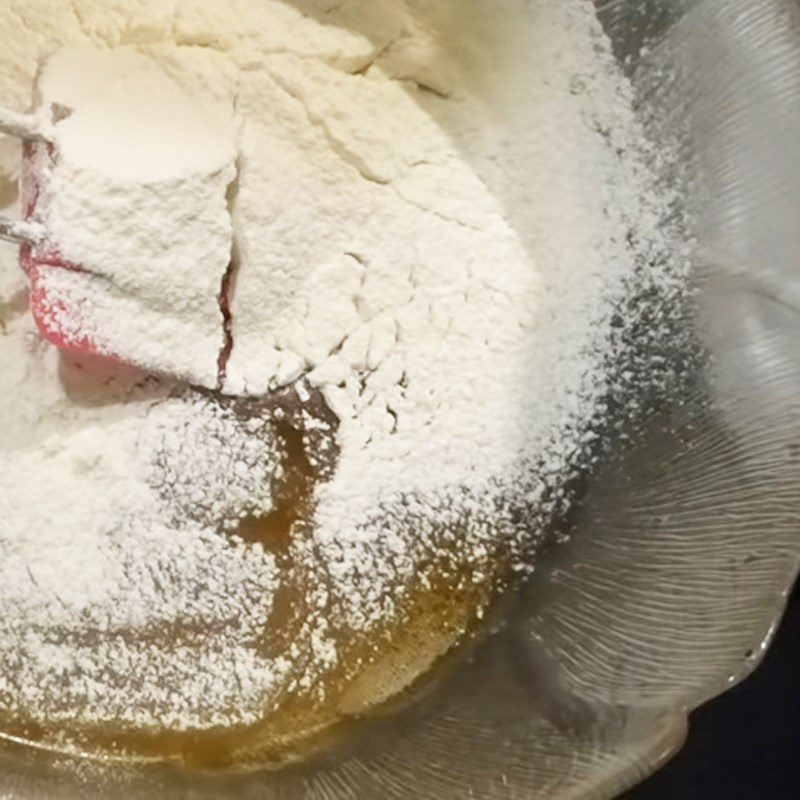
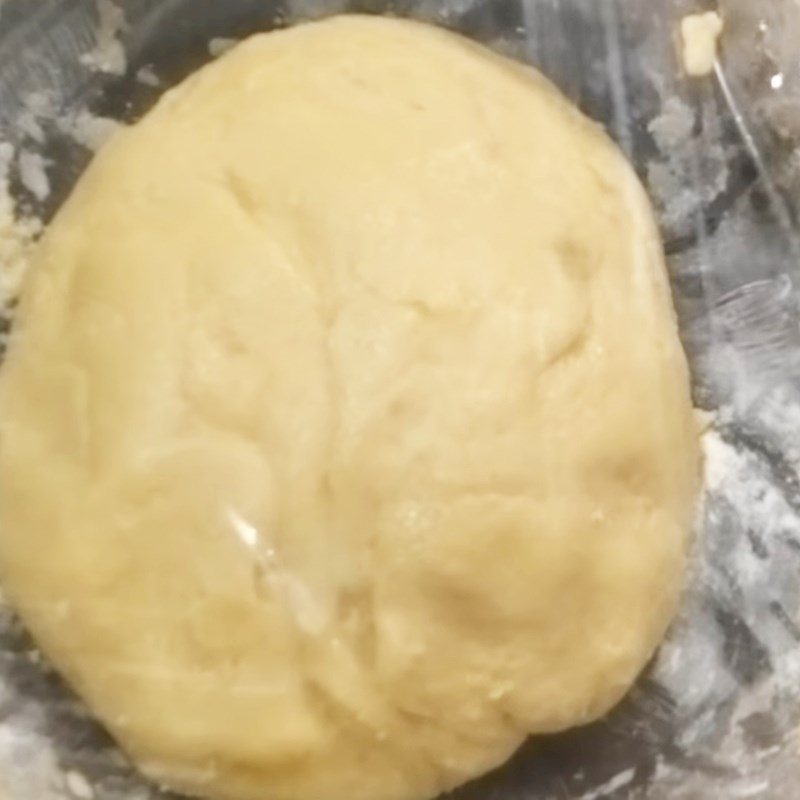
Next, gradually sift 250gr flour into the bowl, using a flat whisk to mix in a circular motion from outside to inside until it forms a smooth, non-sticky dough.
Finally, cover the dough tightly and let it rest for 30 minutes.
Tip: Since honey is quite sticky and takes longer to become homogeneous compared to regular baking syrup, you can gradually add flour (about 15 – 20gr each time) and patiently knead until the dough reaches the desired consistency!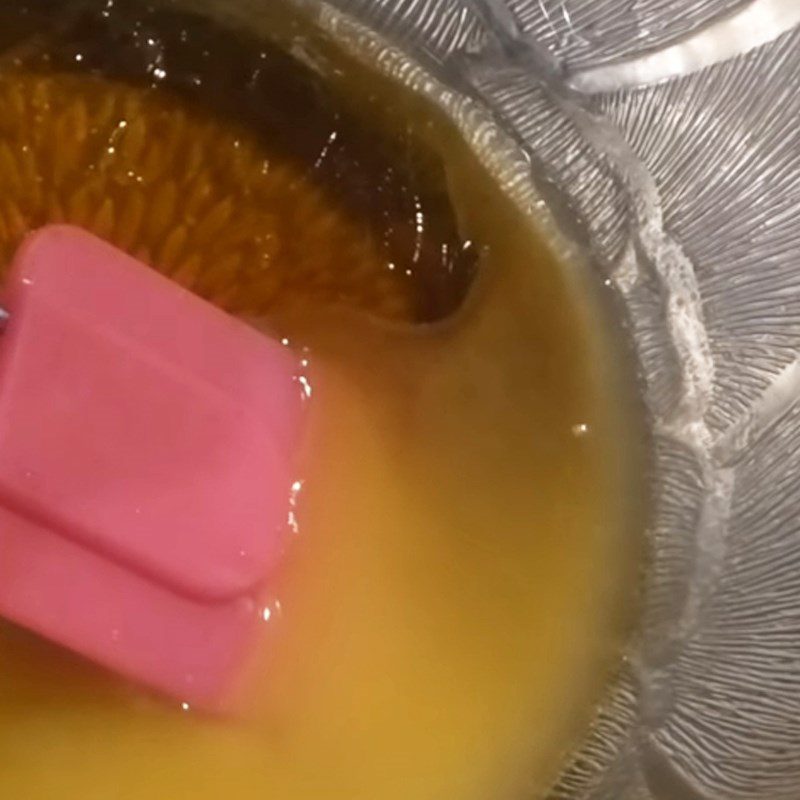
-
Forming the cake
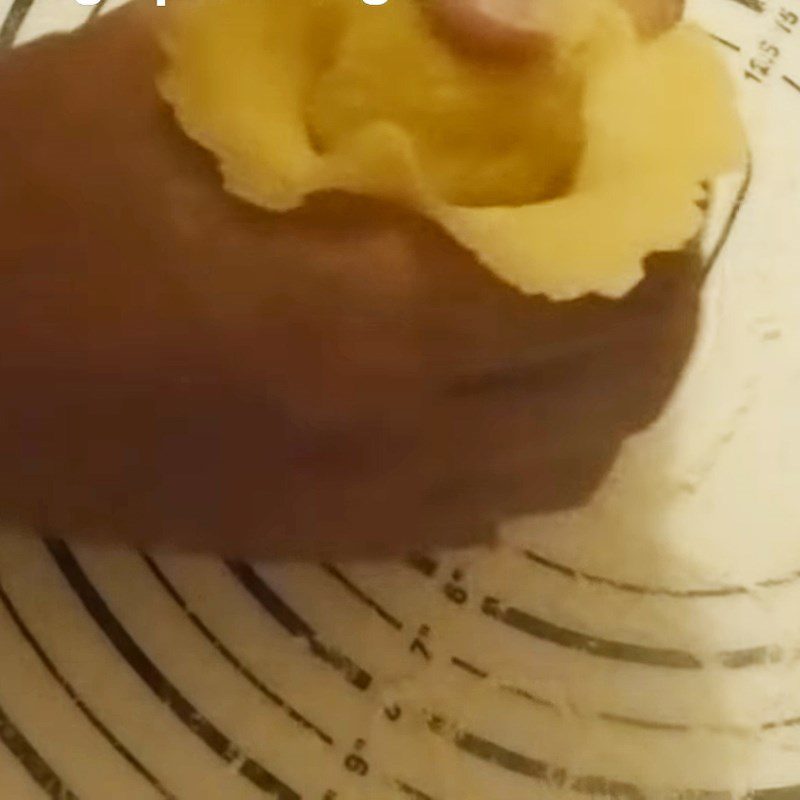
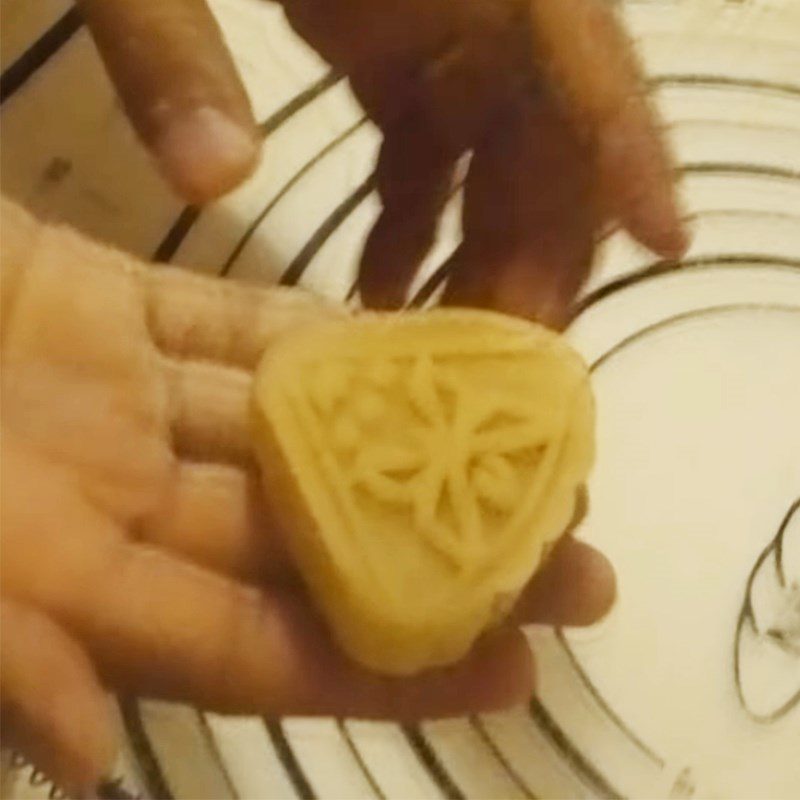
Divide the cake skin and filling into several parts with a ratio of 20g skin : 35g filling, then roll them into balls.
Next, use a rolling pin to flatten the cake skin, place the filling in the center and pinch it tightly against the edges of the skin, then roll it into a ball.
Finally, place the filling into the mold, press the spring firmly for 30 seconds to shape it.
-
Baking the cake
Preheat the oven to 200 degrees Celsius for 15 minutes.
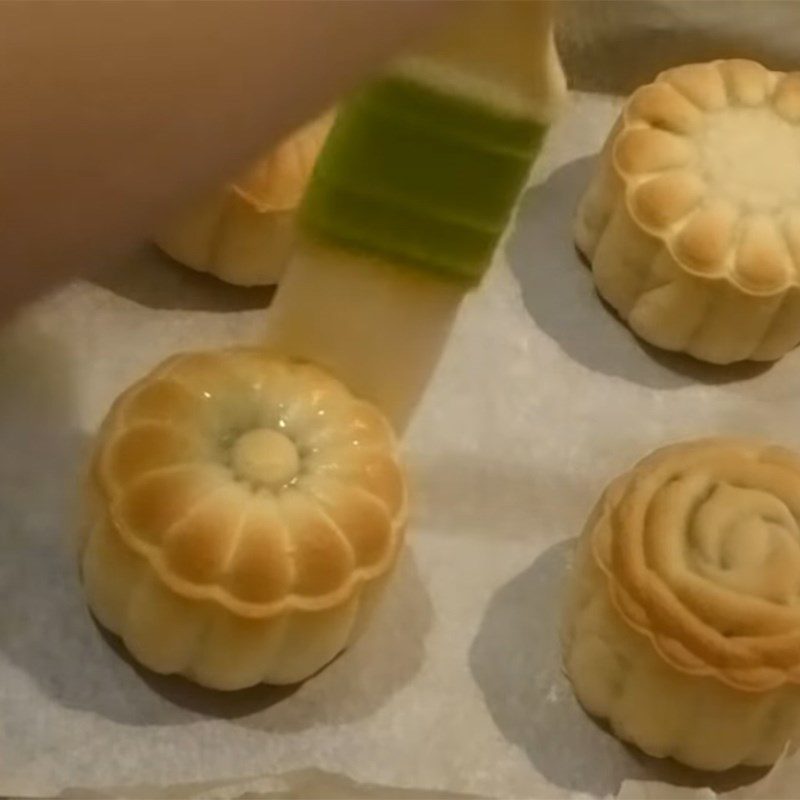
Bake the cake for the first time for 15 minutes at 200 degrees Celsius, then take the cake out and spray or brush water on the surface of the cake, let it cool for 10 minutes.
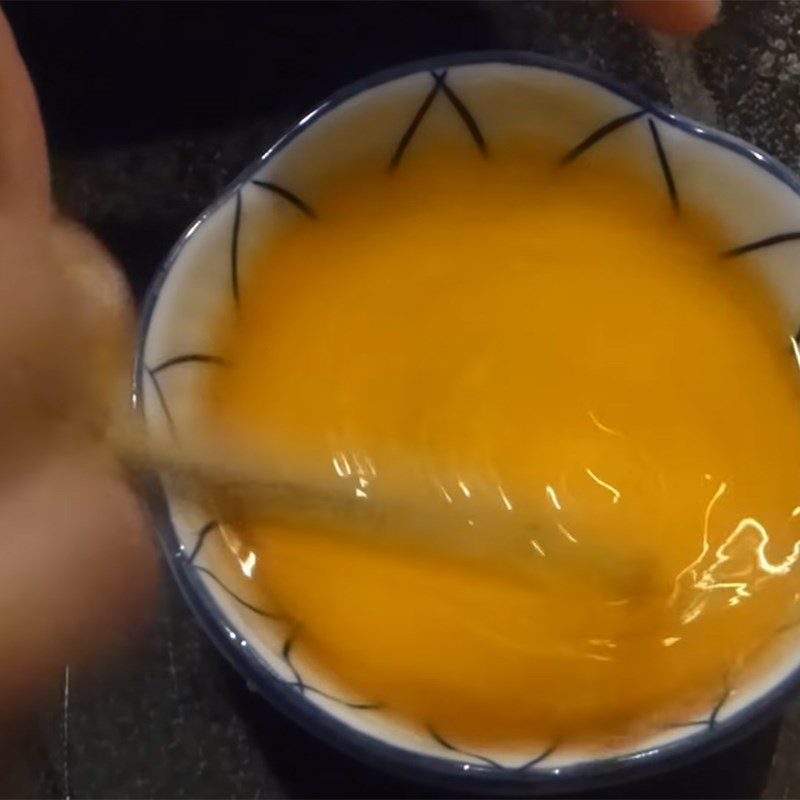
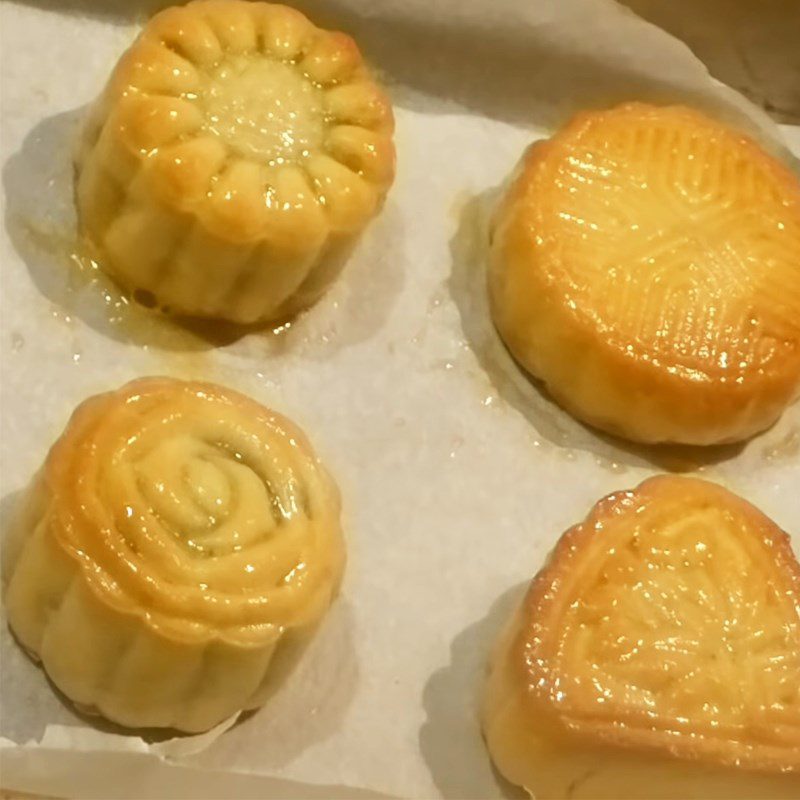
Mix 1 egg yolk with 20ml of Mai Que Lo liquor and 20ml of honey. Then, brush a thin layer of this mixture on the cooled surface of the cake.
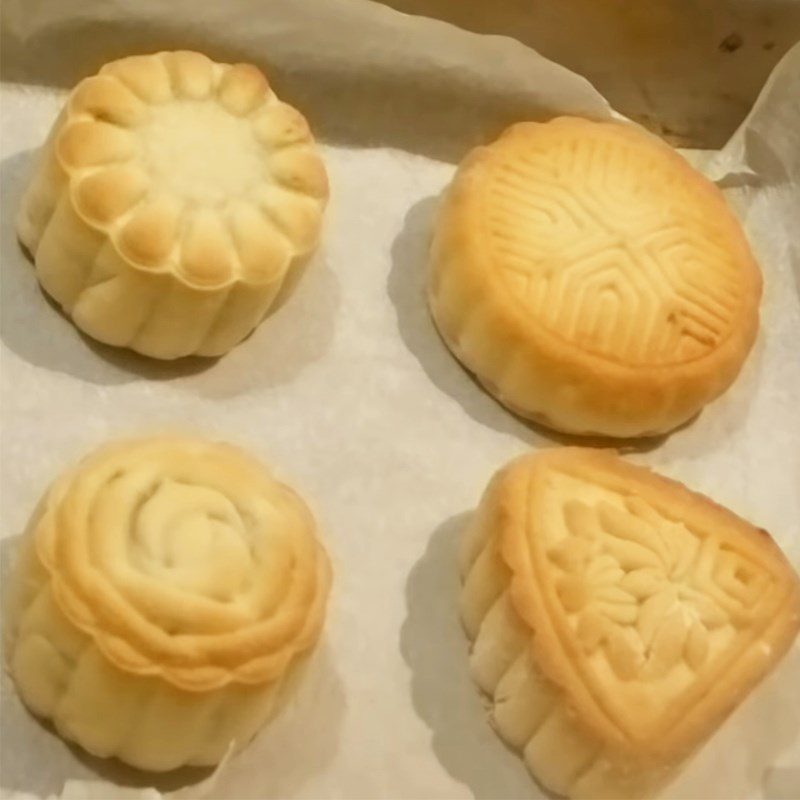
Next, bake the cake for the second time for about 5 minutes at 150 degrees Celsius until the surface of the cake is golden brown.
-
Final Product
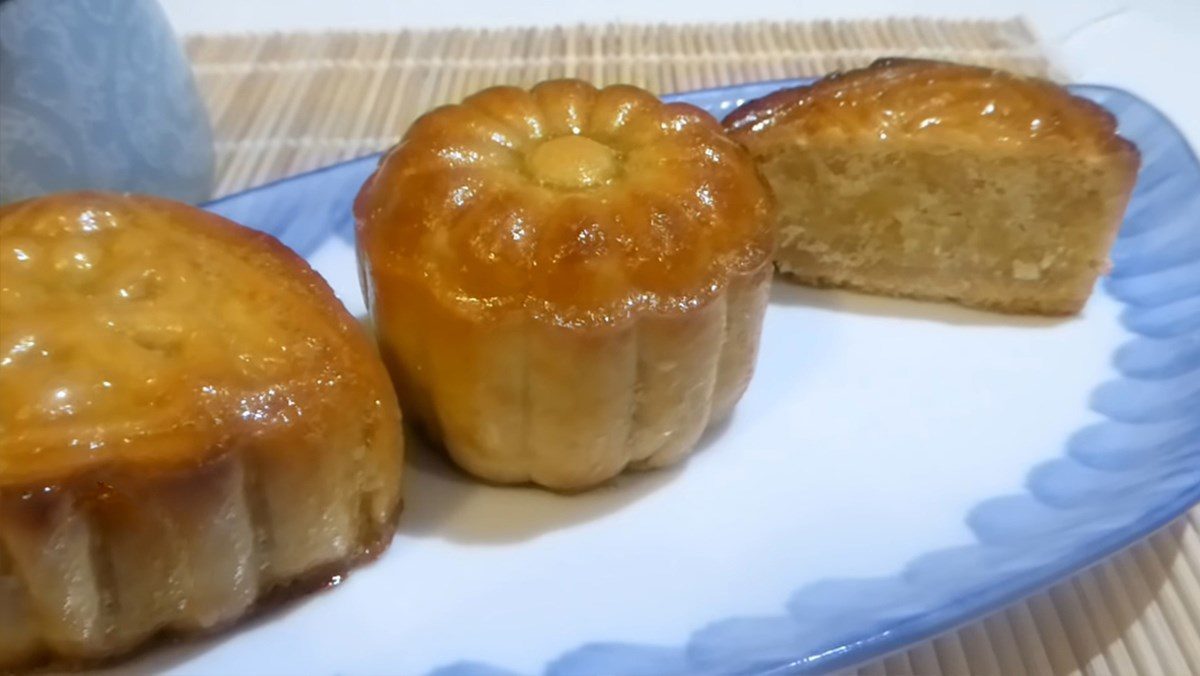
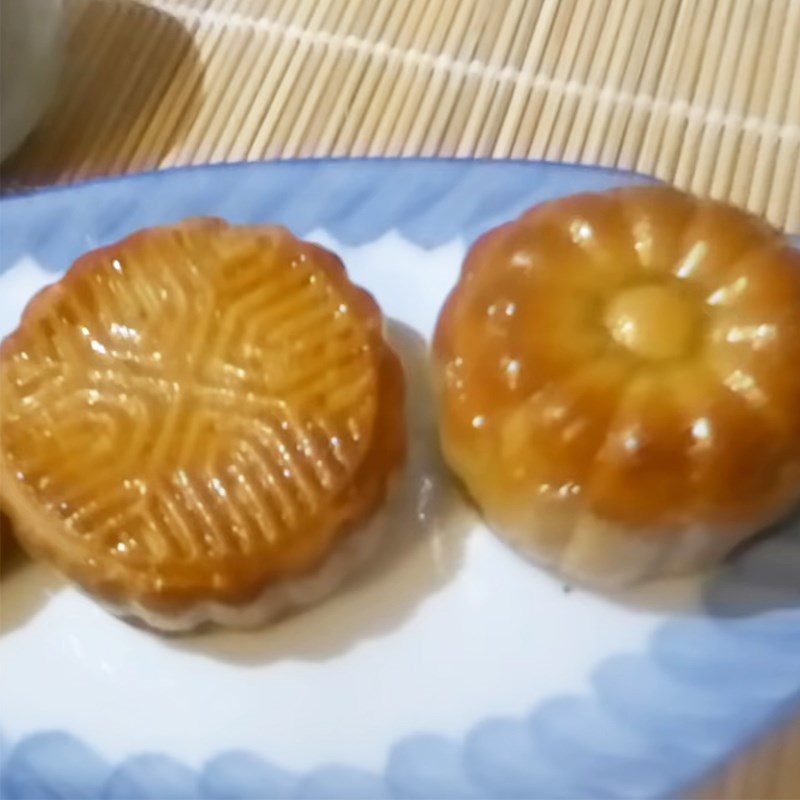
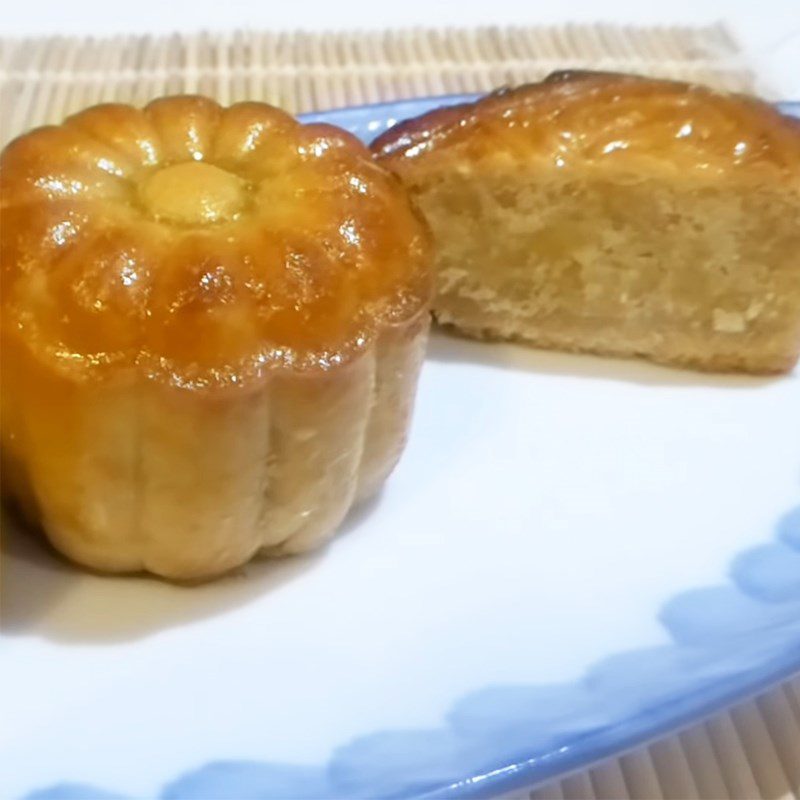
The Mooncake for Diabetics with Durian Green Bean Filling has a beautiful golden color, the cake skin made from honey is fluffy, soft, and thin, combined with the rich, fragrant durian green bean filling and the creamy taste of grated coconut, delicious and authentic!
3. Mooncake for Diabetics with Coffee Filling
-
Preparation
30 minutes
-
Cooking
1 hour 45 minutes
-
Difficulty
Medium
Ingredients for Mooncake for Diabetics with Coffee Filling For 17 cakes of 50gr each
All-purpose flour 280 gr Coffee powder 160 gr Baking soda 1/3 teaspoon Cream cheese 85 gr (or any preferred type of white cheese) Green beans 200 gr Honey 260 gr Rum 30 ml Peanut oil 70 ml
How to make Mooncakes for diabetics with coffee filling
-
Cook and grind mung beans
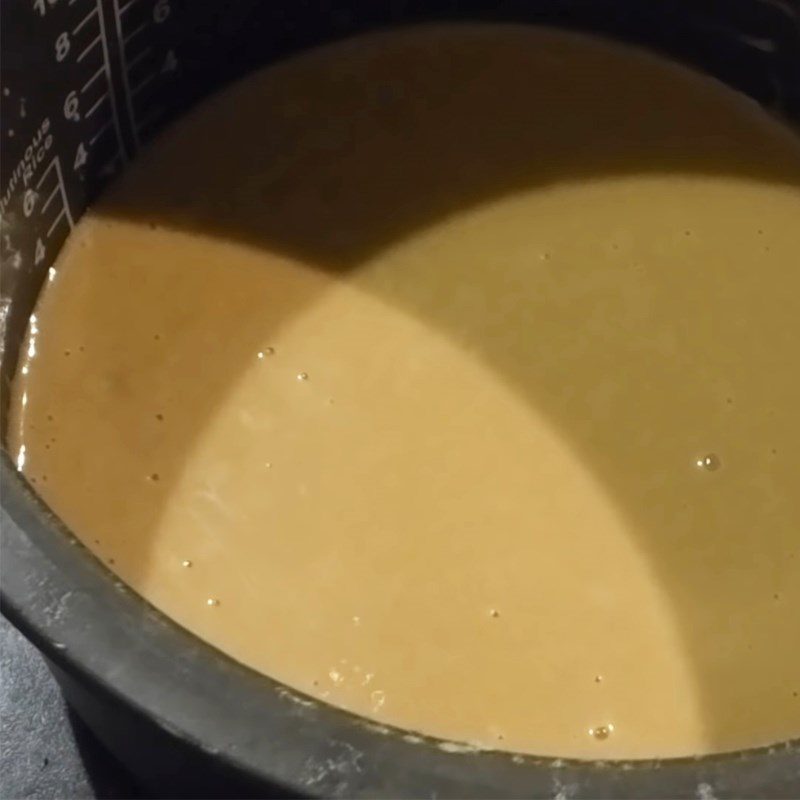
Wash 200gr of mung beans clean and soak them in water for 3 hours. Then put a pot on the stove, add the mung beans, a little salt, and just enough water to cover the beans. Cook on low heat until the mung beans are soft.
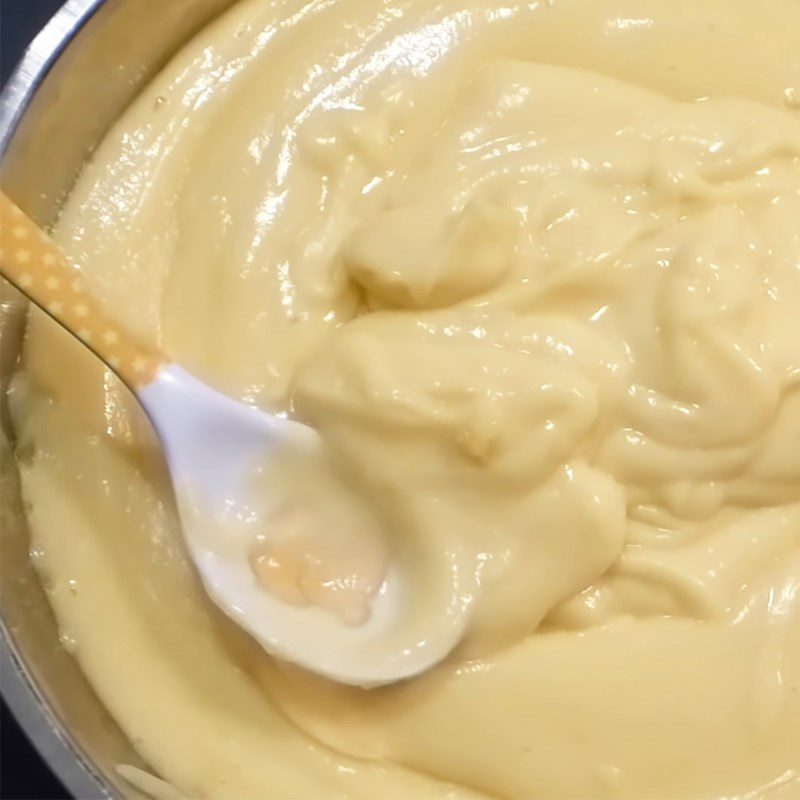
Next, grind the mung beans until smooth, put them in a bowl with 80gr of honey and stir well. Dilute 30gr of flour and 25ml of peanut oil, then pour this mixture into the mung bean bowl and mix well.
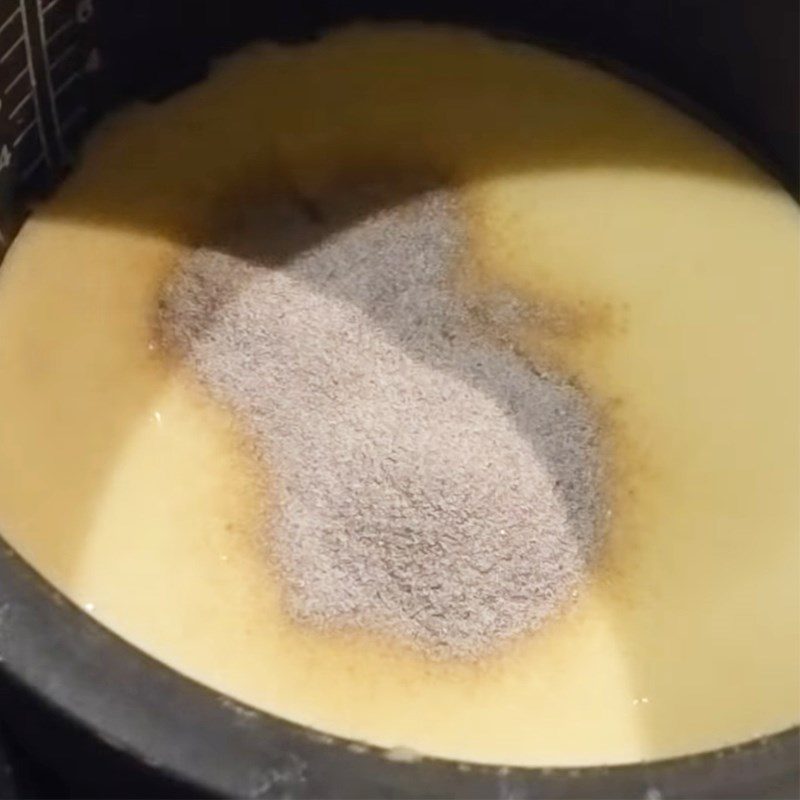
Finally, add 60gr of coffee powder, mix well one more time, and it’s done.
-
Cook the coffee filling
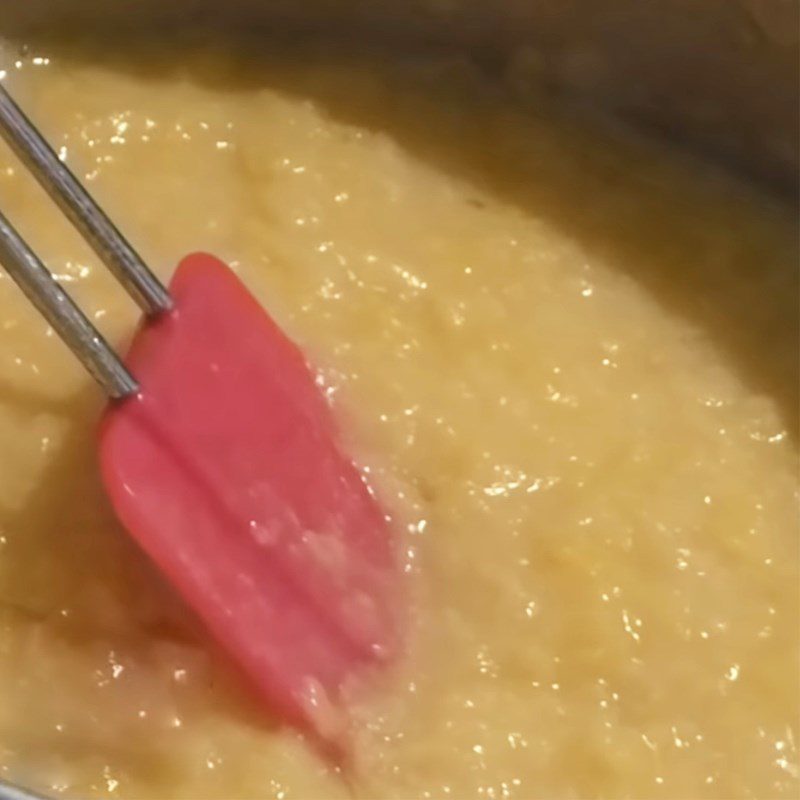
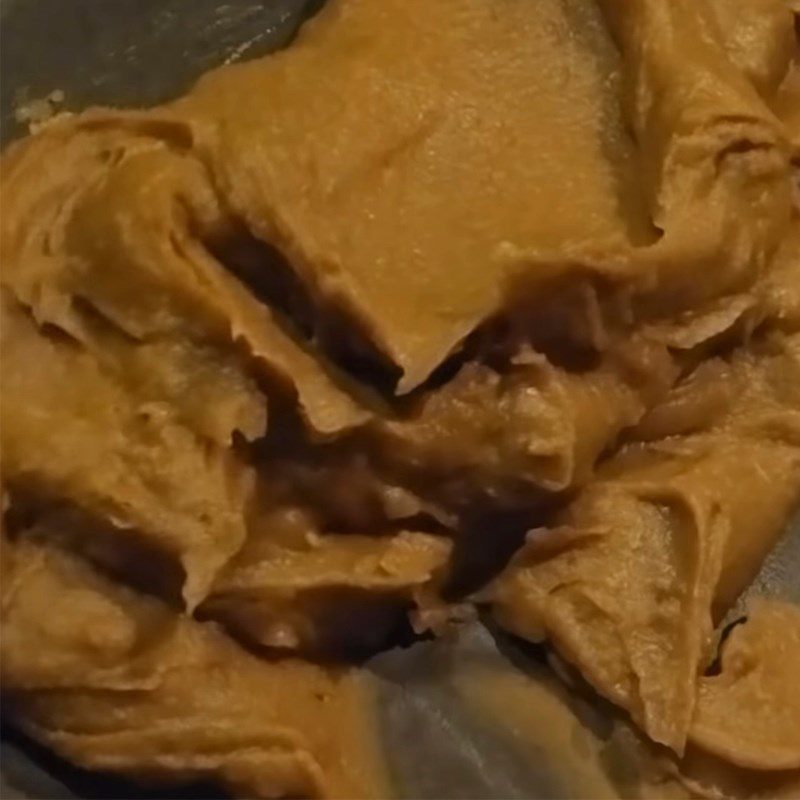
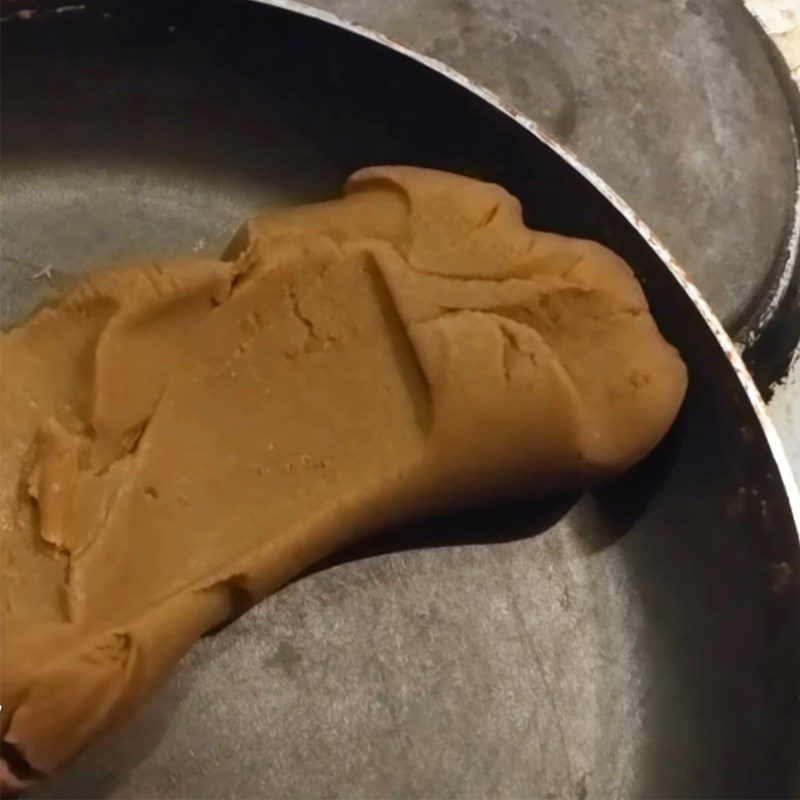
Place a non-stick pan on the stove, pour the filling mixture into it, and cook on low heat for about 1 hour until the filling thickens into a soft, sticky mass that doesn’t stick to the pan and doesn’t stick to your hands when touched.
Tip: You can also cook the filling using a rice cooker by pouring the mixture into the pot and pressing Cook 3 times within 1 hour. Then, transfer the filling to a pan and cook for an additional 15 – 20 minutes until it is sticky.
-
Mix the dough for the cake crust
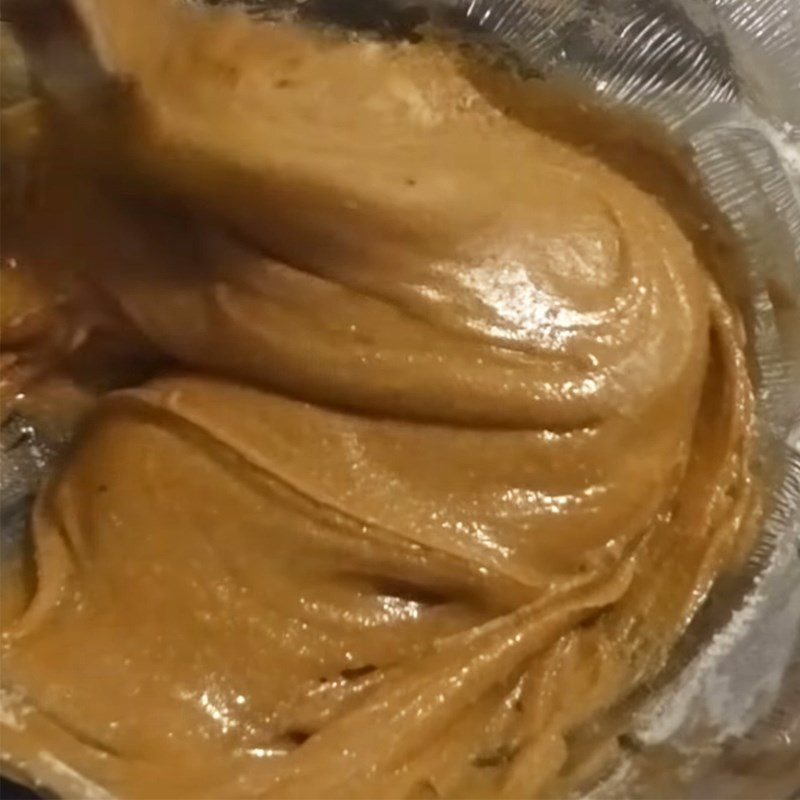
Add 250g of flour and 100g of coffee powder to a bowl and mix well. Next, in a new bowl, combine 180g of honey, 1/3 teaspoon of baking soda, 30ml of rum, and 45ml of peanut oil, and stir well.
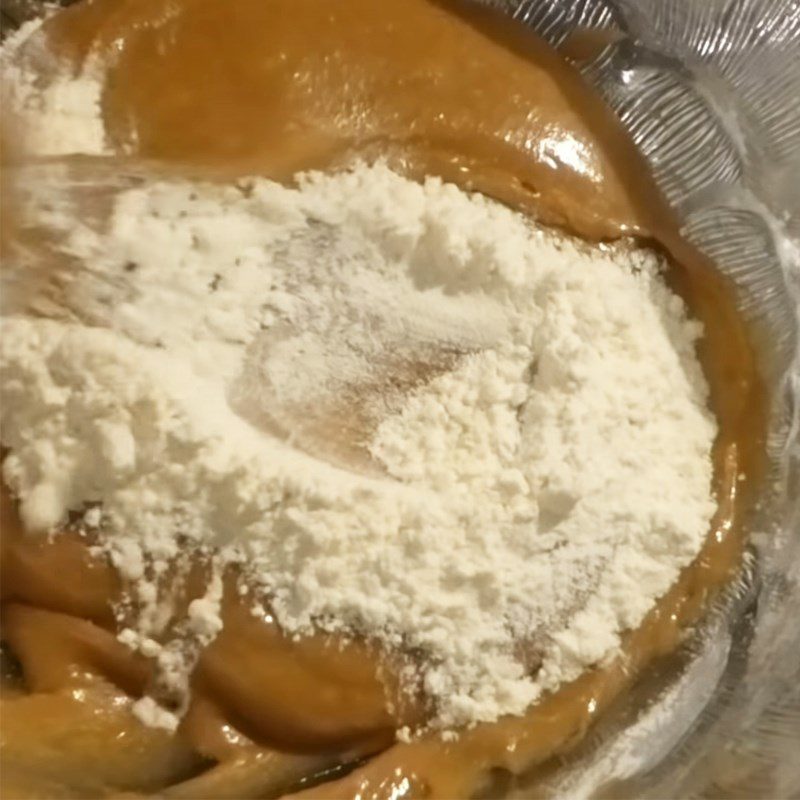
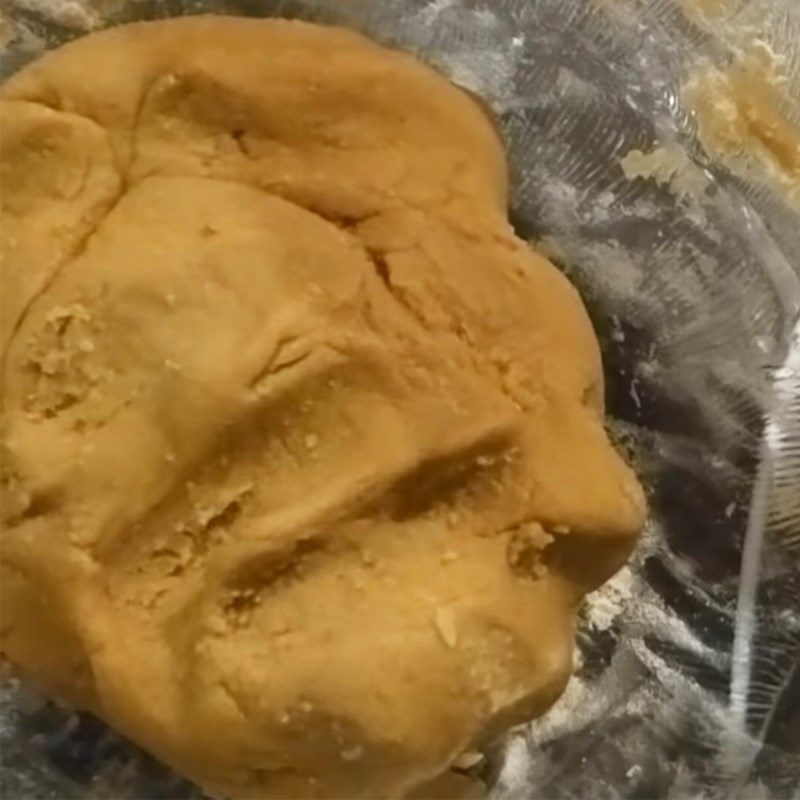
Then, gradually add the dry flour mixture into the honey bowl, using a flat whisk to mix until well combined. Only add the next portion when the previous one is smooth and not sticky to your hands.
Finally, wrap the dough tightly and let it rest for 30 – 45 minutes.
Tip: Since honey is quite sticky, if the dough is still too wet, you can add about 4 – 5 portions of flour, each time 25g!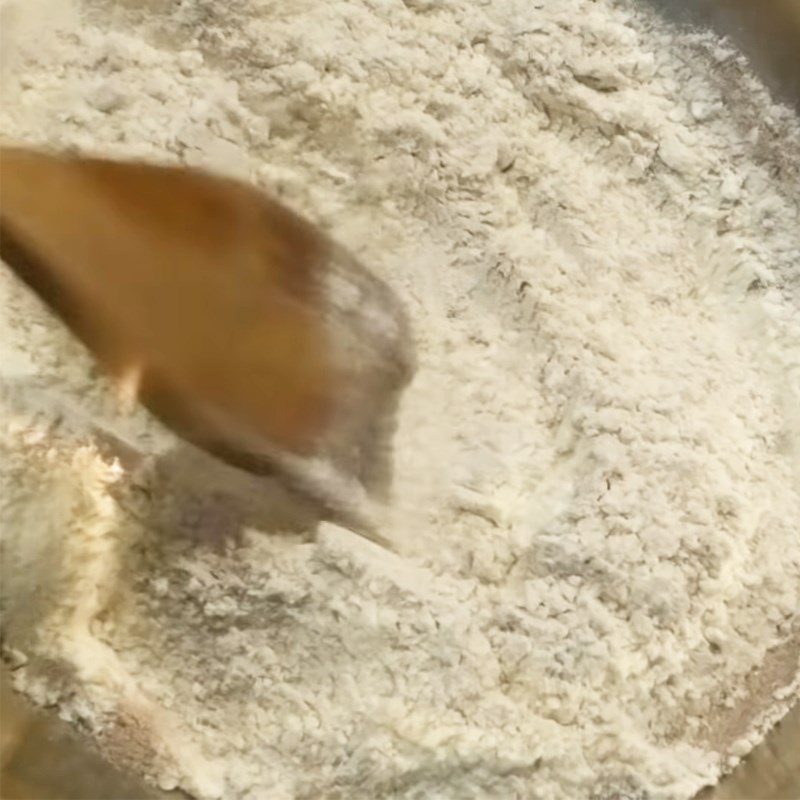
-
Assemble the cake
Divide the dough and filling into several portions with a ratio of 20g dough: 35g filling and roll into balls.
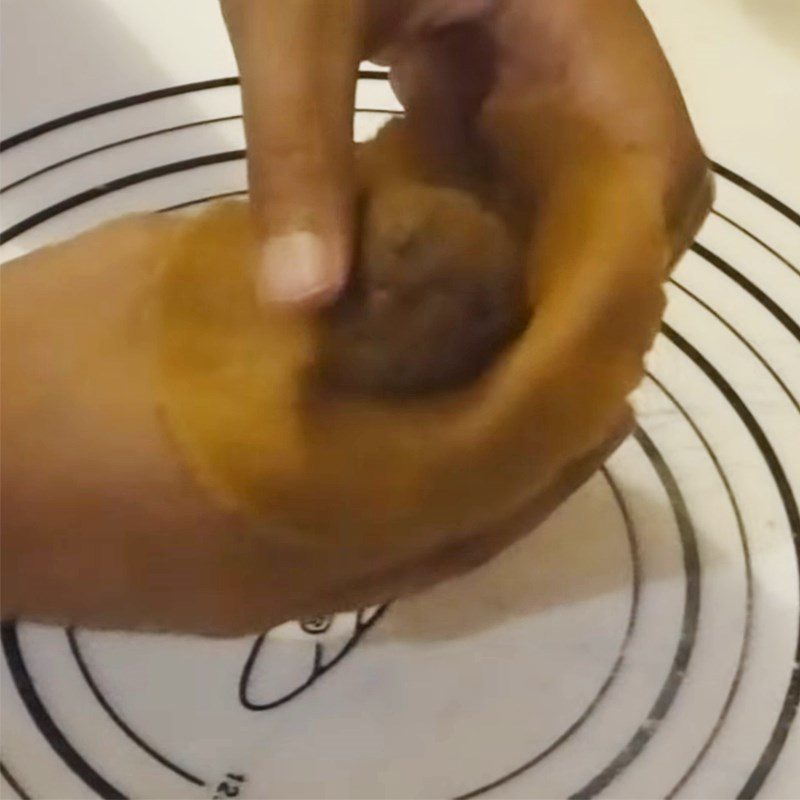
Next, use your fingers to press into the center of the filling ball, add 5g of cream cheese, then roll it into a ball.
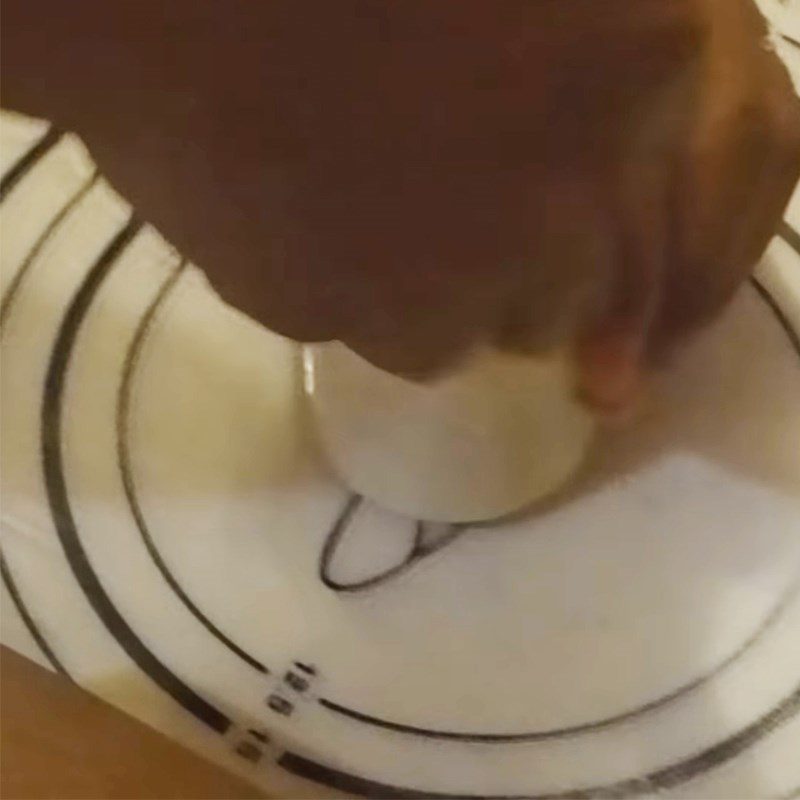
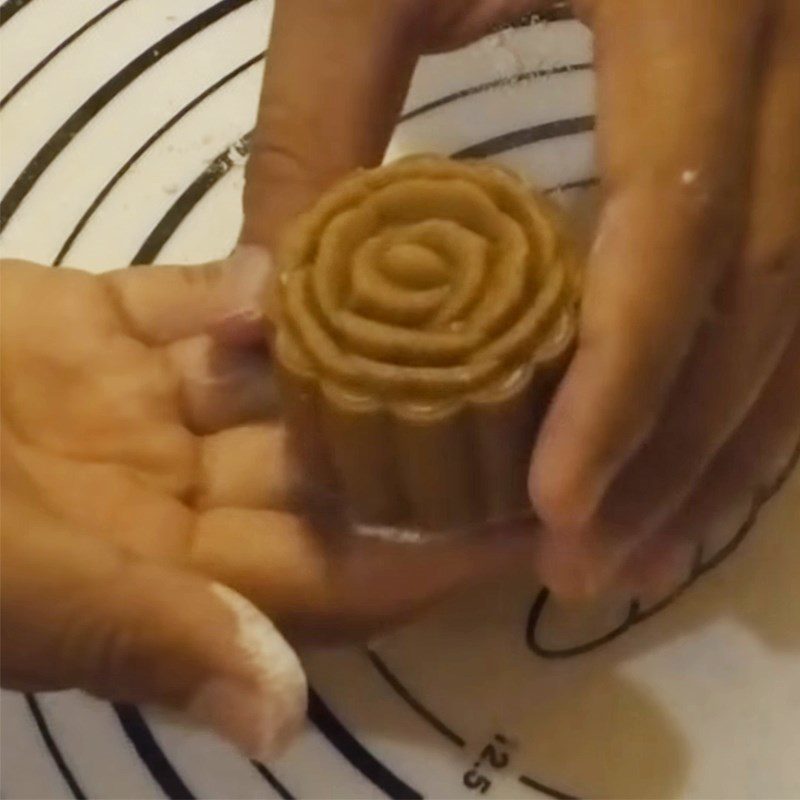
Use a rolling pin to flatten the dough, place the filling ball in the center, then pinch the edges of the dough together to seal, rolling it into a ball. Finally, place the cake into the mold and press firmly to shape it.
-
Baking the cake
Preheat the oven to 200 degrees Celsius for 10 minutes.
Bake the cake for the first time at 165 – 170 degrees Celsius for 15 minutes. Then take the cake out, spray it with water or brush it with water and let it dry for 15 minutes.
Continue baking the cake a second time with the same temperature and time as above. When done, continue to spray water, allowing the cake to cool completely.
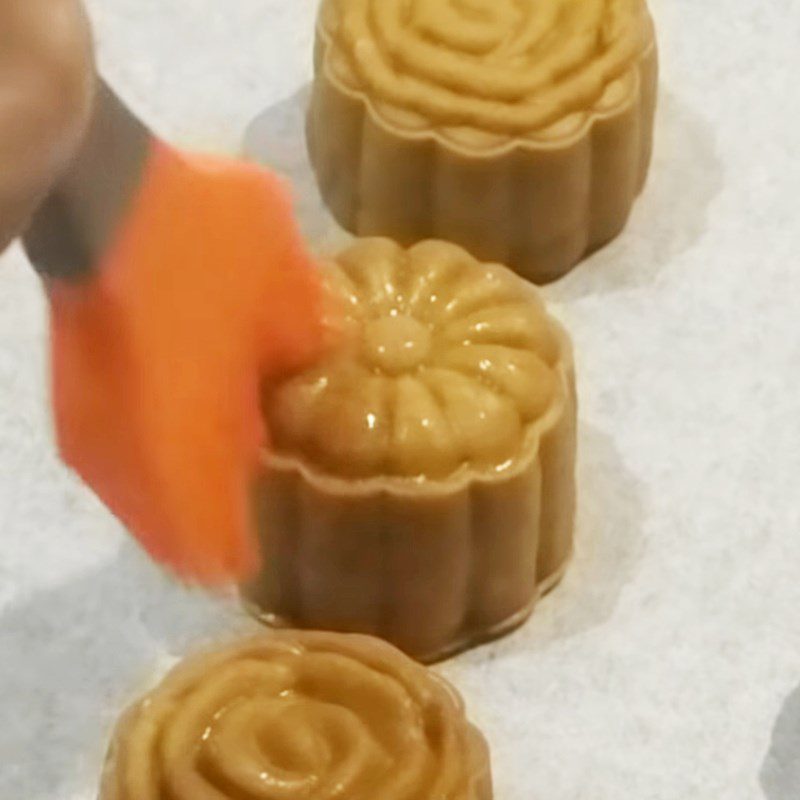
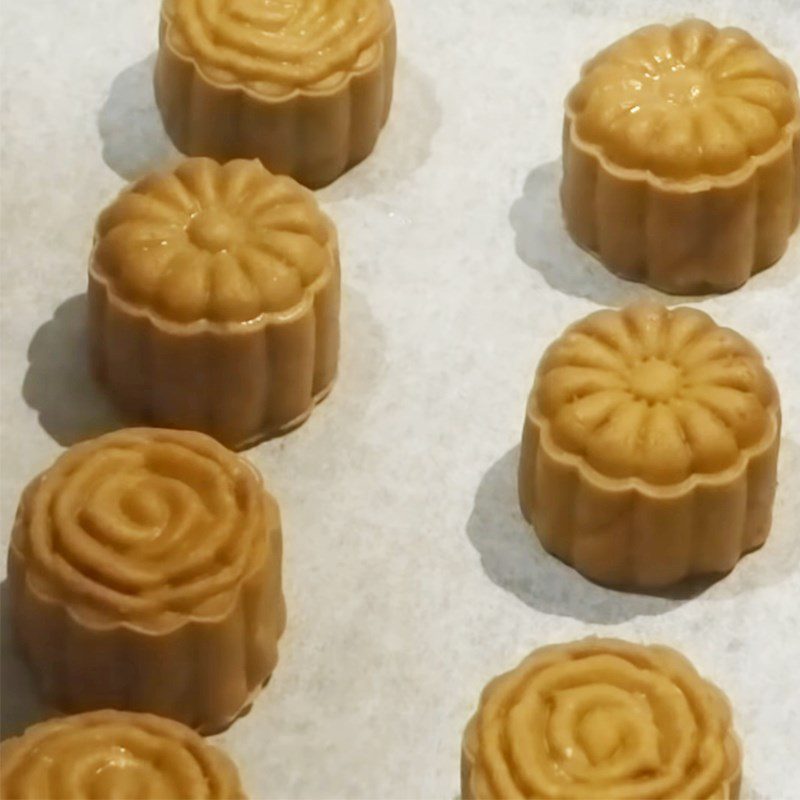
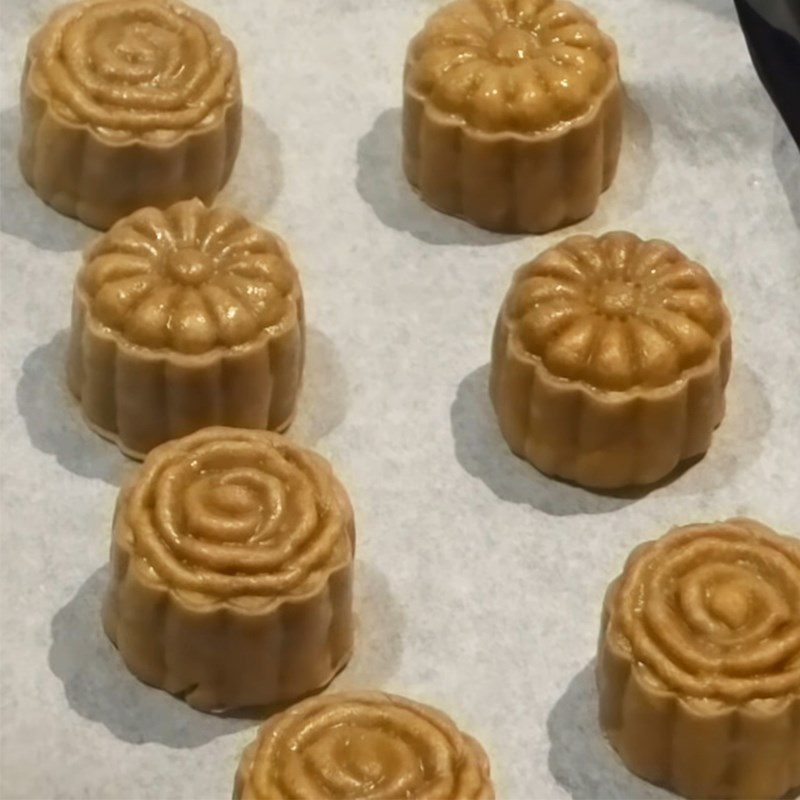
Dissolve 1 egg white with 15ml of rum, then brush this mixture onto the cooled cake. Bake the cake for the third time at 200 degrees Celsius for 4 minutes.
-
Product
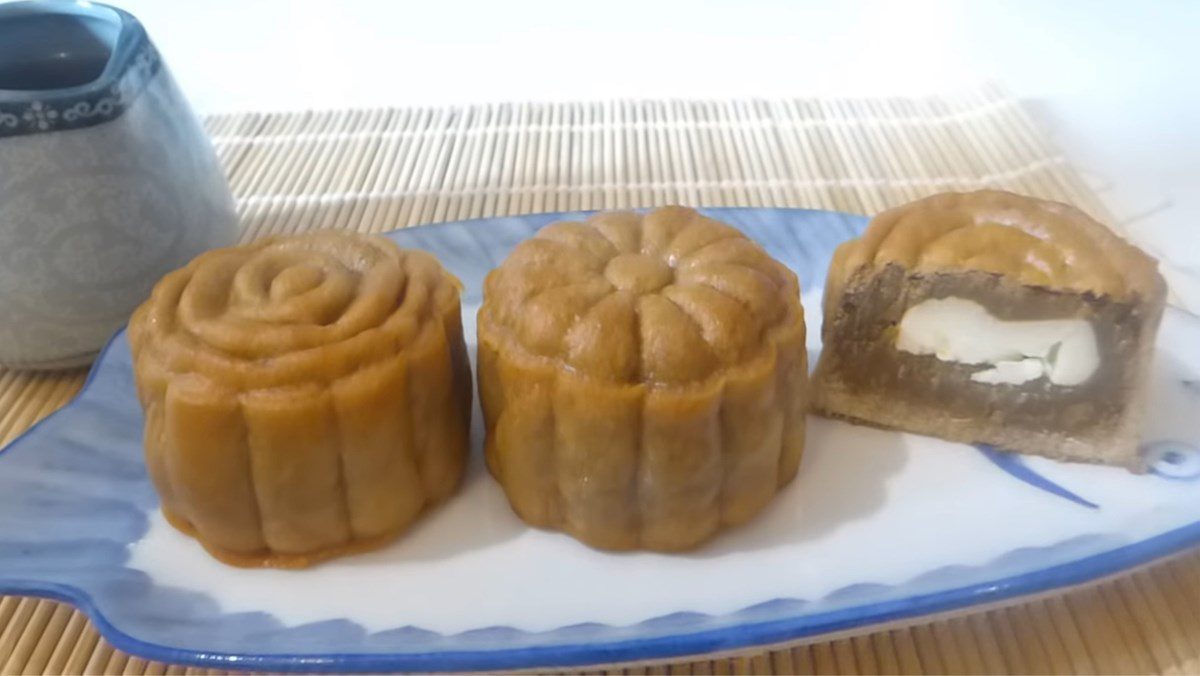
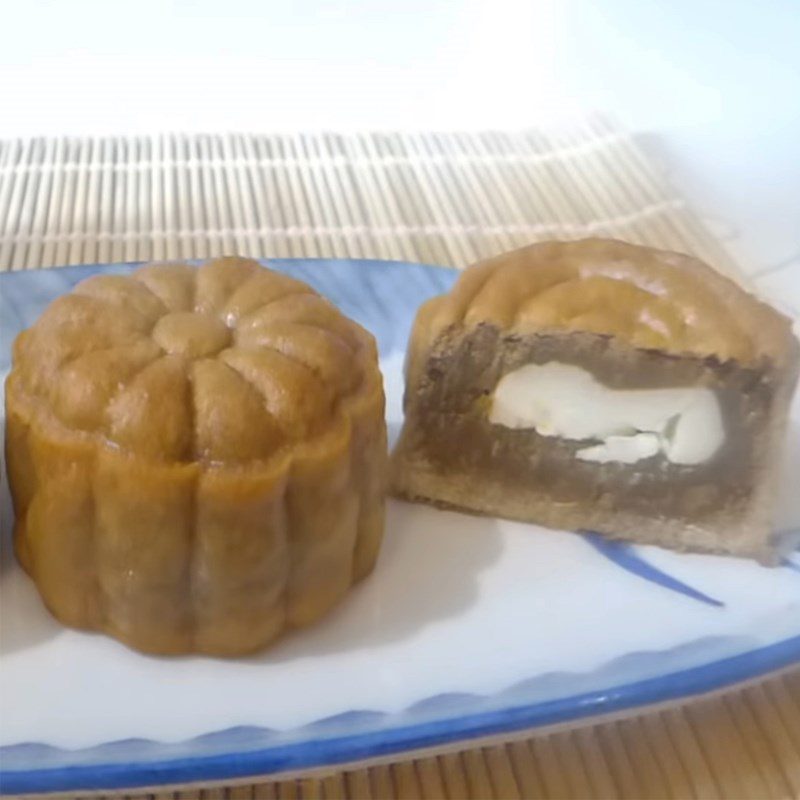
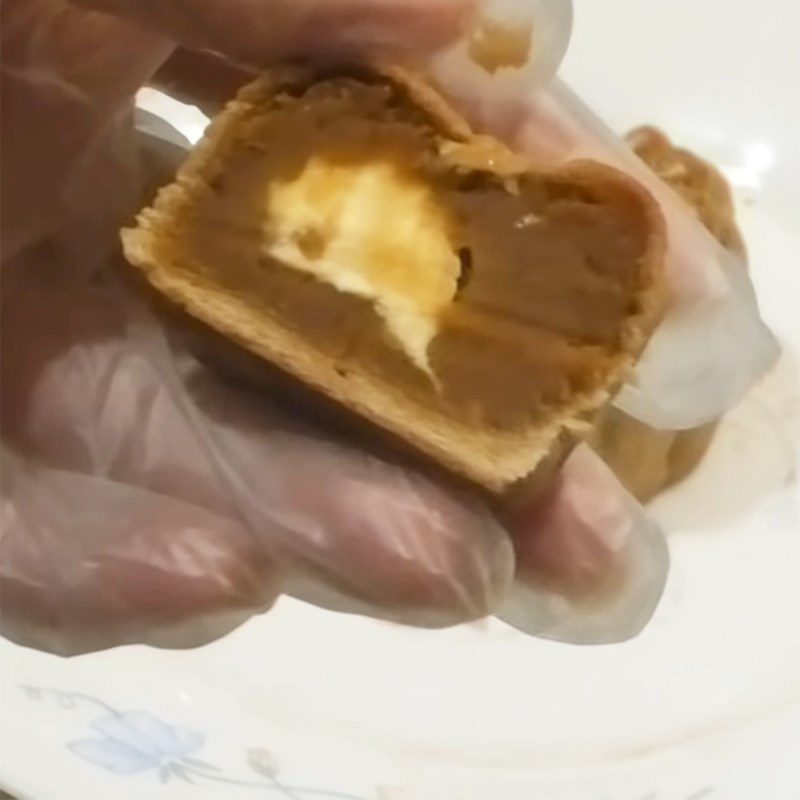
The Mooncake for diabetics with coffee filling just out of the oven has a fragrant aroma. The cake crust is golden brown, soft and crumbly, blended with the slightly bitter coffee filling, moderately sweet, plus a bit of rich cream cheese, extremely tasty.
I hope with the 3 ways to make mooncakes for diabetics above, you can also choose a suitable flavor to make. Wish you success!
We invite you to refer to delicious dishes for mothers and babies on AVAKids:


