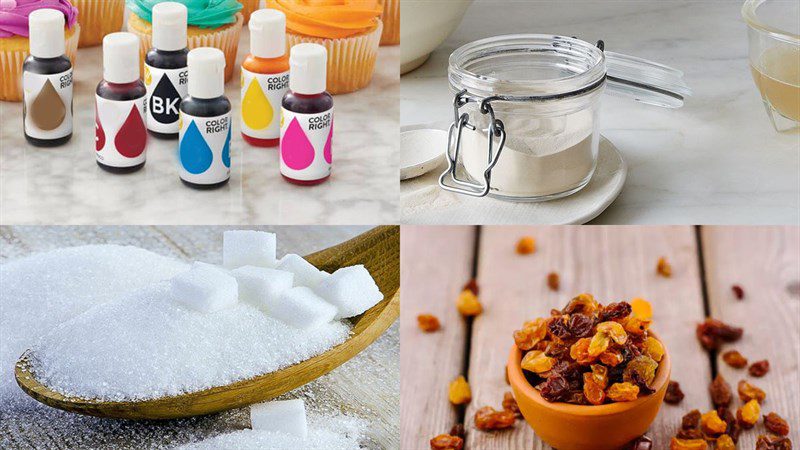
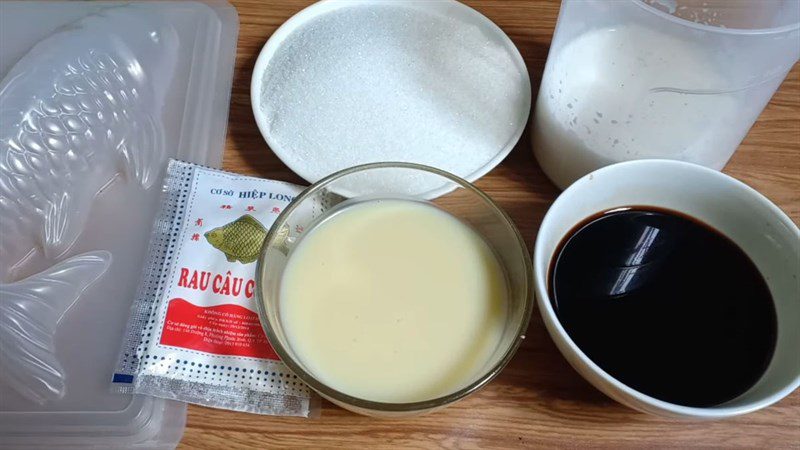
With the Tet holidays, taking care of the ancestor altar not only holds deep meaning but is also one of the many things that help beautify the ancestor altar. Today, let’s join Tastetutorial.com in the kitchen to learn 2 ways to make beautiful carp-shaped jelly for the ancestor altar!
1. Carp-shaped jelly
-
Preparation
25 minutes
-
Difficulty
Easy
Ingredients for Carp-shaped jelly Serves 3
Jelly powder 10 gr (Jelly powder) Sugar 160 g Red – yellow food coloring A little Raisins A little Water 700 ml
How to make Jelly in the shape of a Carp
-
Cooking the jelly
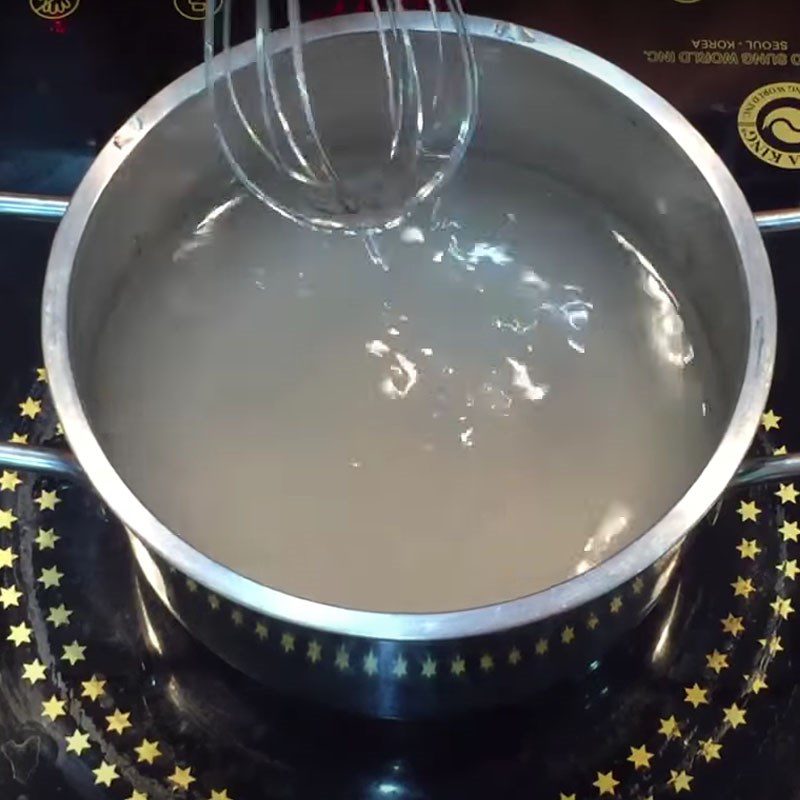
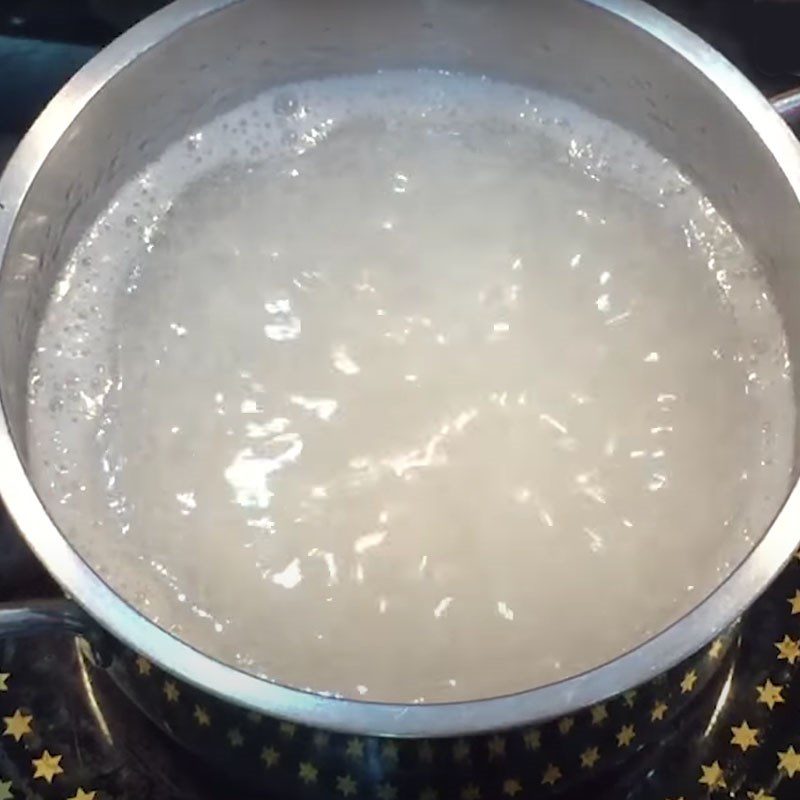
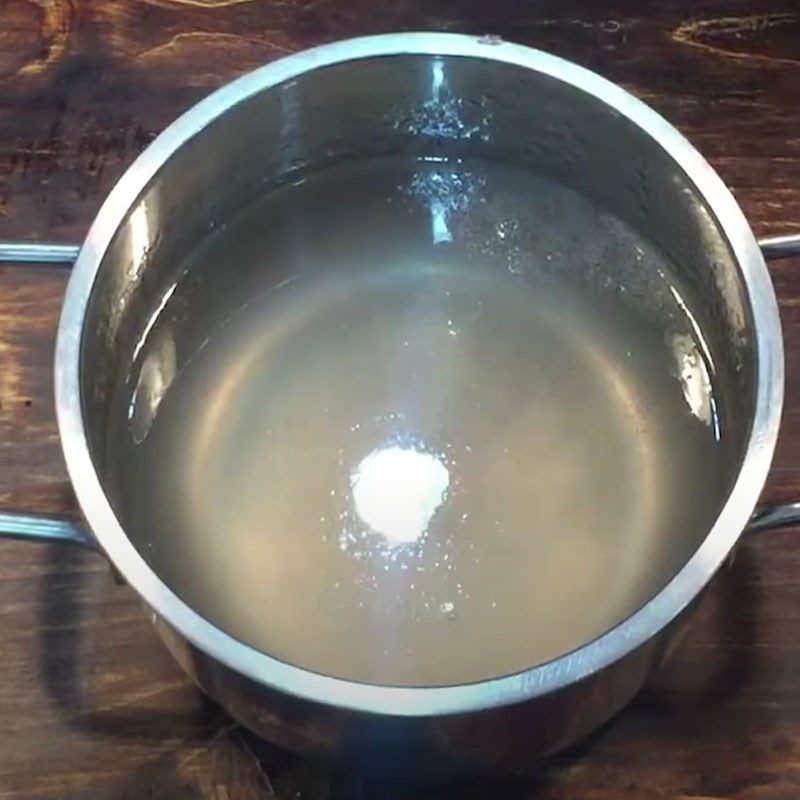
Put 700ml of water into a pot, then gradually add 10gr of jelly powder while stirring continuously until the mixture dissolves in the water.
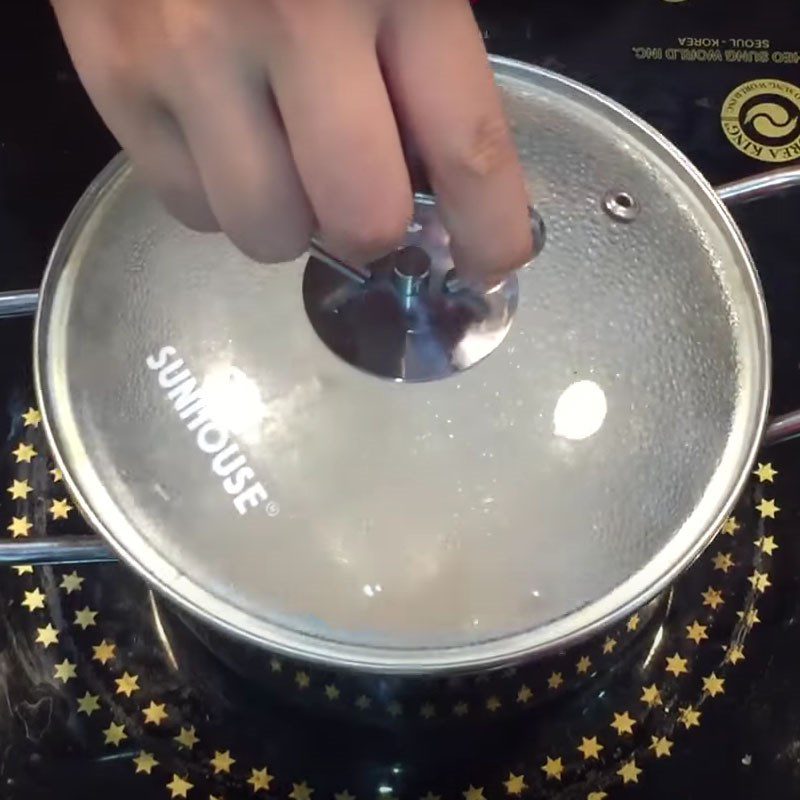
Next, place it on the stove and cook over medium heat for about 8 – 10 minutes until the jelly pot boils. At this point, reduce the heat to low and while stirring, add 160gr of sugar to the pot until the sugar completely dissolves, then cover and cook on low heat for another minute before turning off the heat.
Keep the jelly on the stove to keep it warm, avoiding letting it set before pouring it into molds.
-
Prepare dried grapes and mix jelly colors
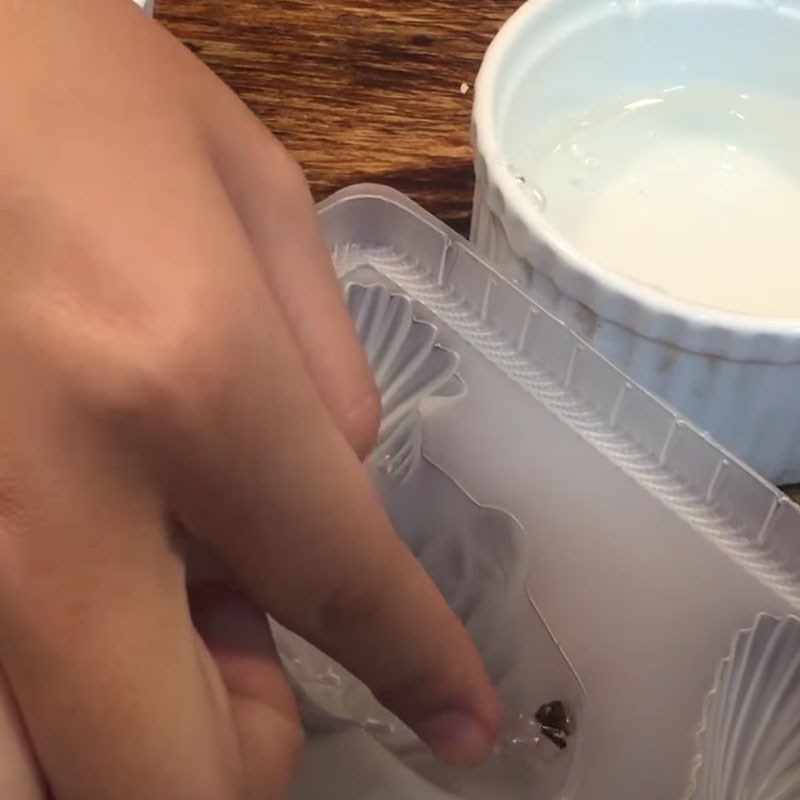
Cut the dried grapes into small pieces for the fish eyes; if you use a large carp mold, you can keep a whole dried grape for the eye.
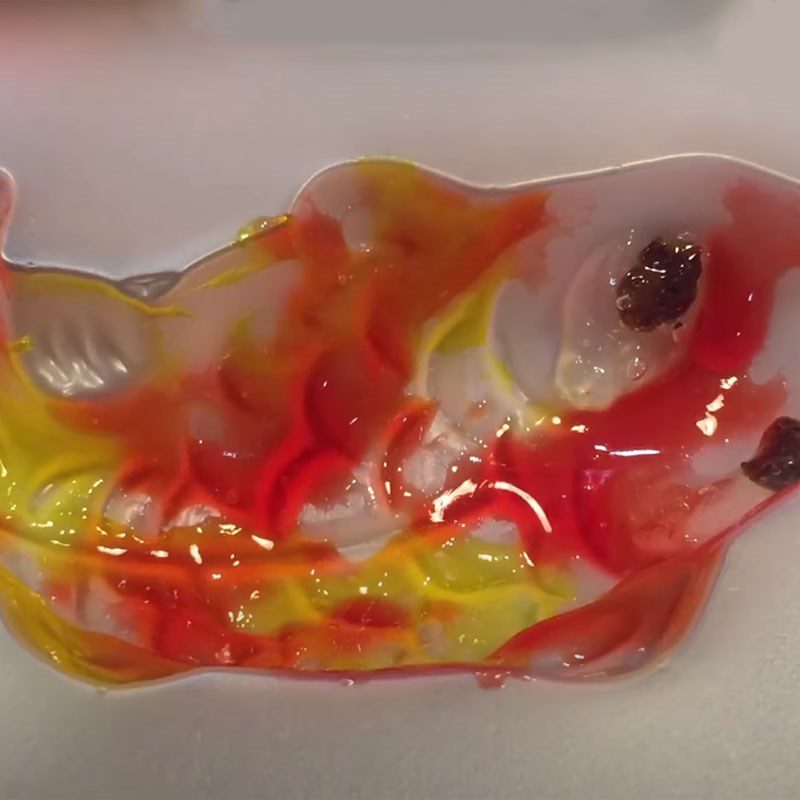
Next, scoop a ladle of the cooked jelly into a bowl, then take the dried grape, dip it in a little jelly, and attach it to the fish eye part of the mold.
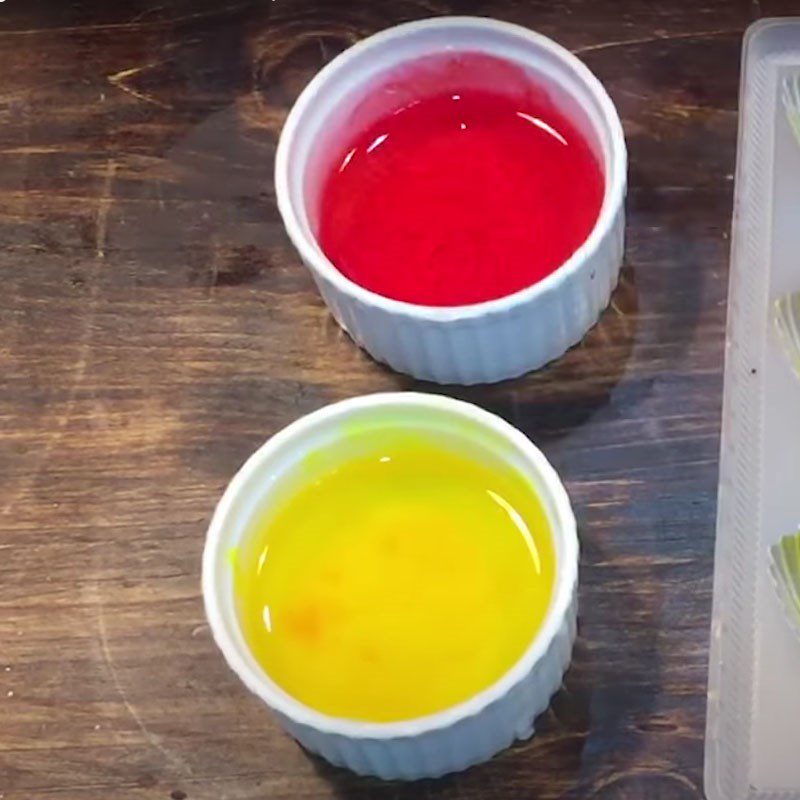
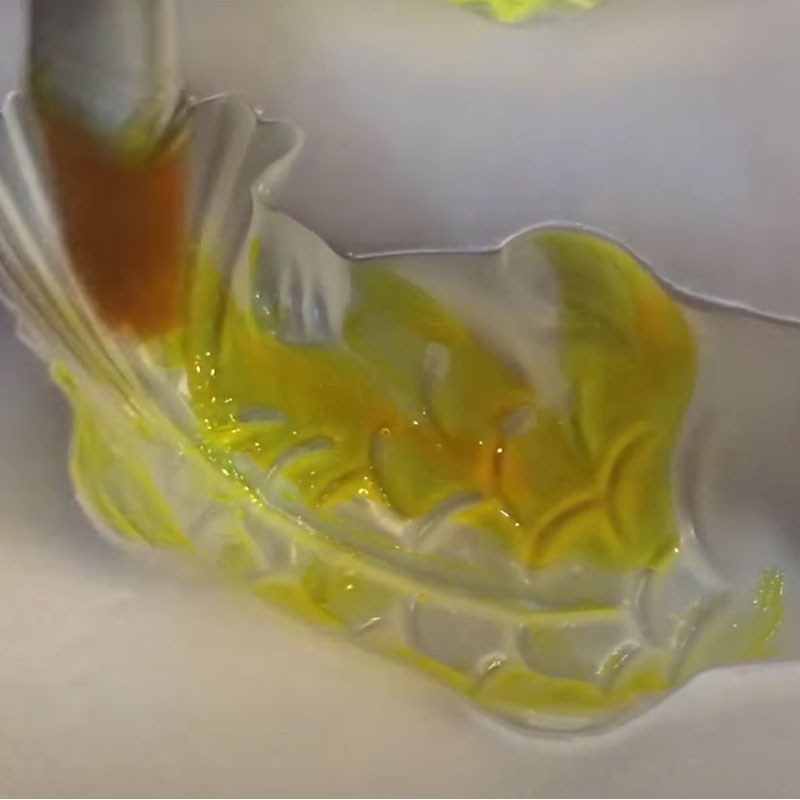
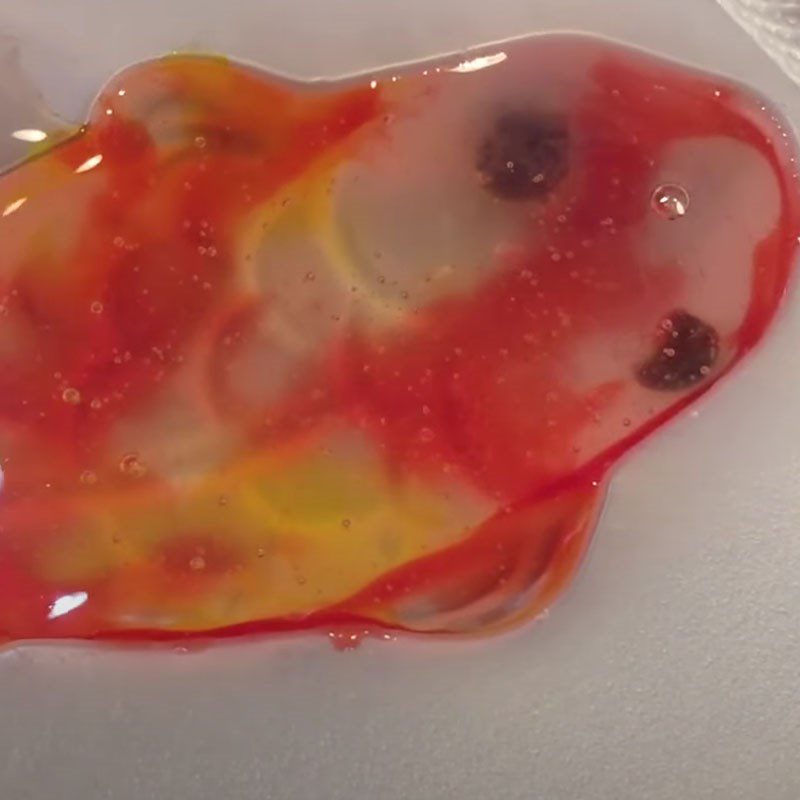
Then, add a little yellow food color to the bowl of jelly you just scooped. After that, use a brush to dip the yellow jelly mixture and spread a thin layer on the carp’s back in the mold.
Scoop another ladle of jelly into a new bowl, add a little red food color, and brush it onto parts like the head, tail, and body, alternating with the yellow color to create a beautiful Koi carp effect.
-
Pour into the mold
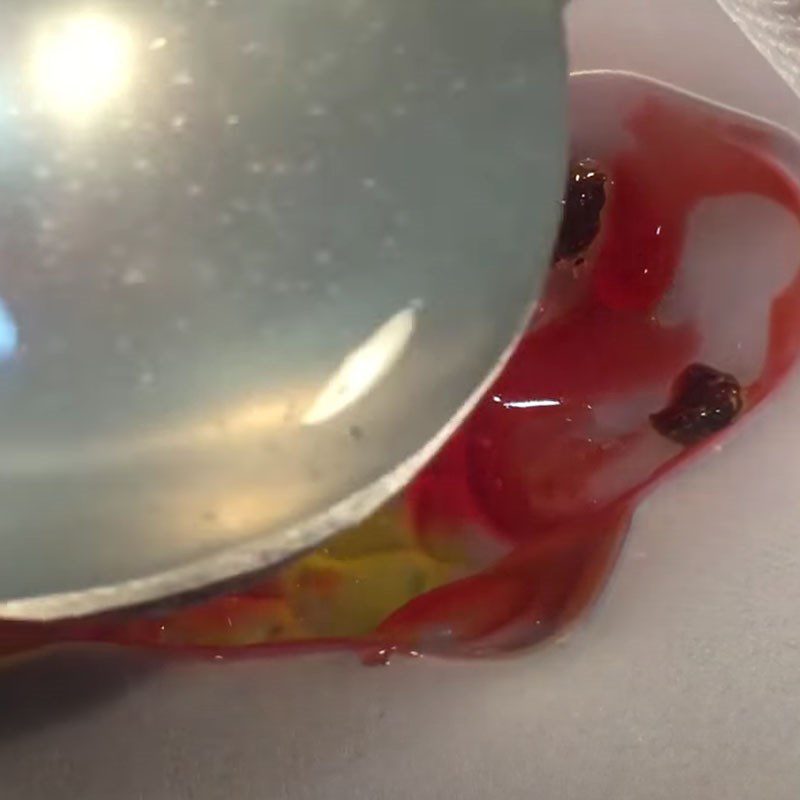
When the jelly layer in the mold is slightly dry, slowly scoop the jelly into each fish mold. Fill the molds with jelly and leave them outside to cool completely.
Then, place the fish molds in the refrigerator for 2 – 3 hours until the jelly is fully set.
At this point, you just need to take the jelly out of the mold, and you have completed the carp jelly dish.
-
Finished product
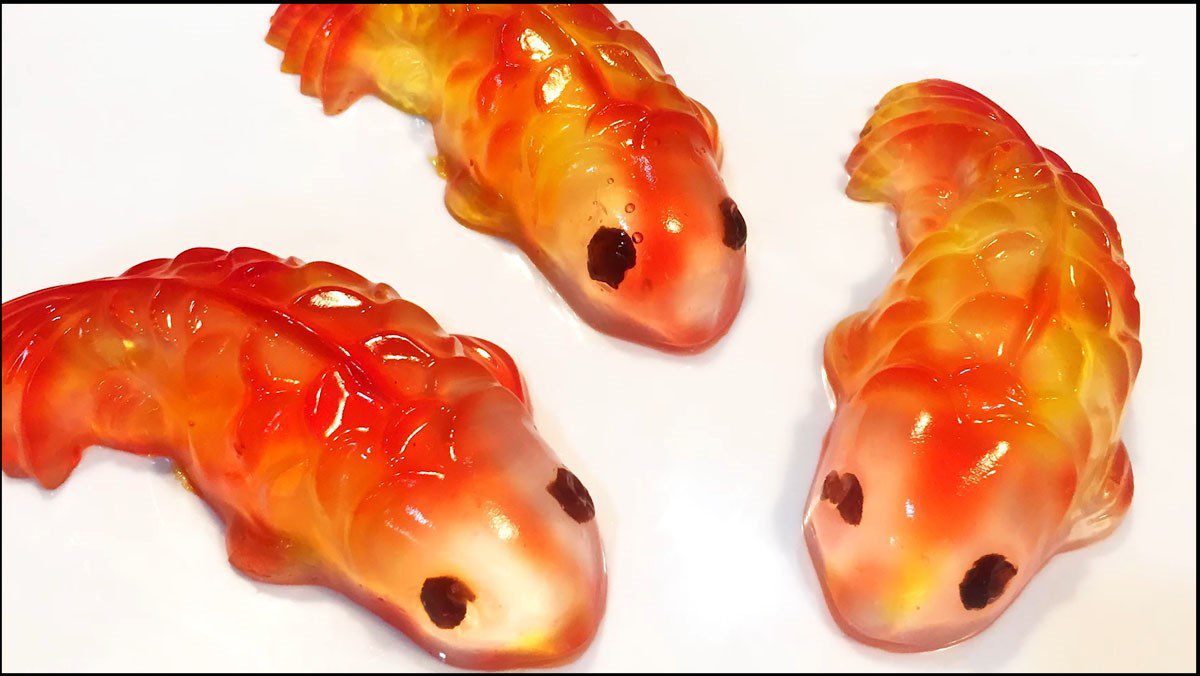
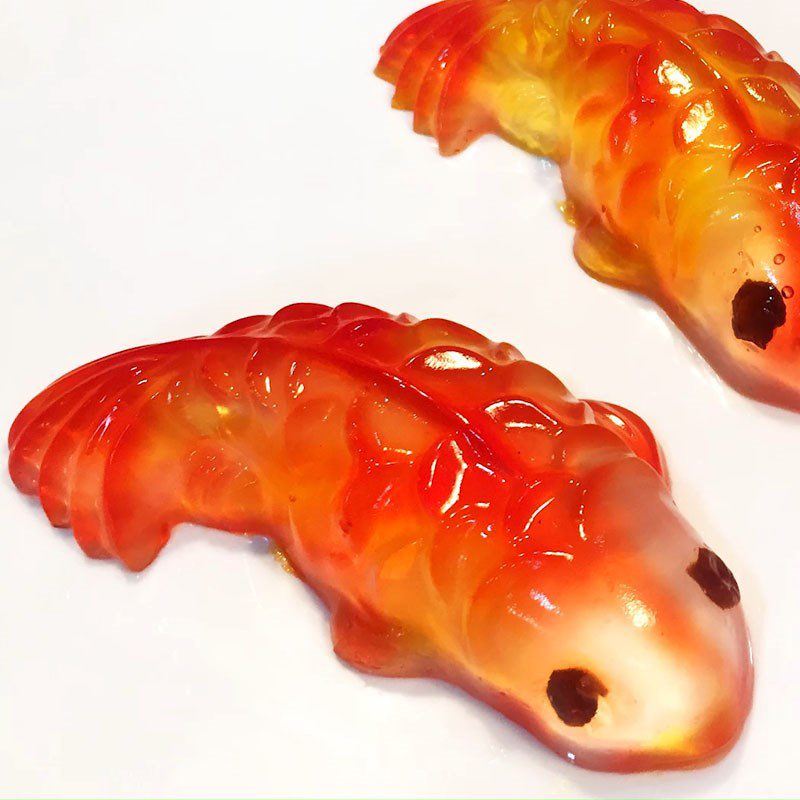
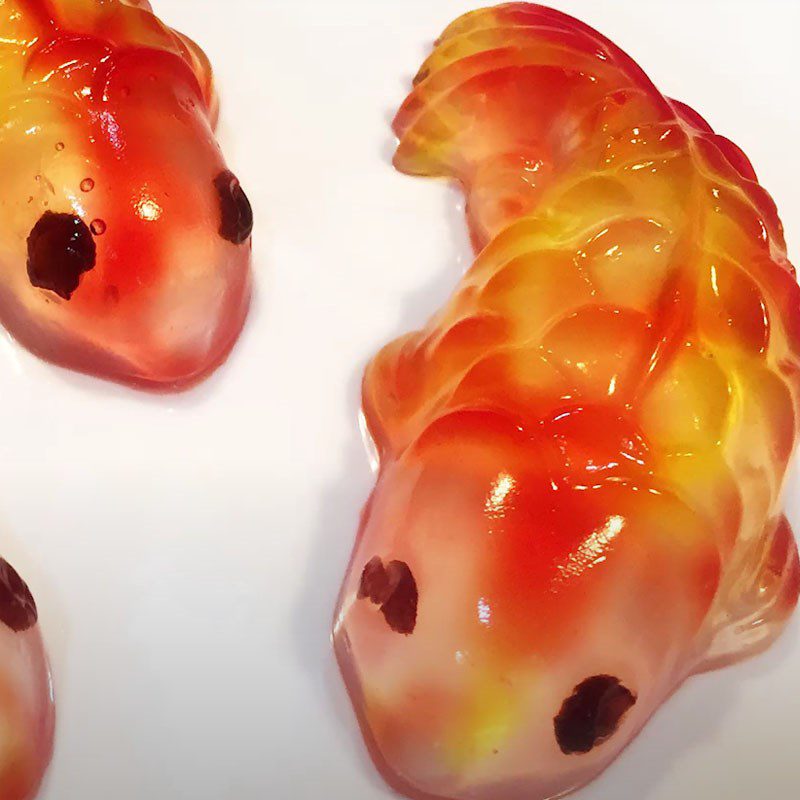
The carp jelly has a color blend of red and yellow, making the jelly very eye-catching, surely brightening your ancestral altar and making it more “full”.
This carp-shaped jelly not only looks perfect but also tastes chewy, soft, and deliciously appealing when eaten.
2. Coffee jelly shaped like carp
-
Preparation
25 minutes
-
Difficulty level
Easy
Ingredients for Carp-Shaped Coffee Jelly Serves 3 people
Gelatin powder 25 gr (Agar gelatin) Sugar 300 gr Black coffee extract 100 ml Coconut milk 300 ml Condensed milk 200 ml Filtered water 1.8 liters
How to Make Carp-Shaped Coffee Jelly
-
Mix and Soak the Gelatin Powder
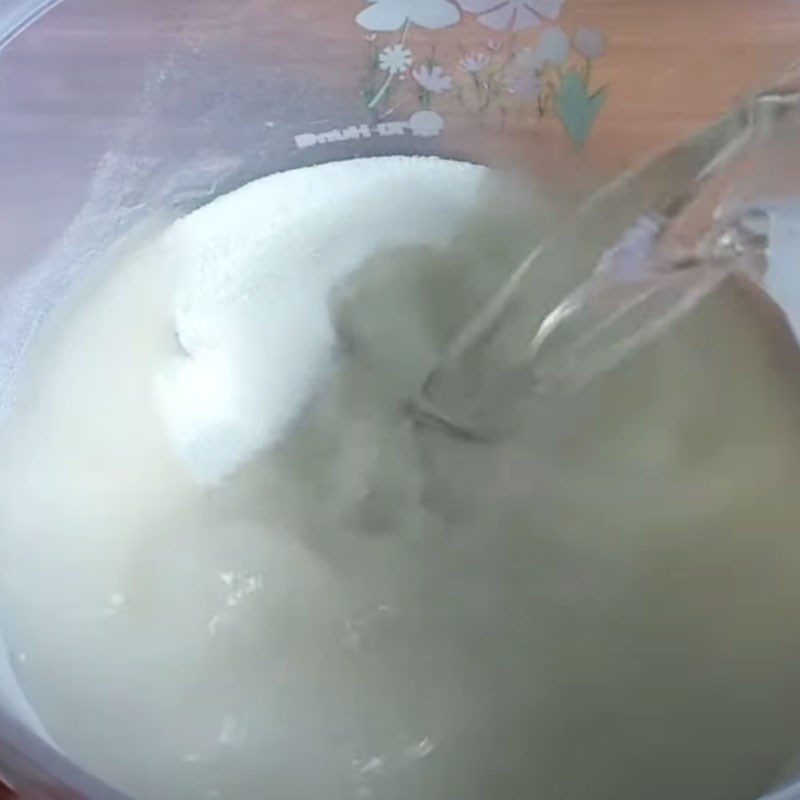
First, add 25gr of Agar gelatin powder and 300gr of sugar to the pot and mix well.
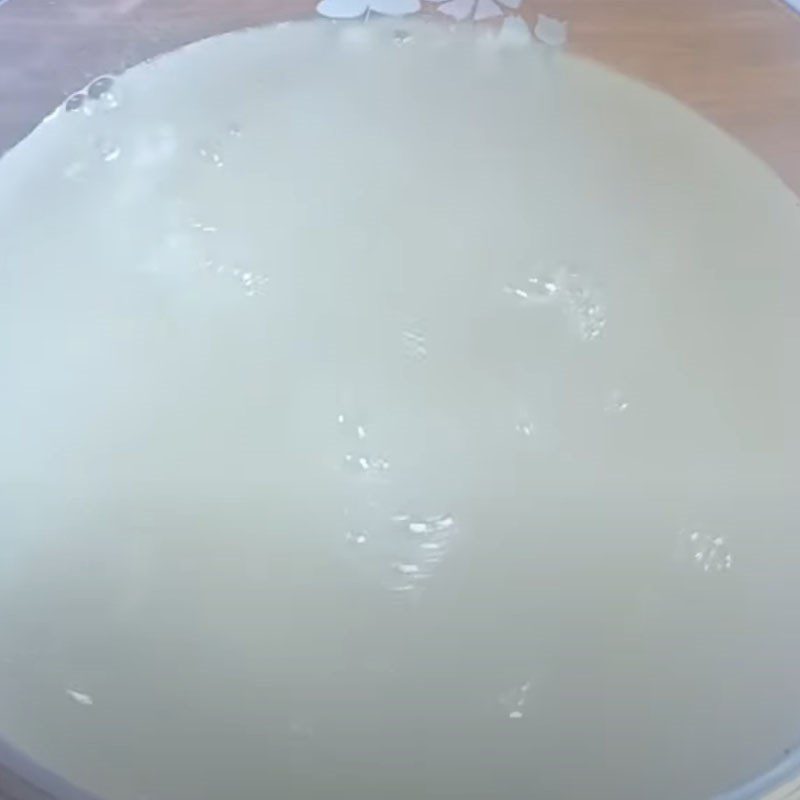
Next, pour in 1.8 liters of filtered water and stir well until the sugar and gelatin dissolve in the water.
Soak the gelatin for about 30 minutes to allow it to expand. This soaking process helps the gelatin powder swell, making the jelly clear and preventing it from becoming too watery.
-
Cook coconut milk
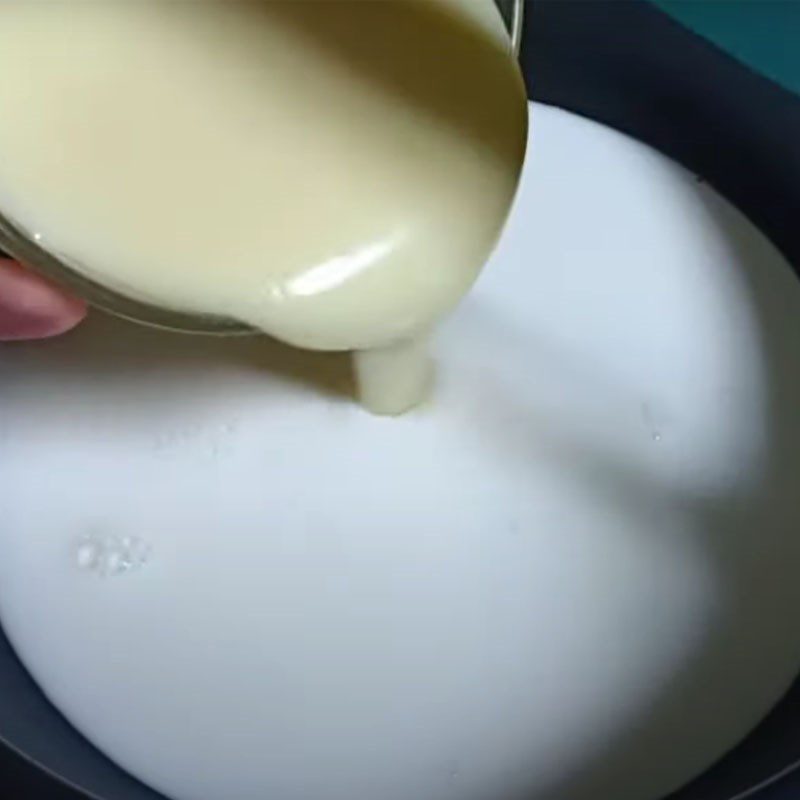
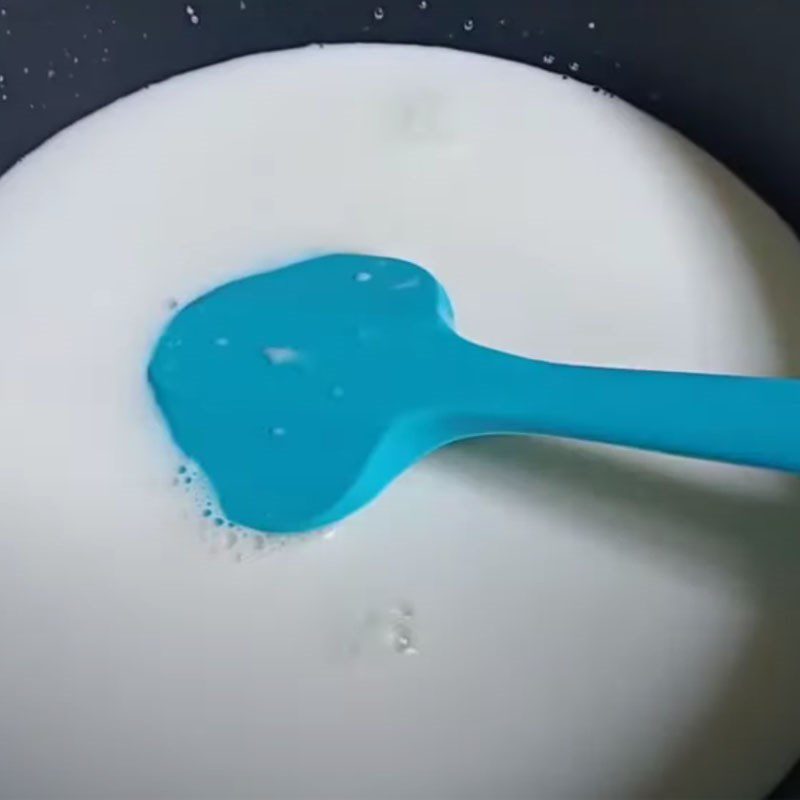
While waiting for the agar to bloom, you proceed to cook the coconut milk. Pour 300ml of coconut milk into a pot, turn the heat to medium-low and add 200ml of condensed milk, stirring until the milk completely dissolves in the coconut milk.
After about 5 – 7 minutes, when the coconut milk mixture is gently simmering and hot enough, you turn off the heat.
-
Cook agar
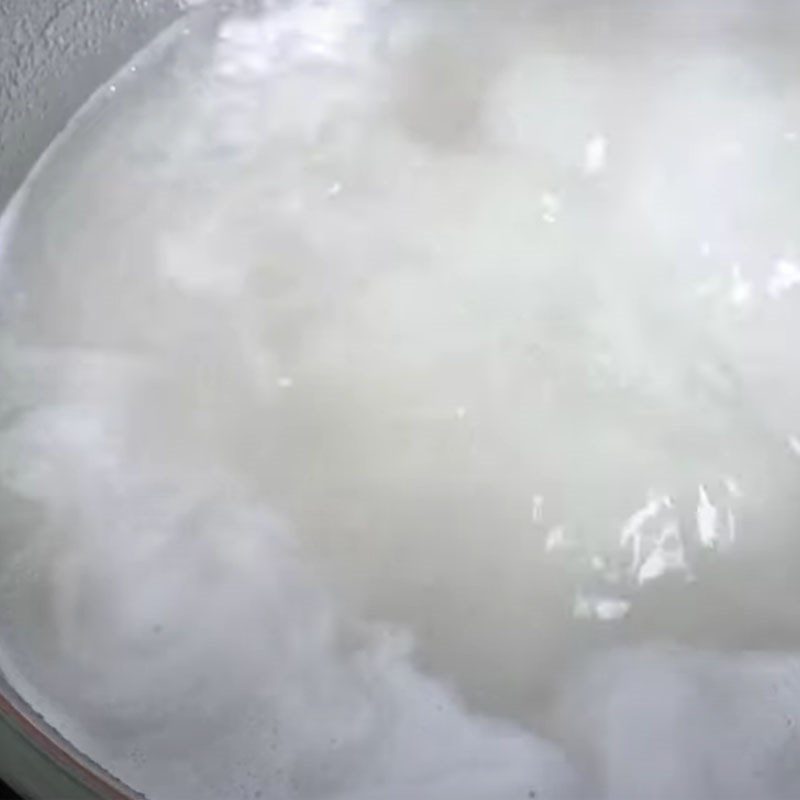
After soaking the agar for 30 minutes, place the pot of agar on the stove and cook over high heat. While cooking, remember to stir continuously to prevent the agar from burning at the bottom of the pot.
When the agar boils vigorously, skim off the foam and then reduce the heat to medium and cook for about 2 more minutes. While cooking, also stir the agar mixture well.
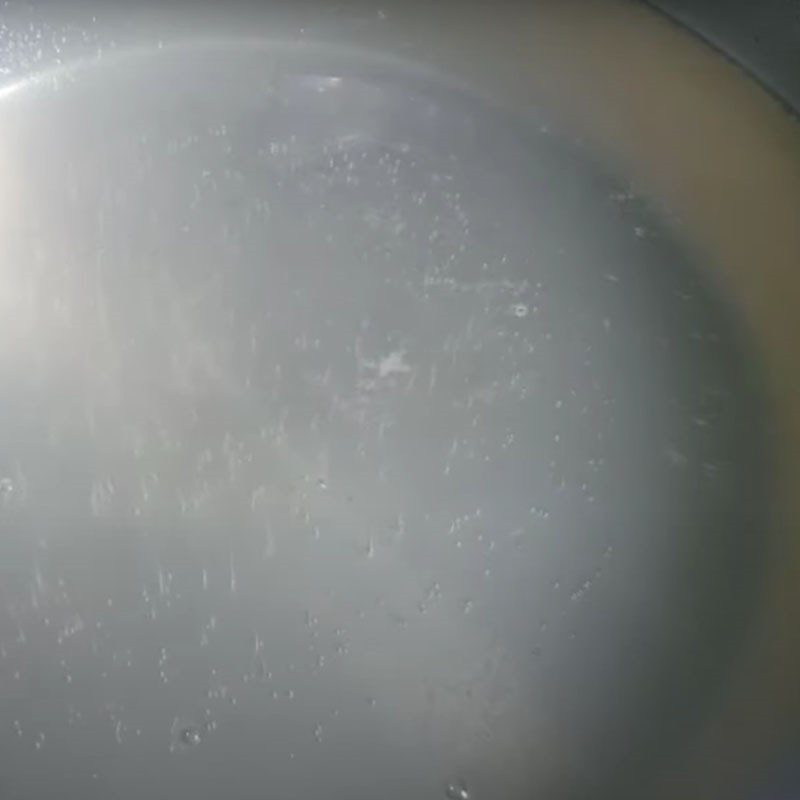
After 2 minutes, when the agar is clear and slightly thickened, reduce the heat to the lowest setting to keep the agar warm and prevent it from setting when pouring into molds.
-
Mixing Coffee Jelly and Coconut Milk
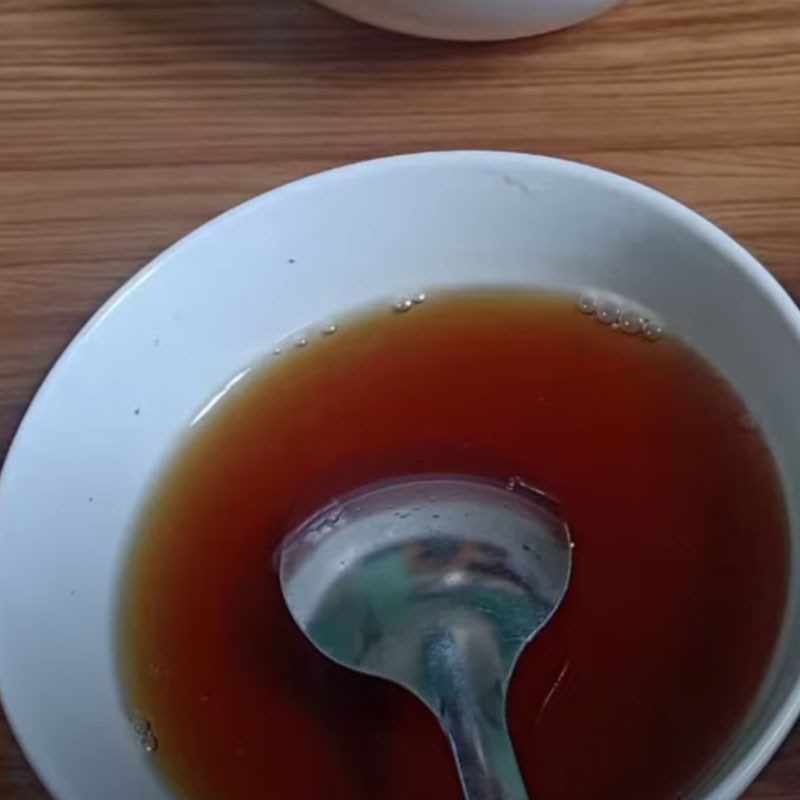
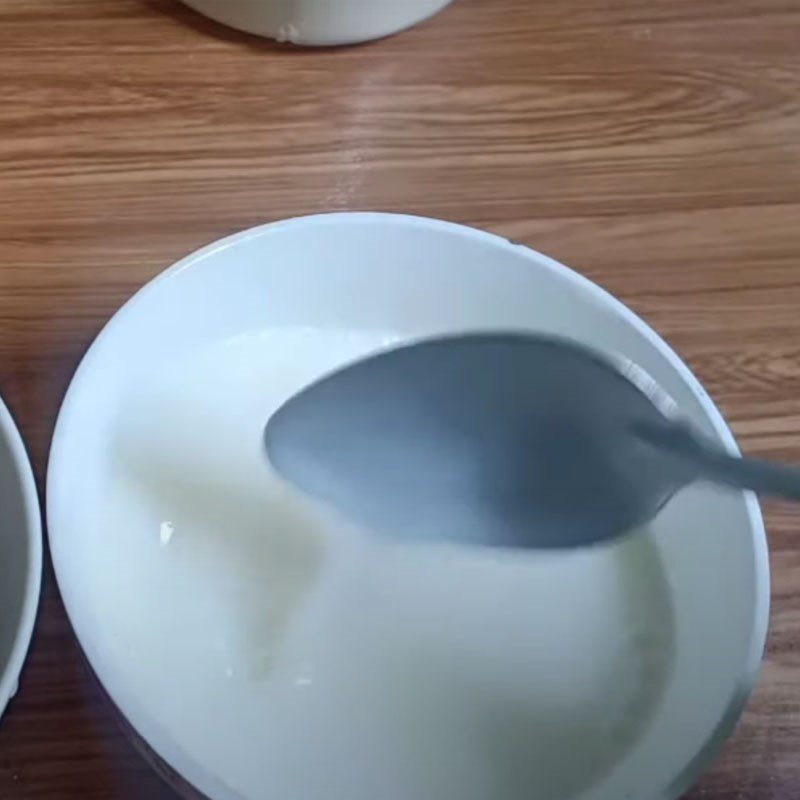
At this step, scoop about 800ml of the jelly you just made into 2 bowls.
Next, add 100ml of black coffee extract into the first bowl and stir well. For the second bowl, add the coconut milk mixture you just made and stir well.
-
Pouring into Molds
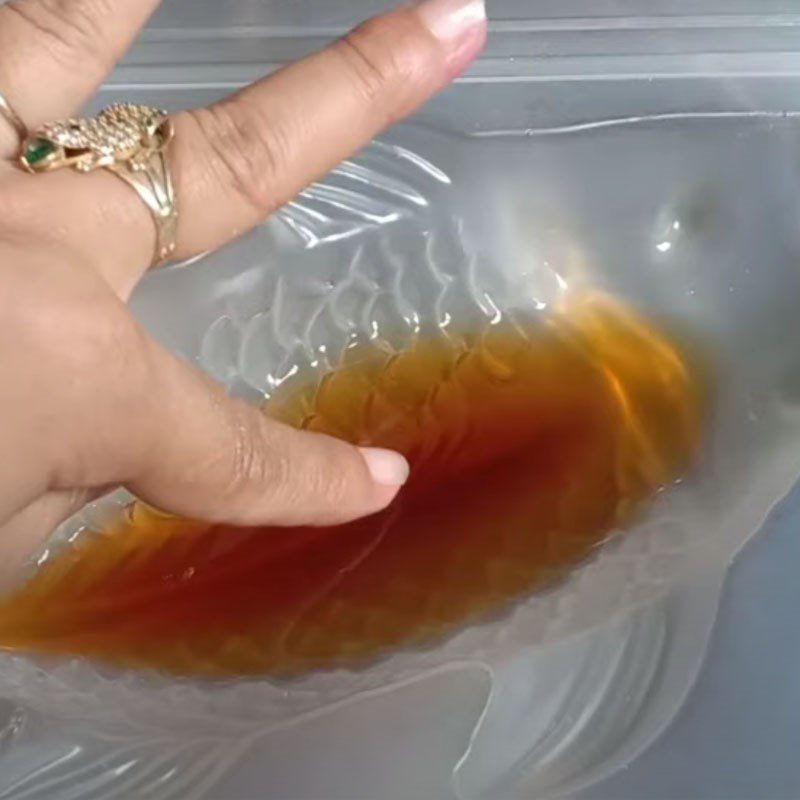
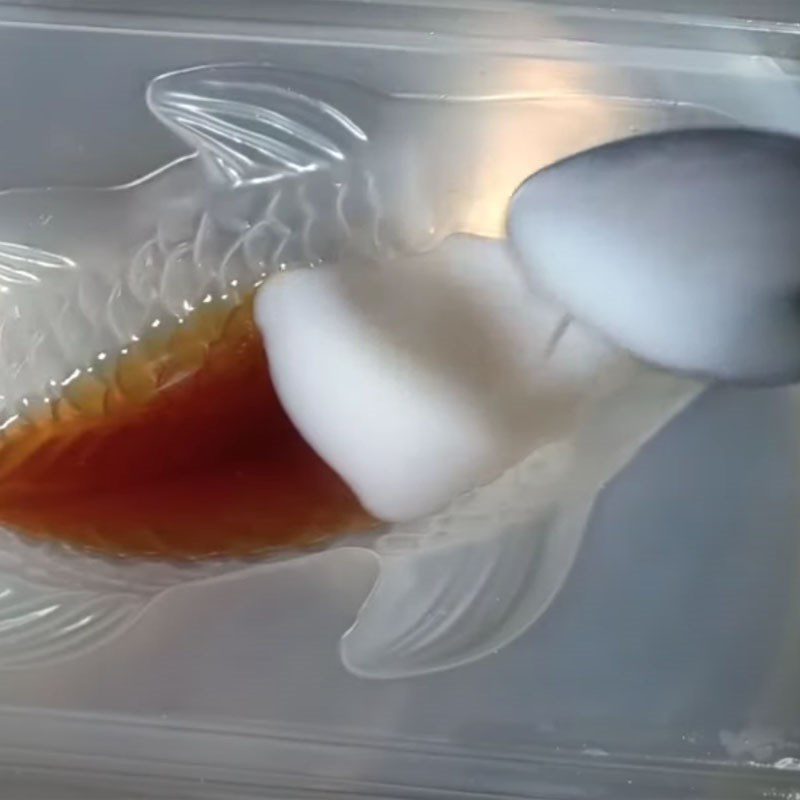
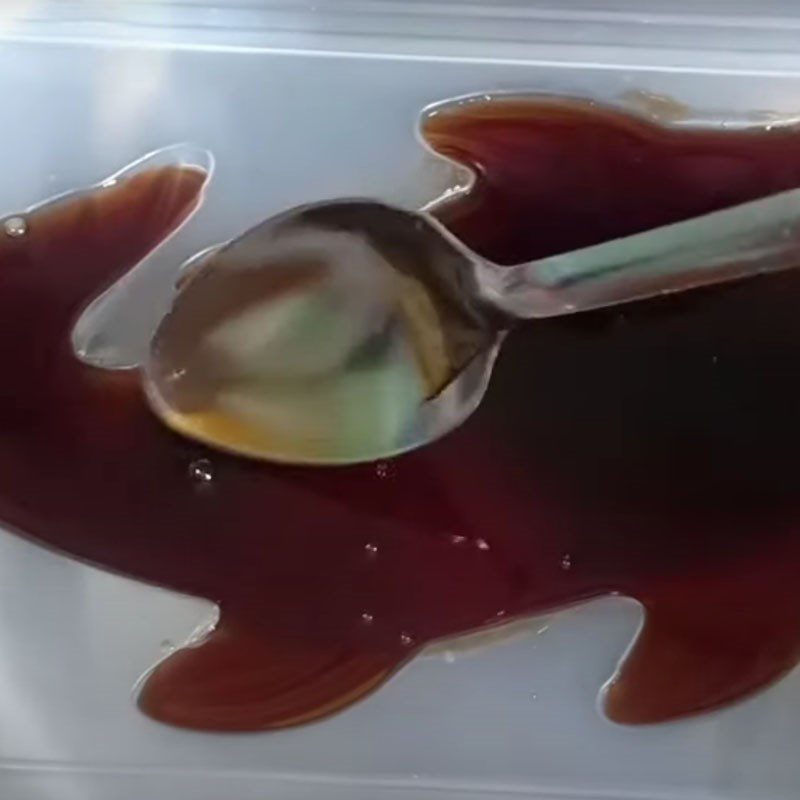
Pour the coffee jelly mixture into the fish mold. When the jelly in the mold sets on the surface, gently touch the surface of the jelly with your finger; if it doesn’t stick, you can carefully add the coconut milk jelly mixture into the mold.
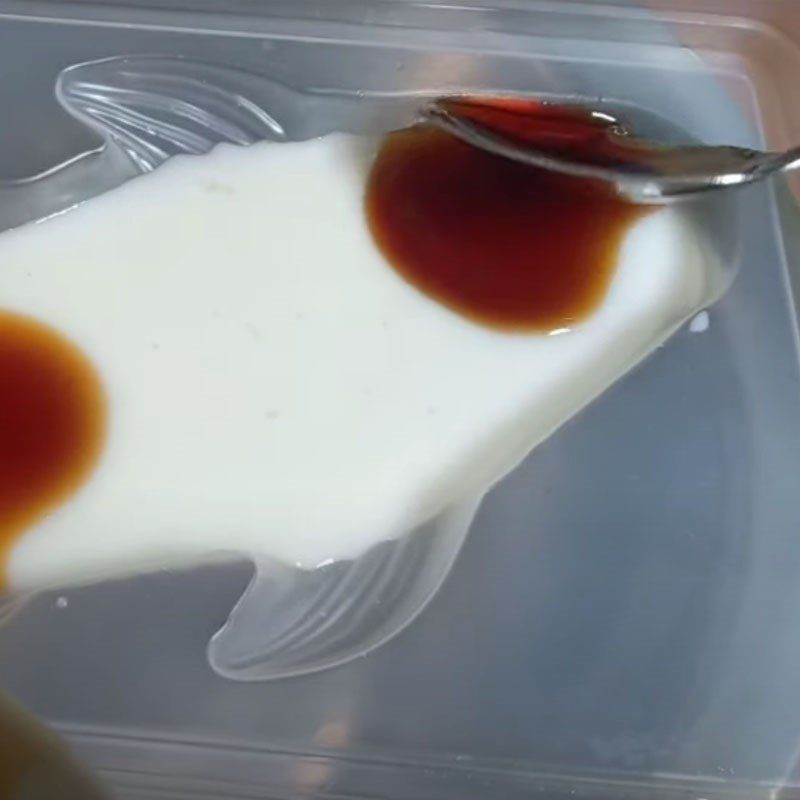
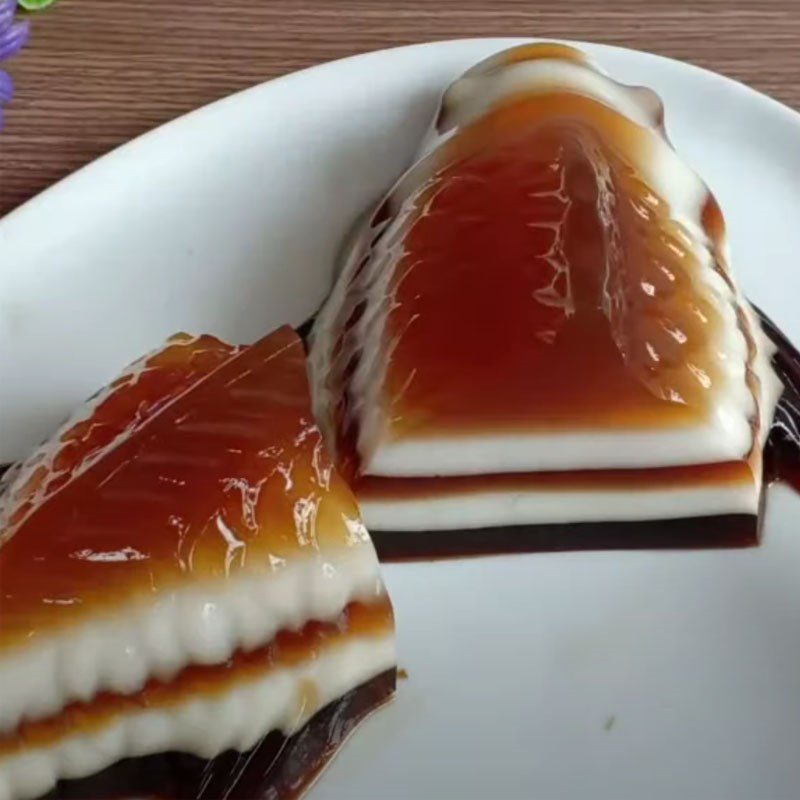
Similarly, when the coffee layer sets, continue to gently pour the coconut milk jelly layer on top. Repeat this process until the mold is full.
For the final jelly layer, use a spoon to skim off any tiny bubbles to make your jelly smoother. Then, let the jelly sit at room temperature for about 30 minutes to 1 hour to set before placing it in the refrigerator to completely firm up.
After about 2 to 3 hours of chilling, simply flip the mold over and take out the jelly shaped like a carp. And that’s it, you’ve completed the coffee jelly shaped like a carp!
-
Final Product
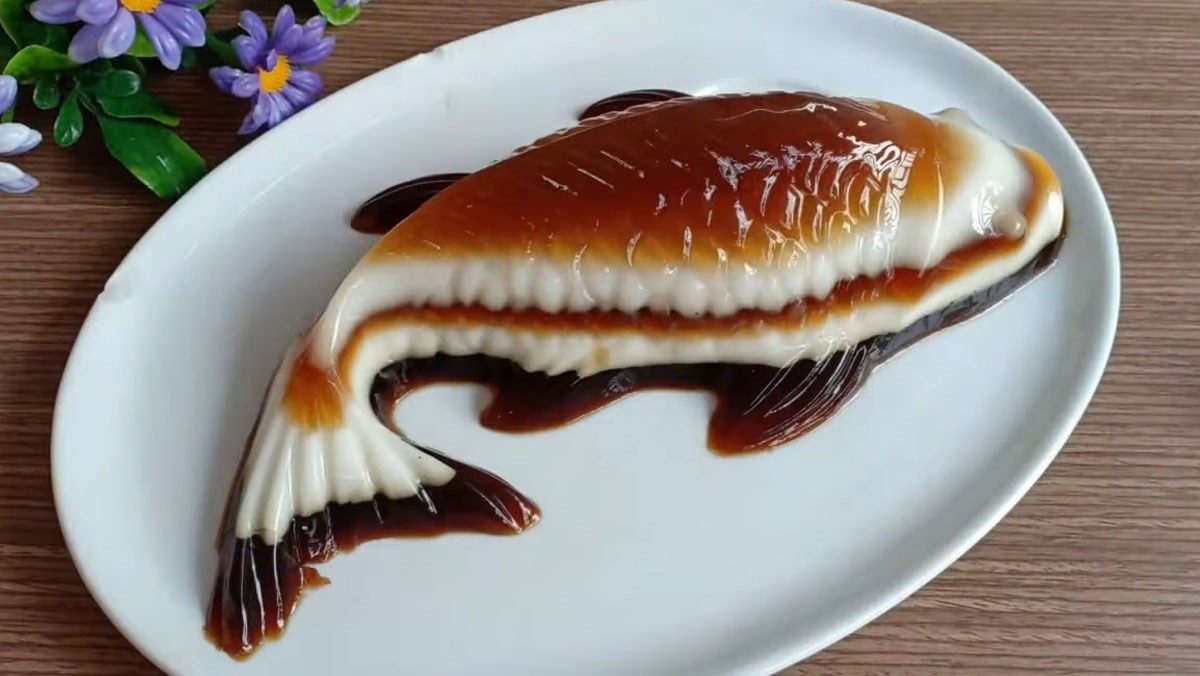
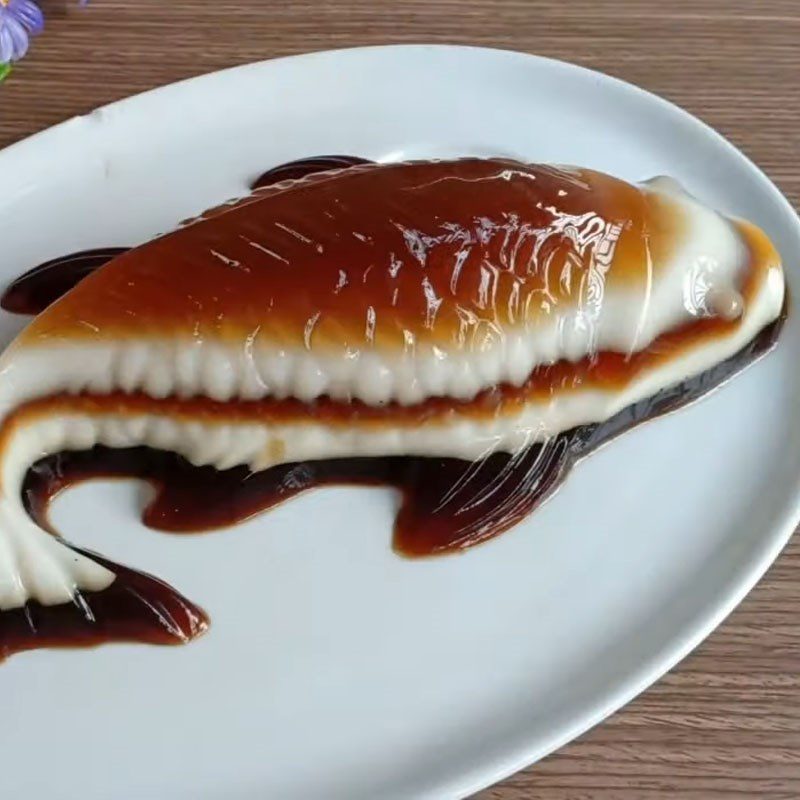
The coffee jelly in the shape of a carp with the black color of coffee interspersed with the white of coconut milk makes the jelly dish extremely eye-catching and elegant.
Especially with this method, your jelly will not separate into layers but will be chewy, soft, and delicious with a wonderfully blended sweet and bitter taste!
How to make delicious jelly without separating layers
- Continuously stir the jelly during cooking to prevent it from burning and sticking to the bottom.
- For the part of the jelly mixture that is not used, remember to cover the pot tightly and wrap it with a cloth to keep the mixture warm and prevent it from solidifying.
- For multi-layer jelly, you should wait for the first layer to form a crust and become slightly firm on the surface before adding the second layer on top. Avoid adding the second layer while the first layer is still loose, as they will quickly blend into each other.
- Or if the layer of jelly has completely solidified, you can use a toothpick to poke evenly over the surface before pouring the next layer in. This way, the jelly will not separate into layers.
See more:
Try spending some time in the kitchen to make 2 ways to make jelly in the shape of a carp that are both chewy, delicious, and visually appealing to serve as a dessert for parties or to offer at the ancestral altar during holidays! Wishing you success!


